


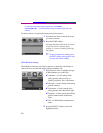

3-14
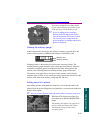
Taking pictures
Taking any kind of picture, still, burst, or timelapse is basically the same. The
only difference is the amount of time you have to hold down the SHUTTER
button.
☞ For best results when taking a picture, press and hold the SHUTTER button
halfway down until the green Ready light illuminates. Then press the
SHUTTER button the rest of the way.
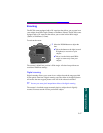
To take a picture:
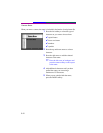
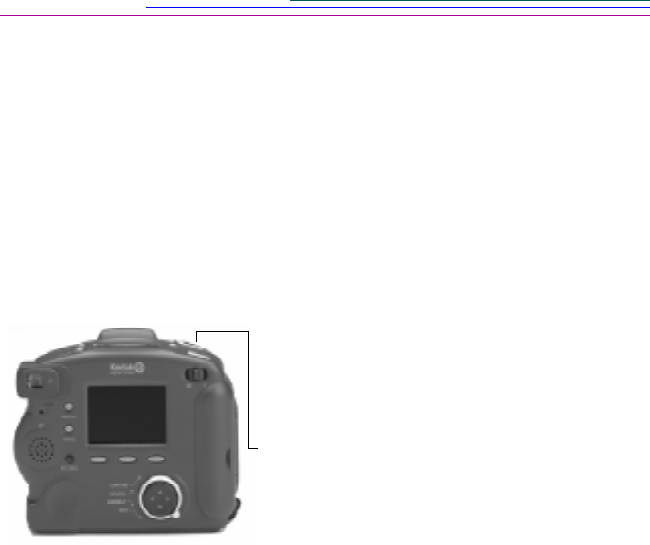
☞ You do not need to hold
the camera still while the
green Ready light is
blinking, but you will not
be able to take another
picture until it stops
blinking.
☞ If you set a long interval
between timelapse
pictures, the camera may
appear to turn itself off to
save batteries. It will turn
itself back on to take the
next picture.
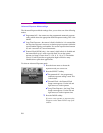
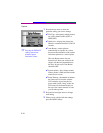
1 Place the subject in the viewfinder.
☞ To view the subject in the LCD as
well as the viewfinder, press the
DISPLAY button.
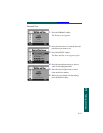
2 Press the SHUTTER button.
✔ If you are taking a still picture, press
and release the SHUTTER button.
✔ If you are taking burst pictures, hold
down the SHUTTER button for as long
as you want the camera to fire. The
camera stops firing when the available
camera memory is used or when you
release the SHUTTER button. The
resolution and quality of your pictures,
set in the burst picture settings, dictates
how quickly camera memory is
consumed. Refer to page 3-4 for more
information on burst picture settings.
✔ If you are taking timelapse pictures,
press and release the SHUTTER button.
The camera fires at the interval set in
the timelapse picture settings. The
camera continues to fire until you press
the SHUTTER button again, press the
STOP softkey, or until the maximum
number of pictures, set in the timelapse
picture settings, is taken. Refer to
page 3-4 for more information on
timelapse picture settings.