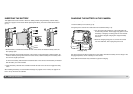
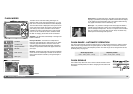
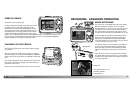
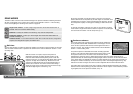
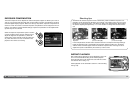
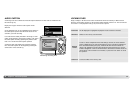
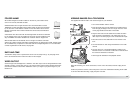
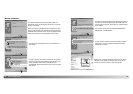
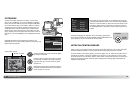
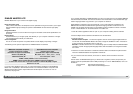
Images can be played back with the camera in the cradle. Turn
the camera off and place the camera in the cradle; see page
17 for details.
With the camera in the cradle, turn the camera on; charging
stops and images can be viewed as described in the playback
section. Pictures cannot be taken; only playback mode is avail-
able.
If the cradle is plugged into a live electrical outlet, it will power
the camera. If the cradle is unplugged, the camera battery is
used as the power source.
Always turn off the camera before removing it from the cradle.
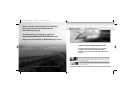
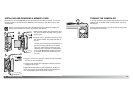
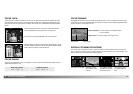
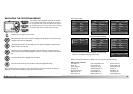
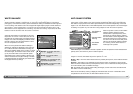
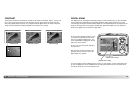
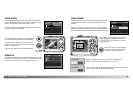
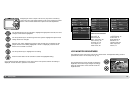
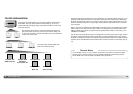
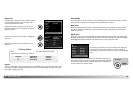
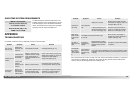
To view the recorded images in a 6-frame index, press
the left side of the zoom lever (W).
In index playback, the left/right and up/down keys of the
controller move the yellow border around the index
thumbnails. When the image is highlighted with the bor-
der, the date of recording, audio-track indicator, the lock
and printing status, e-mail copy indicator and the frame
number of the image are displayed at the bottom of the
screen. The accompanying audio track of the highlighted image can be played by pressing the cen-
ter button of the controller. When the right side of the zoom lever (T) is pressed, the highlighted
image is displayed in the single-frame playback mode.
36 Playback - basic operation 37
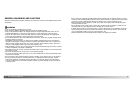
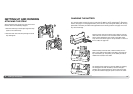
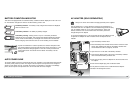
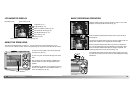
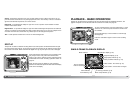
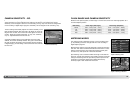
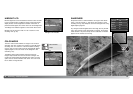
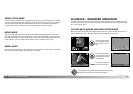
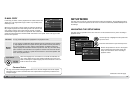
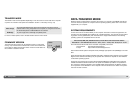
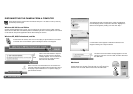
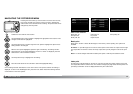
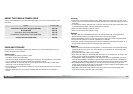
This camera can record digital video with sound. Simply
slide the recording-mode switch to the movie/audio
recording position (1). The frame counter shows the total
recording time for the next movie clip. Total recording
time varies with the movie file size, see page 59. Some
changes can be made with the movie/audio menu (p. 39).
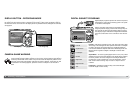
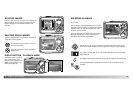
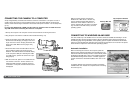
Frame the subject and press the shutter-release button
all the way down and release to begin recording (2). A
digital zoom is available during recording. Both digital
zoom and optical zoom can be turned on or off in section
1 of the movie/audio menu (p. 55, 59).
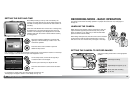
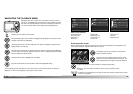
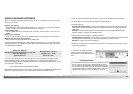
The camera continues to record until the recording time
is used or the shutter-release button is pressed again.
When recording, the frame counter displays the remain-
ing time. During the last ten seconds, the counter turns
red.
Take care not to cover the microphone while recording.
Very bright light sources in the scene may cause streaks
to appear on the image. Black areas caused by data loss
may also be apparent.
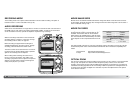
MOVIE RECORDING
Recording indicator
Image size
Microphone
Remaining time
2
1
Anti-Shake indicator (p. 47)
INDEX PLAYBACK
PLAYBACK ON THE CRADLE
RECORDING - ADVANCED OPERATION