


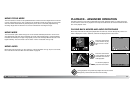
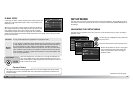

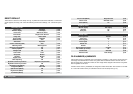

7574 Setup mode
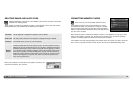
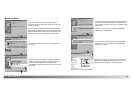
Press the center button of the controller to select the highlighted setting.
Use the left/right keys of the controller to highlight the appropriate menu tab; the menu
changes as the tabs are highlighted.
Use the up/down keys to scroll through the menu options. Highlight the option whose
setting needs to be changed.
With the menu option highlighted, press the right controller key; the settings are dis-
played with the current setting highlighted. If “Enter” is displayed, press the center
button of the controller to continue.
Use the up/down keys to highlight the new setting.
Once a setting has been selected, the cursor returns to the menu options and the new setting is
displayed. To close the menu, press the menu button.
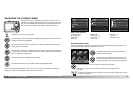
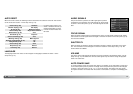
LCD brightness
Auto reset
Language
–
On
English
Reset default
File # memory
Folder name
Date/Time set
–
Off
Std. form
–
Audio signals
Focus signal
Shutter FX
Volume
Power save
1
1
1
2
3 min.
Date format MM/DD/YYYY
Video output
Transfer mode
Firmware ver.
NTSC
Data storage
–
Language, 76
LCD brightness, 75
Power save, 77
Reset default, 78
Shutter FX, 77
Transfer mode, 82
Video output, 80
Volume, 77
Audio signals, 77
Auto reset, 76
Date format, 80
Date / Time setup, 80
File # memory, 79
Firmware ver., 82
Focus signal, 77
Folder name, 80
Index to menu functions
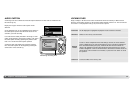
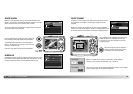
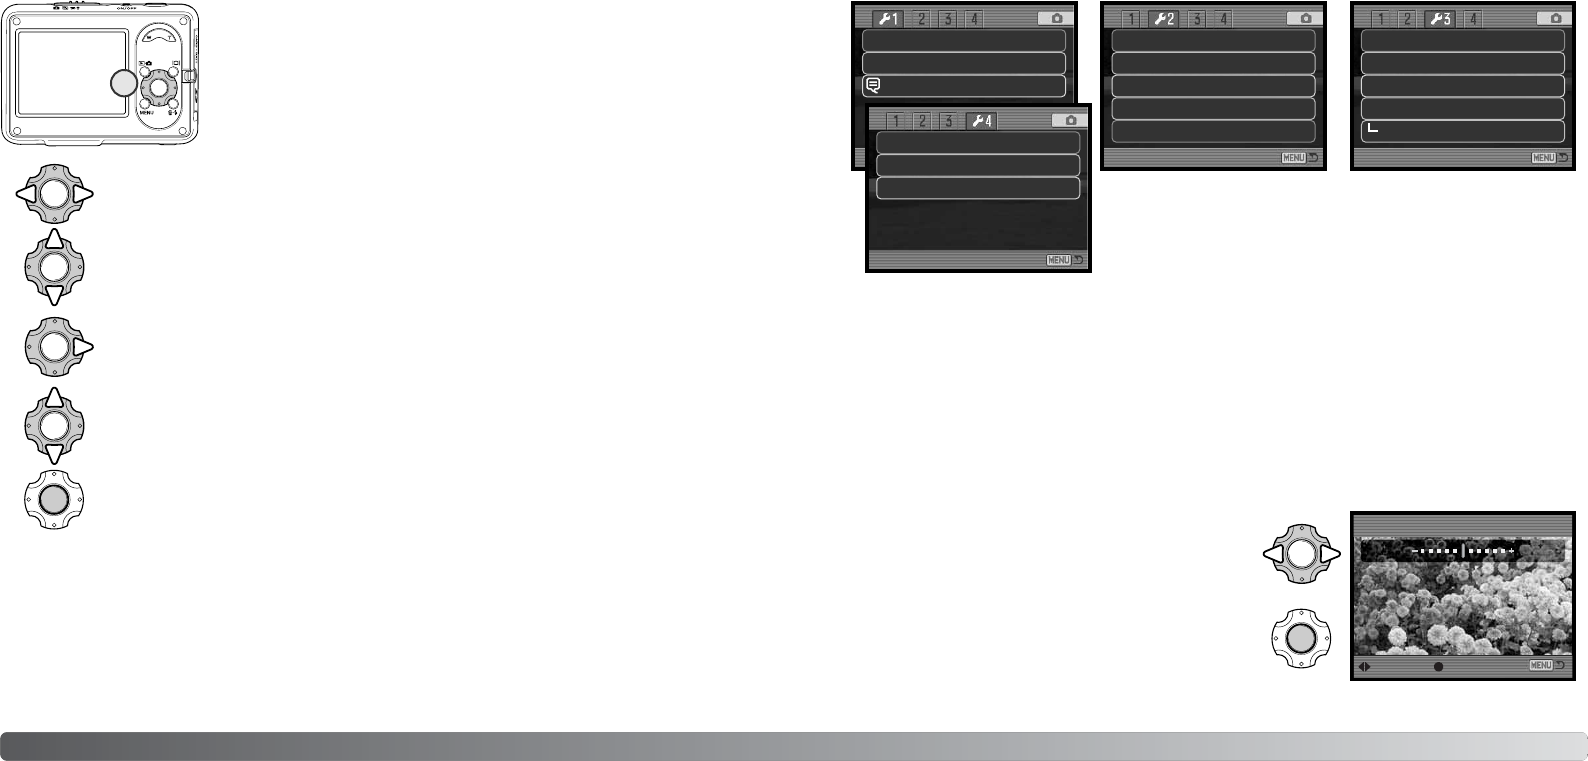
The brightness of the LCD monitor can be set in eleven levels. The brightness setting screen is
opened from section 1 of the setup menu (p. 73).
LCD MONITOR BRIGHTNESS
Low High
Use the left/right keys of the controller to adjust the
brightness, the monitor image changes accordingly.
Press the center button of the controller to set the
brightness level.
LCD brightness
:adjust
:enter
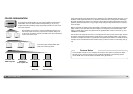
Navigating the menu is simple. The four-way keys of the controller (1)
control the cursor and change settings on the menu. Pressing the center
button of the controller selects menu options and sets adjustments.
1