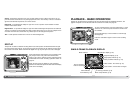
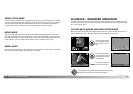
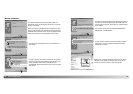
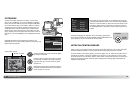
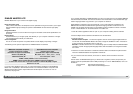
7170 Playback - advanced operation
The DPOF-set menu option in section 3 of the playback menu (p. 62) is used to create an order for
standard prints from still images on the memory card. DPOF setup has four options.
ABOUT DPOF
This camera is supported by DPOF™. The DPOF (Digital Print Order Format) allows direct printing
of still images from digital cameras. After the DPOF file is created, the memory card is simply taken
to a photofinishing service or inserted into the memory-card slot of DPOF compatible printers.
When a DPOF file is created, a misc. folder is automatically created on the memory card to store it
(p. 88).
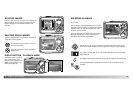
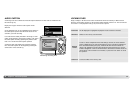
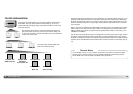
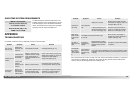
DPOF SETUP
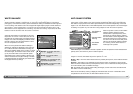
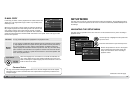
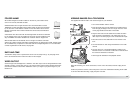
When the this-frame or all-frames setting is chosen, a screen appears requesting the number of
copies of each image; a maximum of nine copies can be ordered. Use the up/down keys of the
controller to set the required number of copies. If the all-frames setting was used to create a print
order, any additional images recorded afterwards are not included in the order.
DPOF files created with another camera are deleted when a DPOF file is created. After the pictures
have been printed, the DPOF file remains and must be canceled manually.
DPOF information is not copied with images. To create a DPOF file for copied images, repeat the
DPOF setup procedure again.
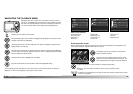
This frame
To create a DPOF file for the displayed or highlighted image.
All frames
To create a DPOF file for all images in the memory card.
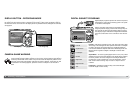
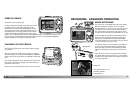
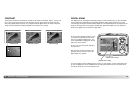
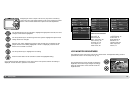
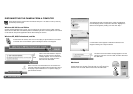
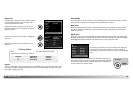
Marked
frames
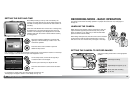
To chose a group of images to be printed or when the number of copies of each
image varies. When selected, the frame selection screen appears (p. 63). Use the
left/right keys of the controller to highlight an image to be printed. Pressing the up
key marks the image. The number indicates the number of copies that will be print-
ed. Pressing the up key increases the number of copies, pressing the down key
decreases the number. A maximum of nine copies can be ordered. To deselect an
image for printing, press the down key until the number of copies reaches zero and
the printer indicator disappears. Continue until all the images to be printed are
marked. Press the center button of the controller to create the DPOF file, or press
the menu button to cancel the operation and return to the playback menu.
Cancel all
To delete the DPOF file.
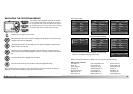
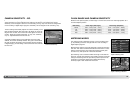
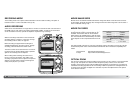
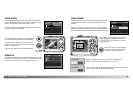
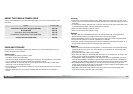
INDEX PRINT
To create an index print of all the images on the card, select “Yes” in the
index print option in section 3 of the playback menu. To cancel an index print,
simply change the setting to “No.”
If an index-print order is created, any additional images saved afterwards will
not be included in the index print. The number of images printed per sheet
differs between printers. The information printed with the thumbnails can vary.
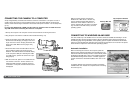
DPOF files and images can be printed directly from the camera with a DPOF compatible
PictBridge printer, see pages 94 and 99.
Camera Notes
DATE PRINT
To print the date of capture with each image with a DPOF compatible printer, turn the section 3
menu option on. To cancel date print, simply turn the option off. How and where the date is printed
varies with the printer.