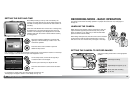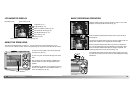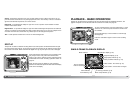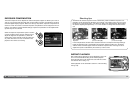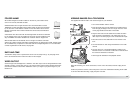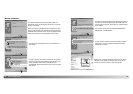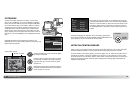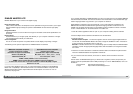
E-MAIL COPY
E-mail Copy in section 3 of the playback menu makes a 640 X 480
JPEG copy of an original still image so that it may be easily trans-
mitted by e-mail.
When the copy function is used, a folder is created for the files (p.
88); images are placed in a folder ending in EM. The same E-mail
Copy folder is used to store copies until the number of images
exceed 9,999. Images with audio are copied with their audio files.
Copies of locked images are unlocked. DPOF information is not copied. The E-mail copy function
has two menu options:
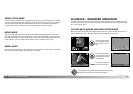
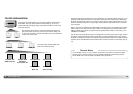
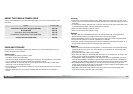
7372 Playback - advanced operation
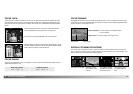
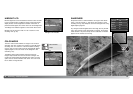
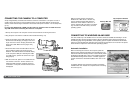
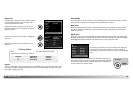
This frame
To copy the file displayed or highlighted in the playback mode.
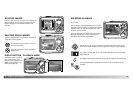
Marked
frames
To copy single or multiple files. When selected, the frame-selection screen appears
(p. 63); highlight the file to be copied with the yellow border and then press the up
key of the controller to mark it with the check indicator. To deselect a file to be
copied, highlight the selected thumbnail and press the down key; the check disap-
pears. Continue until all the files to be copied are marked. Press the center button
of the controller to continue, or press the menu button to cancel the operation and
return to the playback menu.
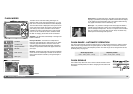
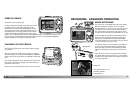
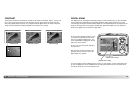
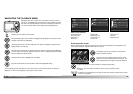
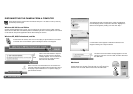
Copied to 102KM_EM.
OK
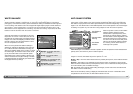
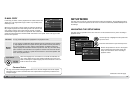
When the image(s) to be converted to an e-mail file are selected, the
copy routine begins and a screen appears indicating the name of the
folder containing the copied images; press the center button of the con-
troller to return to the menu.
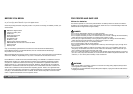
The copy-unsuccessful message appears when one or all of the images could not be copied.
Check the memory card to see which files were copied and then repeat the procedure for the
uncopied images.
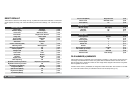
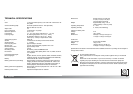
Camera Notes
Date print Off
Index print
E-mail copy
–
–
DPOF set –
Image s
Quality
White b
Anti-sh
Drive mode
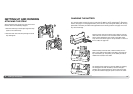
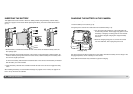
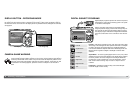
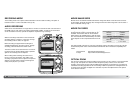
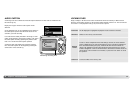
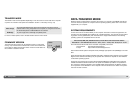
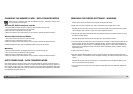
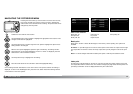
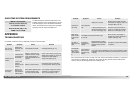
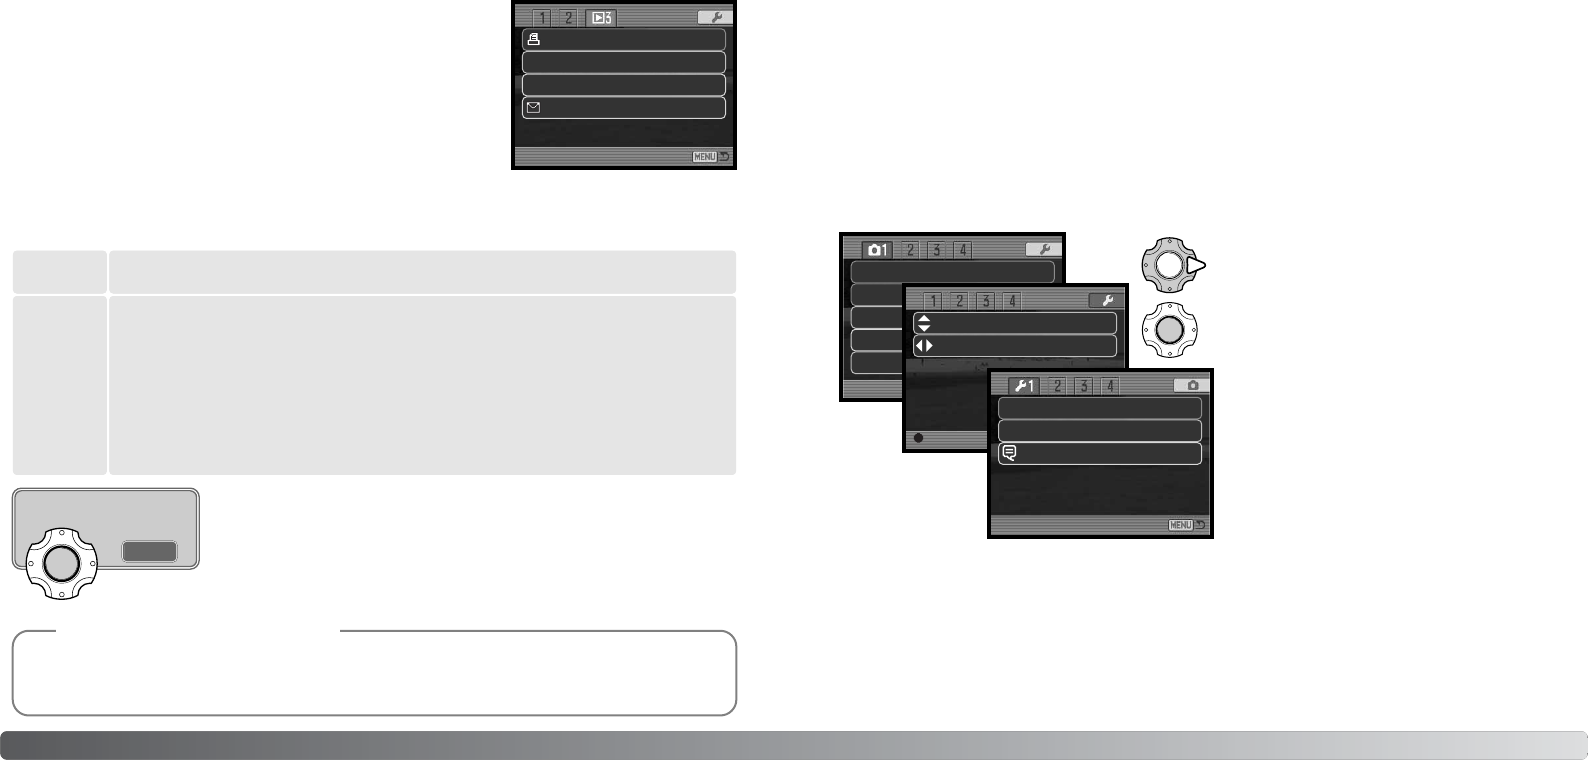
NAVIGATING THE SETUP MENU
SETUP MODE
The setup menu is opened from the other menus. It can be accessed from any of the recording or
playback menus.
The setup menu is used to control the camera’s functions and operation. The navigating the setup
menu section covers the operation of the menu. The section is followed by detailed descriptions of
the settings.
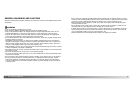
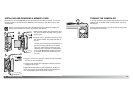
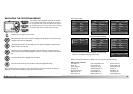
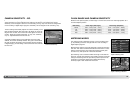
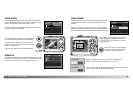
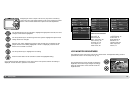
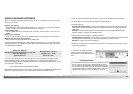
Use the right key to highlight the setup tab at the
top of the menu.
Press the center button to open the setup menu.
Reverse the procedure to return to the original
menu. Pressing the menu button closes the
setup menu and returns to the recording or
playback modes.
Exp. compKey func.
OffKey func.
Enter
Single
Continued on the next page
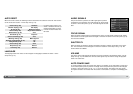
LCD brightness
Auto reset
Language
–
On
English