19
Introduction—First Steps
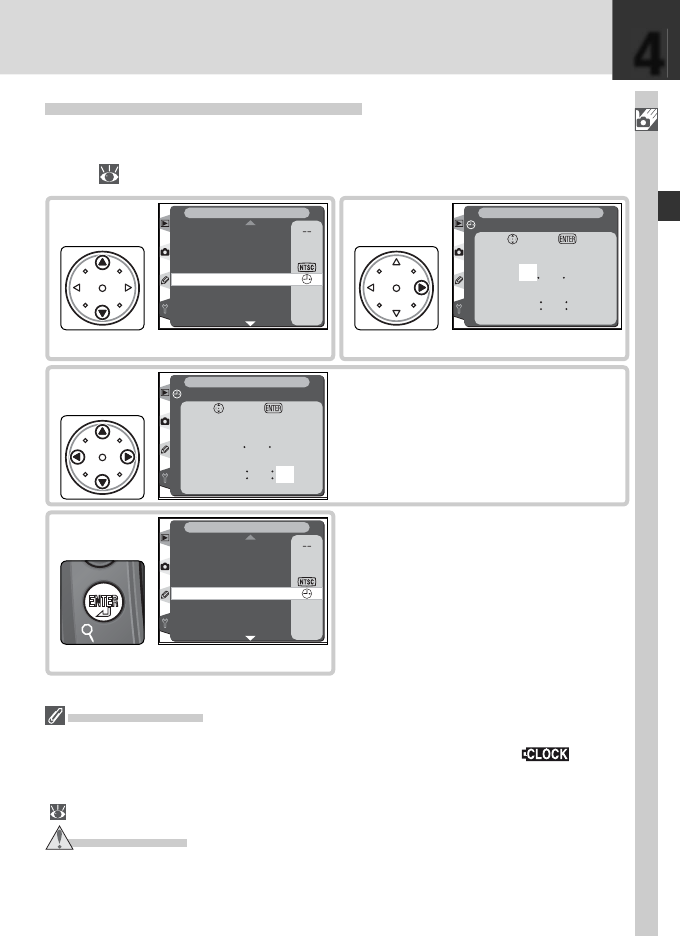
Step 4—Set the Time and Date
The time and date of recording is included with all pictures. To ensure that
your pictures are stamped with the correct time and date, display the setup
menu ( 18), then set the time and date as described below.
The Clock Battery
The clock-calendar is powered by a separate, non-rechargeable CR1616 lithium bat-
tery with a life of about four years. When this battery is exhausted, a icon will
be displayed in the top control panel while the exposure meters are on. For infor-
mation on replacing the clock battery, see “Technical Notes: Caring for Your Camera”
( 239).
CAUTION
Use only CR1616 lithium batteries. Using another type of battery could cause an ex-
plosion. Dispose of used batteries as directed.
The camera clock is less accurate than
most watches and household clocks.
Check the clock regularly against
more accurate time pieces and reset
as necessary.
Highlight Date.
OFF
OFF
ON
0
En
Format
LCD brightness
Mirror lock-up
Video mode
Date
Language
Image comment
SET UP
Auto image rotation
4
.1
Display DATE menu.
Date
Set
OK
00
00
00
00
00
20
03
YMD
HM
S
SET UP
4
.2
Edit Year, Month, Day, Hour, Minute,
and Second. Press multi selector left
or right to select item, up or down to
change.
08
30
42
08
13
2003
Date
Set
OK
YMD
HMS
SET UP
4
.3
Return to SET UP menu.
OFF
OFF
ON
0
En
Format
LCD brightness
Mirror lock-up
Video mode
Date
Language
Image comment
SET UP
Auto image rotation
4
.4
4


