69
3
Shooting Consecutively
with Different White
Balance (WHITE BAL-
ANCE BRACKET)
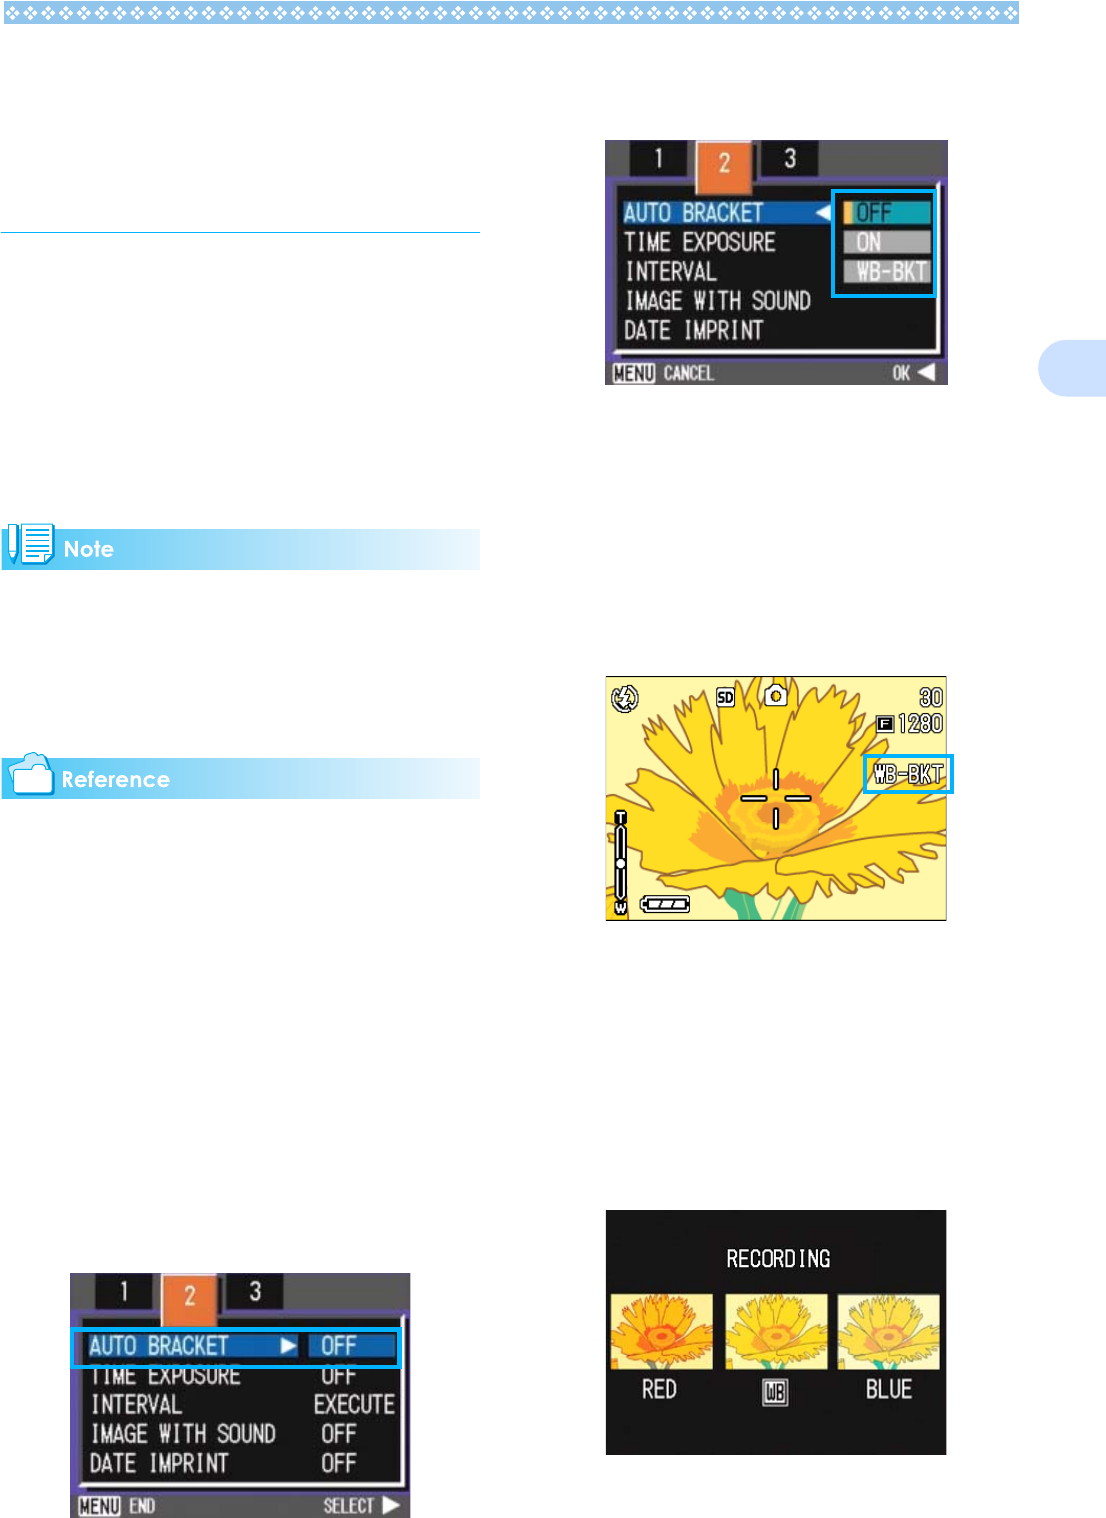
Three images are automatically recorded - a
reddish image, a bluish image, and an image
of the current white balance.
The first image is reddish, the second one is
equal to the current setting, and the third one
is bluish.
This is useful if the appropriate white balance
cannot be judged.
• By default, your camera is set to OFF.
• This function is not available for Multi-Shot (P.43)
shooting and Auto Bracket shooting (P.77).
• Flash cannot be used.
• Time Exposure (P.78) is set to OFF.
For how to change the white balance, see P.62.
To shoot with White Balance Bracket, follow
the steps below.
1. Turn the mode dial to 5
55
5 (Shoot-
ing Mode) or A/M (Aperture Pri-
ority/Manual Exposure Mode).
2. Press the M
MM
M button.
The Shooting menu appears.
3. Press the #$
#$#$
#$ buttons to switch
between displays as required.
4. Select [AUTO BRACKET] and
press the O
OO
O or $
$$
$ button.
5. Press the !"
!"!"
!" buttons to select
[WB-BKT].
6. Press the O
OO
O or #
##
# button.
White Balance Bracket settings are com-
plete.
7. If you pressed the #
##
# button,
press also the M
MM
M button.
The Shooting menu disappears and the
screen displays the set values.
8. Press the shutter button.
Three images (reddish, bluish, and equal
to the current white balance) are auto-
matically recorded.
The three still images displayed on the
LCD monitor immediately after shooting
are reddish, equal to the current setting,
and bluish from left.
This setting will be used for shooting until
you turn the power off.


