


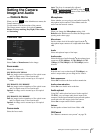
Administrating the Camera
Configuring the System — System Menu
35
North: Change the direction of the camera and click
Set. This will set that direction as north. Click Call
to change the direction of the camera to the direction
set as north.
Area title
Set the display name for the area the camera is facing.
The maximum number of areas that you can register is
64.
1
Enter the string to display.
2
Put a check in the checkbox.
3
Move the camera to the specified lower left area and
click Lower left.
4
Move the camera to the specified upper right area
and click Upper right.
5
Click Set.
OK/Cancel
See “Buttons common to every menu” on page 29.
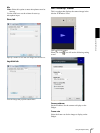
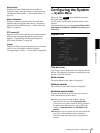
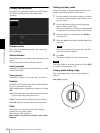
Installation Tab
You can perform settings related to installation.
Display sample:
Video output mode
Configure or confirm the signal output settings from the
analog image output terminal of the camera.
SNC-RH124, SNC-RH164
You can change the signal setting for NTSC or PAL.
Select either of NTSC + IP or PAL + IP. No analog
image outputs when IP only is selected.
SNC-RS46N/P, SNC-RS44N/P,
SNC-RS86N/P, SNC-RS84N/P
Displays either NTSC or PAL.
Line lock (SNC-RS46N/P, SNC-RS44N/P,
SNC-RS86N/P, SNC-RS84N/P only)
Select either of Internal or External.
Phase adjustment (SNC-RS46N/P, SNC-RS44N/
P, SNC-RS86N/P, SNC-RS84N/P only)
Enter a value. (0 to 360)
Note
Phase adjustment is available when the Line lock setting
is External.
OK/Cancel
See “Buttons common to every menu” on page 29.
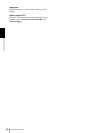
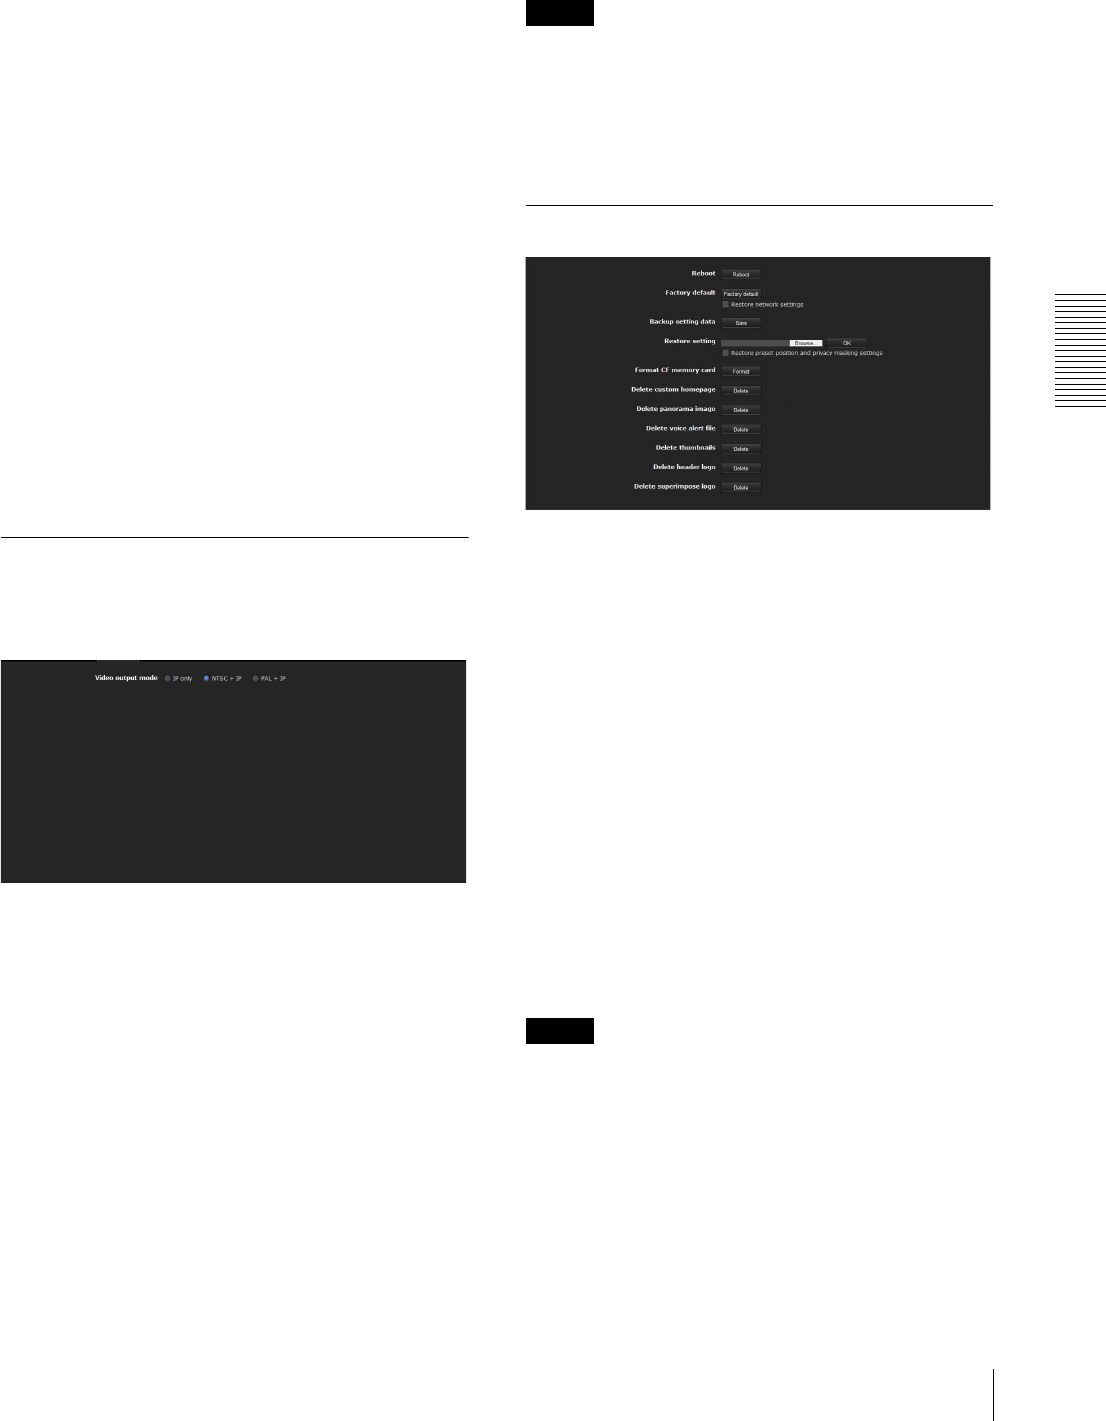
Initialize Tab
Reboot
Reboots the camera.
Click Reboot, and the message “This Camera will be
rebooted. Are you sure?” appears. Click OK to reboot
the camera. It takes about two minutes to restart.
Factory default
Resets the camera to the factory settings.
Restore network setting
When this item is checked, only the current network
settings will be retained after reset.
Click Factory default, and the message “Setup data will
be initialized. Are you sure?” appears. When you click
OK, the network indicator on the camera starts to blink.
After adjustments of the default settings have finished,
the camera reboots automatically. Do not turn off the
camera until the camera reboots.
Tip
The camera can also be reset to the factory settings by
turning on the power of this unit while pressing the reset
button on the camera. For details, see the supplied
Installation Manual.
Backup setting data
Saves the setting data of the camera in a file.
Click Save, and follow the instructions on the Web
browser to specify the folder and save the setting data of