


122
Transferring Images
To transfer images with transfer order, you need to set the transfer orders ( 124).
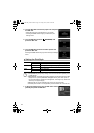
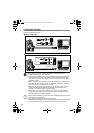
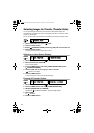
1. Turn the SET dial to select a setting option.
2. Press the button.
[ ALL IMAGES] [ NEW IMAGES] [ TRANSFER
ORDERS]:
The images are transferred to the computer and displayed in
the screen.
The camcorder displays the transfer menu when transfer is complete.
To cancel transfer, turn the SET dial to select [CANCEL] and press the SET dial, or
press the MENU button.
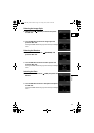
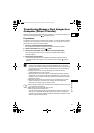
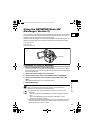
3. Select the image you wish to transfer with the CARD+/– button.
4. Press the button.
• [ SELECT & TRANSFER]: The selected image is transferred to the computer and
displayed in the screen.
To continue transferring, select another image with the CARD+/– button.
• [ WALLPAPER]: The selected image is transferred to the computer and displayed
on the desktop.
• Pressing the MENU button brings you back to the transfer menu.
You can press the SET dial in place of the button. With [ ALL
IMAGES], [ NEW IMAGES] or [ TRANSFER ORDERS], a confirmation
message appears. Turn the SET dial to select [OK] and press the SET dial.
When transferring with the button, the camcorder retains the transfer
setting even if you change the position of the POWER switch.
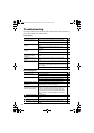
ALL IMAGES... Transfers all images to the computer.
NEW IMAGES... Transfers only those images that have not yet been
transferred to the computer.
TRANSFER ORDERS... Transfers images with transfer orders to the computer.
SELECT & TRANSFER... Allows you to select an image and transfers the selected
image to the computer.
WALLPAPER... Allows you to select a still image and transfers the
selected image to the computer as wallpaper.
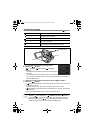
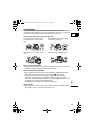
CARD + / – button
(print/share) button
SET dial
OPTURA 600_NTSC-E.book Page 122 Friday, June 3, 2005 9:27 AM