


120
1
2
3
4
5
6
7
8
9
Cover
PreliminaryNotesand
LegalInformation
Contents:
BasicOperations
AdvancedGuide
CameraBasics
SmartAuto
Mode
OtherShooting
Modes
PMode
Wi-FiFunctions
SettingMenu
Accessories
Appendix
Index
BasicGuide
PlaybackMode
Cover
AdvancedGuide
8
Accessories
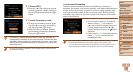
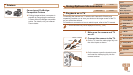
3 TurntheTVonandswitchto
videoinput.
Switch the TV input to the video input you
connected the cable to in step 2.
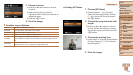
4 Turnthecameraon.
Press the <1> button to turn the camera
on.
Images from the camera are now
displayed on the TV. (Nothing is
displayed on the camera screen.)
When nished, turn off the camera and
TV before disconnecting the cable.
•Correct display is not possible unless the camera video output
format (NTSC or PAL) matches the TV format. To change the
video output format, press the <n> button and choose [Video
System] on the [3] tab.
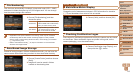
• When the camera and TV are connected, you can also shoot while previewing
shots on the larger screen of the TV. To shoot, follow the same steps as when
using the camera screen.
However, AF-Point Zoom (=
45) and Stitch Assist (=
57) are not
available.
Still Images Movies
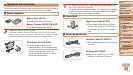
Powering the Camera with Household Power
Powering the camera with AC Adapter Kit ACK-DC90 (sold separately)
eliminates the need to monitor the remaining battery level.
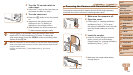
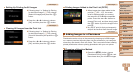
1 Makesurethecameraisoff.
2 Openthecover.
Follow step 2 in “Inserting the Battery
and Memory Card” (=
12) to open
the memory card/battery cover, and then
open the coupler cable port cover as
shown.
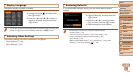
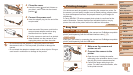
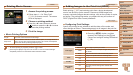
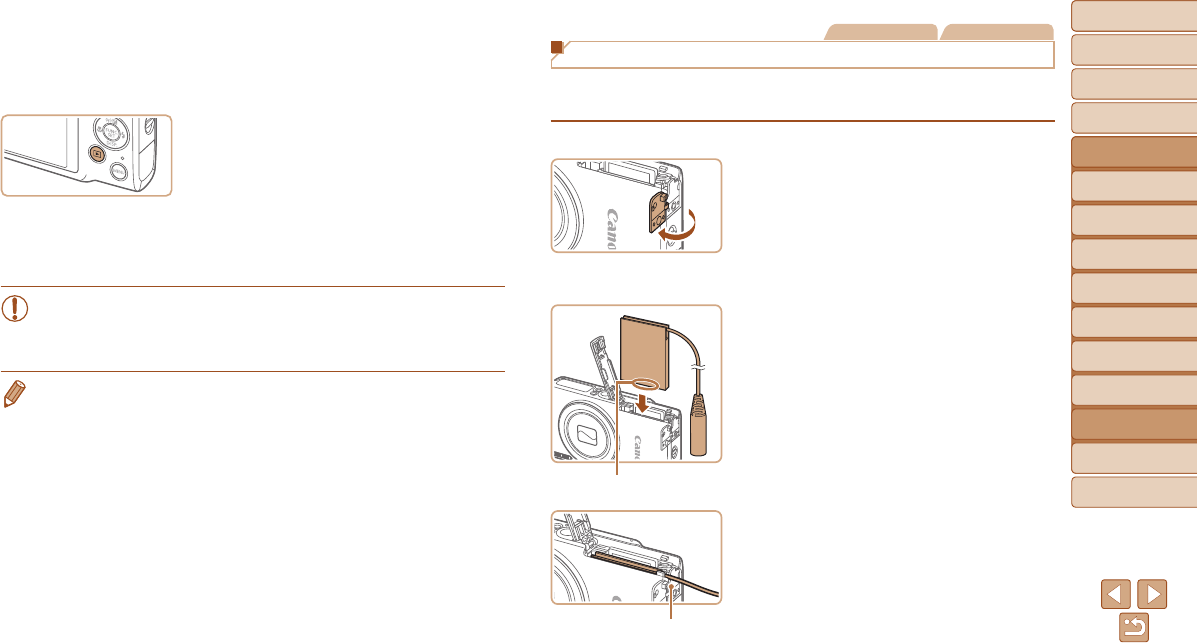
3 Insertthecoupler.
Insert the coupler facing the direction
shown, just as you would a battery
(following step 3 in “Inserting the Battery
and Memory Card” (=
12)).
Make sure the coupler cable passes
through the port.
Terminals
Coupler Cable Port