


21
1
2
3
4
5
6
7
8
9
Cover
PreliminaryNotesand
LegalInformation
Contents:
BasicOperations
AdvancedGuide
CameraBasics
SmartAuto
Mode
OtherShooting
Modes
PMode
Wi-FiFunctions
SettingMenu
Accessories
Appendix
Index
BasicGuide
PlaybackMode
Saving Images to a Computer
Windows 7 and Mac OS X 10.6 are used here for the sake of illustration.
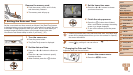
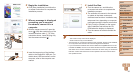
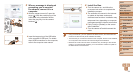
1 Connectthecameratothe
computer.
Follow step 3 in “Installing the Software”
(=
20) to connect the camera to a
computer.
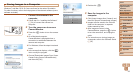
2 Turnthecameraontoaccess
CameraWindow.
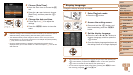
Press the <
1
> button to turn the camera on.
On a Macintosh computer, CameraWindow is
displayed when a connection is established
between the camera and computer.
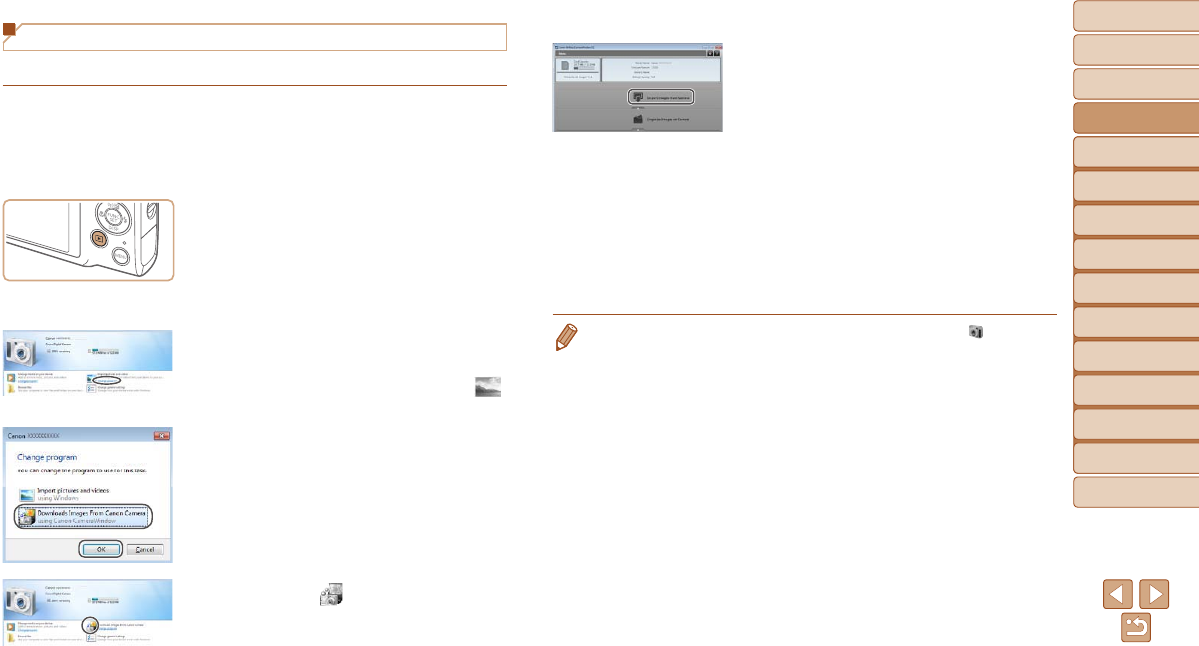
For Windows, follow the steps introduced
below.
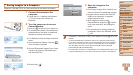
In the screen that displays, click the [ ]
link to modify the program.
Choose [Downloads Images From Canon
Camera using Canon CameraWindow]
and then click [OK].
Double click [ ].
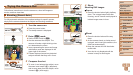
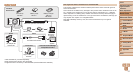
3 Savetheimagestothe
computer.
Click [Import Images from Camera], and
then click [Import Untransferred Images].
Images are now saved to the Pictures
folder on the computer, in separate
folders named by date.
After images are saved, close
CameraWindow, press the <1> button
to turn the camera off, and unplug the
cable.
For instructions on viewing images on
a computer, refer to the Software Guide
(=
18).
• In Windows 7, if the screen in step 2 is not displayed, click the [ ] icon in the
taskbar.
• To start CameraWindow in Windows Vista or XP, click [Downloads Images
From Canon Camera using Canon CameraWindow] on the screen displayed
when you turn the camera on in step 2. If CameraWindow is not displayed,
click the [Start] menu and choose [All Programs]
►
[Canon Utilities]
►
[CameraWindow]
►
[CameraWindow].
• On a Macintosh computer, if CameraWindow is not displayed after step 2, click
the [CameraWindow] icon in the Dock (the bar at the bottom of the desktop).
CameraWindow