


98
1
2
3
4
5
6
7
8
9
Cover
PreliminaryNotesand
LegalInformation
Contents:
BasicOperations
AdvancedGuide
CameraBasics
SmartAuto
Mode
OtherShooting
Modes
PMode
Wi-FiFunctions
SettingMenu
Accessories
Appendix
Index
BasicGuide
PlaybackMode
Cover
AdvancedGuide
6
Wi-FiFunctions
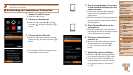
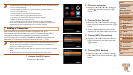
• After you have accessed the Wi-Fi menu once, you can access it again by
pressing the <o> button. The recent target device is listed rst, so you can
easily connect again by pressing the <o><p> buttons to choose it. To add
a new device, display the device selection screen by pressing the <q><r>
buttons, and then congure the setting.
If you prefer not to display recent target devices, press the <n> button,
and on the [3] tab, choose [Wi-Fi Settings] > [Target History] > [Off].
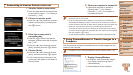
• To add multiple cameras, repeat the above procedures starting from step 1.
• Once a camera is added, the camera nickname will be displayed on the screen
in step 3. To connect to a camera again, simply choose the camera nickname
from the list.
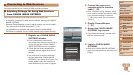
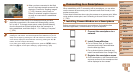
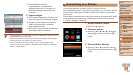
Connecting to a Computer
Congure computer settings for the connection, add the computer as a
connection destination, and transfer images to the computer wirelessly
using the software CameraWindow as follows.
• When connected to a computer, the camera is used to establish the
connection and then the computer (software CameraWindow) is used to
transfer images.
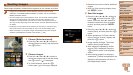
Preparing to Register a Computer
Prepare to register a computer.
CheckingYourComputerEnvironment
For computer environments that allow Wi-Fi connection with a camera, refer
to “System Requirements” (=
19).
Additionally, the software CameraWindow must be installed (=
19).
•Windows 7 Starter and Home Basic editions are not supported.
•Windows 7 N (European version) and KN (South Korean version)
require a separate download and installation of Windows Media
Feature Pack.
For further details, see the following website.
http://go.microsoft.com/fwlink/?LinkId=159730