


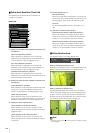

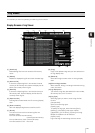
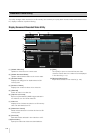
Log Viewer
115
6
Admin Tools
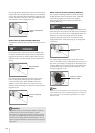
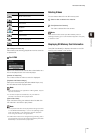
Saving a Log to a File/Opening a Saved Log
How to Save
Click [Save to local file] and save using the [Save As]
dialog box.
How to View
Click [Open local file] and select a log file using the
[Open] dialog box.
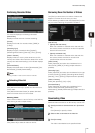
Copying/Searching Logs
How to Copy
Click to select the log you want to copy, and then click
[Copy].
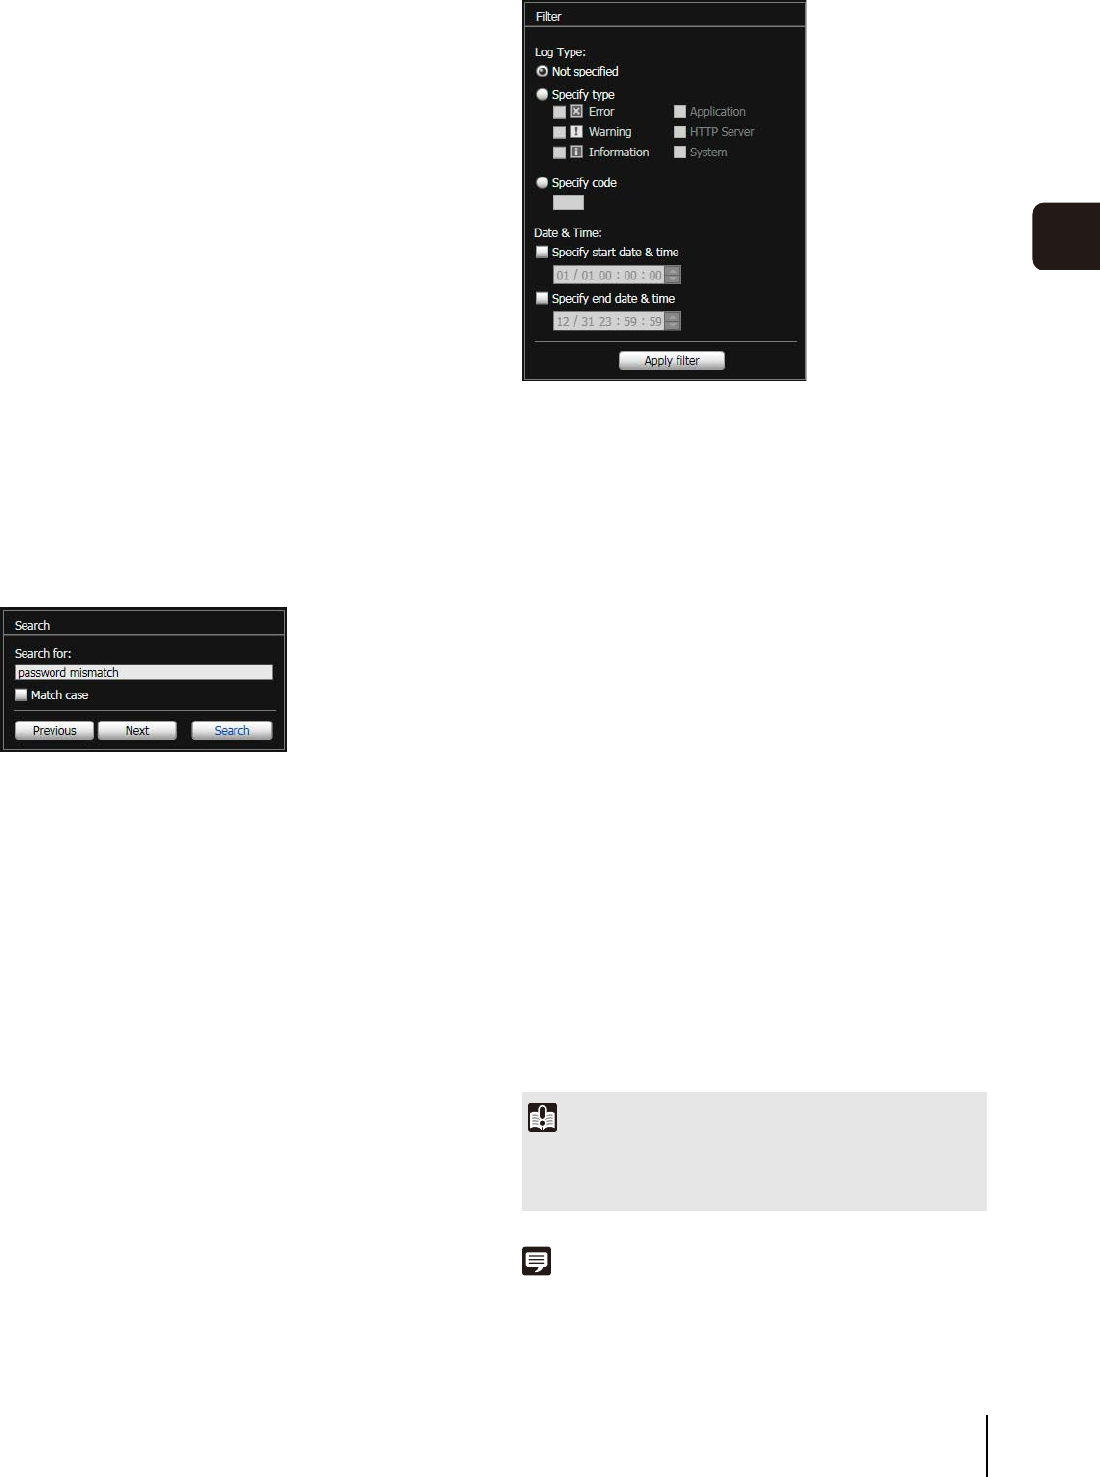
How to Search
Enter the character string for which you want to search in
[Search for] and click [Search].
If the searched log is found, it is shown as selected.
Click [Previous] or [Next] to search the log above or
below. Lines of logs found are shown as selected.
Showing All Logs
Select the [Show all logs] checkbox.
When selected, even logs without a log code are shown if
[Not specified] is selected for the log type [Filter].
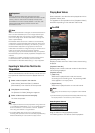
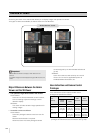
Showing Filtered Logs
You can filter logs by type, code and date & time to show
only the necessary information.
Set the following conditions and click [Apply filter] to show
only the logs matching the specified conditions.
[Log Type]
Select the [Specify type] or [Specify code] checkbox to
filter logs by type. If you do not want to filter logs by type,
select [Not specified].
• Specify type
Specify the log level
Select [Error], [Warning] or [Information] for the level of
logs to be shown.
Specify log output module
Select [Application], [HTTP Server] or [System] for the
output source module whose logs will be displayed.
• Specify code
Specify the log code. Only logs whose code contains
the entered characters are shown. If “A0” is entered,
for example, logs starting with “A0” are displayed.
[Date & Time]
•[Specify start date & time]
When this checkbox is selected and a date and time
are entered, logs generated on or after the specified
date and time are shown.
•[Specify end date & time]
When this checkbox is selected and a date and time
are entered, logs generated on or before the specified
date and time are shown.
Note
[Application], [HTTP Server], and [System] support the List of
Log Messages (p. 151).
Important
Logs saved in the camera's internal memory are cleared when
you perform [Maintenance] > [Restore Settings] and [Reboot],
or press the reset switch on the camera.