140
Night Mode. Can only be set when [Focus] is set to
[Manual] (p. 137).
Focusing positions will vary under different light
sources, such as fluorescent or infrared, since the
wavelengths of these light sources vary. One of the
following methods, (5) to (7), can be used to adjust
the focusing position to allow for these differences
when switching Day/Night Mode.
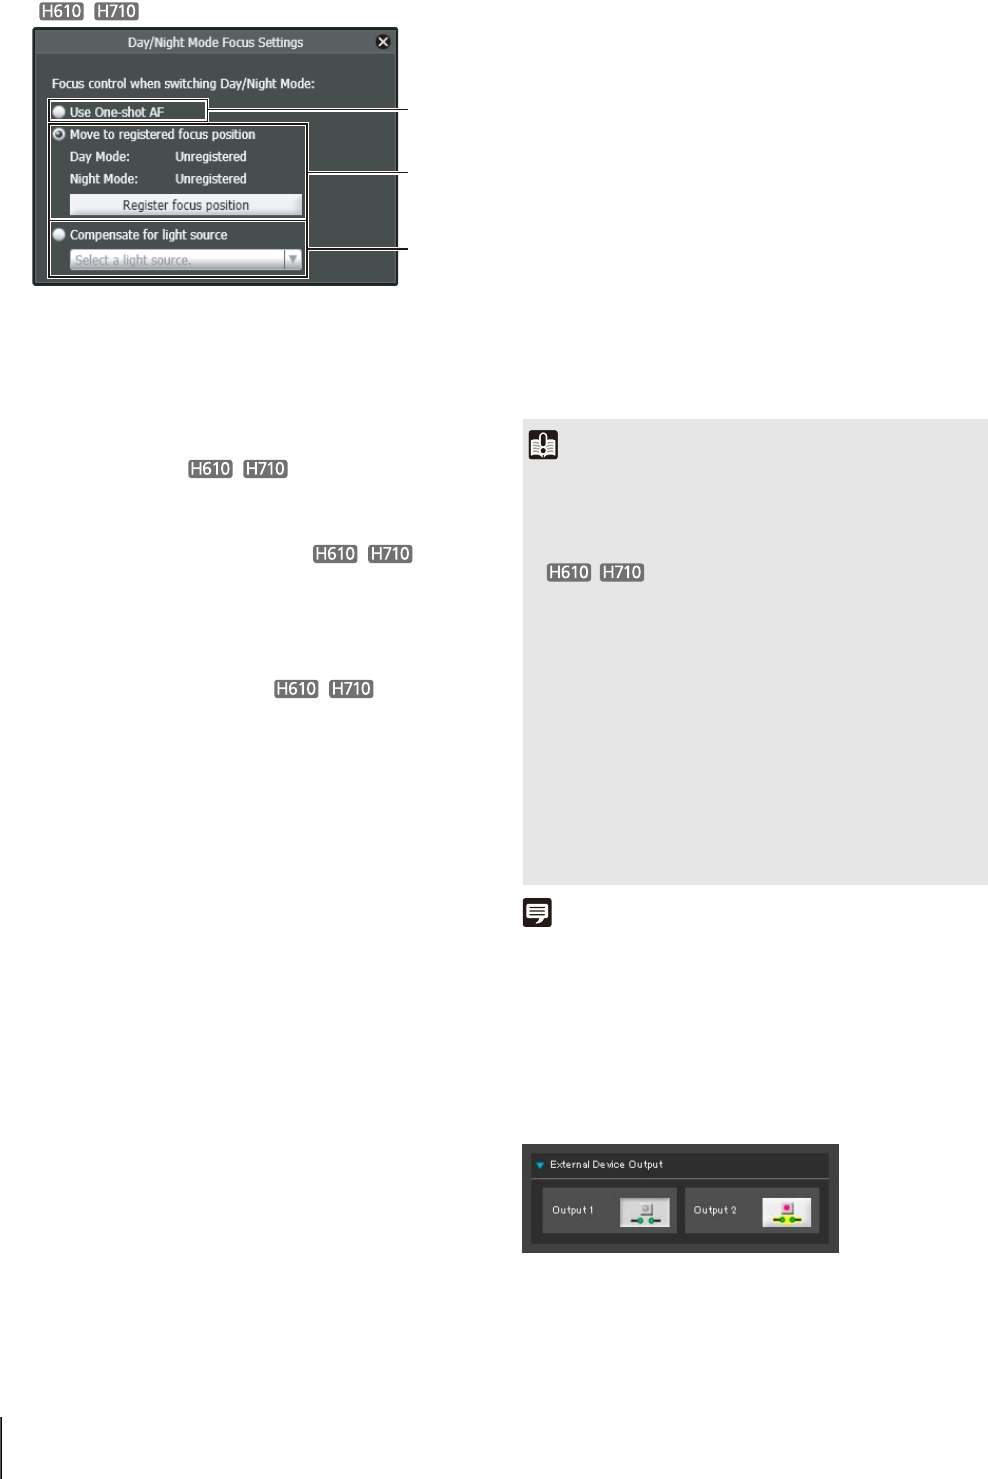
(5) [Use One-shot AF]
This is the factory default setting. Select this option to
use One-shot AF when switching Day/Night Mode.
(6) [Move to registered focus position]
When switching Day/Night Mode, the focus positions
preregistered for Day Mode and Night Mode in
[Register focus position] will be used. For details, see
“Registering the Focus Positions” (p. 140).
(7) [Compensate for light source]
Select this option to adjust the focus postion to suit the
lighting being used when switching to Night Mode.
[Fluorescent]
Select this option to capture video under
fluorescent, LED, sodium or mercury lighting.
[Halogen Lamp]
Select this option to capture video under halogen or
incandescent lighting.
[Infrared (740nm)]
Select this option to capture video under infrared
(740 nm wavelength) lighting.
[Infrared (850nm)]
Select this option to capture video under infrared
(850 nm wavelength) lighting.
[Infrared (940nm)]
Select this option to capture video under infrared
(940 nm wavelength) lighting.
Registering the Focus Positions
The focus positions that are used when switching Day/
Night Mode are registered as follows:
[Registered] will appear next to the mode, [Day Mode]
or [Night Mode], picked in step 1.
[Clear the registered focus position?] will appear when
selecting (5), even if only one focus position has been
registered for either [Day Mode] or [Night Mode].
When switching to (5), and then back to [Move to
registered focus position] mode, selecting [No] will
preserve the registered focus position. Selecting [Yes] will
clear the registered focus position.
Note
Refer to the notes on p. 52 for focus ranges when day/night
(p. 53, p. 139) is enabled.
Selecting the External Device Output
You can control external device output and display the
current output status using an icon. Output can be
activated and deactivated by clicking this icon.
Example:
Output 1: inactive
Output 2: active
1
Select (2) [Day Mode] or (3) [Night Mode] in [Day/
Night] (p. 139).
(5)
(6)
(7)
2
Under the lighting conditions selected in step 1, adjust
the focus position as required while watching the
video.
3
Click [Register focus position].
4
Select the remaining mode in step 1, and repeat steps
2-3.
Important
• If the viewer is exited in [Day Mode] or [Night Mode], auto
day/night stays disabled even if [Auto] is set in the setting
page. To set auto day/night to enable, be sure to exit the
viewer after setting [Auto].
• While making settings with the [Day/Night Mode Focus
Settings] panel, it is not possible to make settings using
Admin Tools on another computer.
• If [Use One-shot AF] is activated due to switching between
Day/Night Mode, the camera may not be able to focus on a
target subject using One-shot AF if another subject passes in
front of the target at that time.
• If Night Mode will be used under infrared lighting, turn on the
lighting before switching to Night Mode.
• Even if you use [Day/Night Mode Focus Settings], focus may
not be maintained in Night Mode if the light source changes
(ex. infrared lighting to sunlight).


