


56
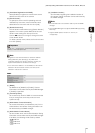
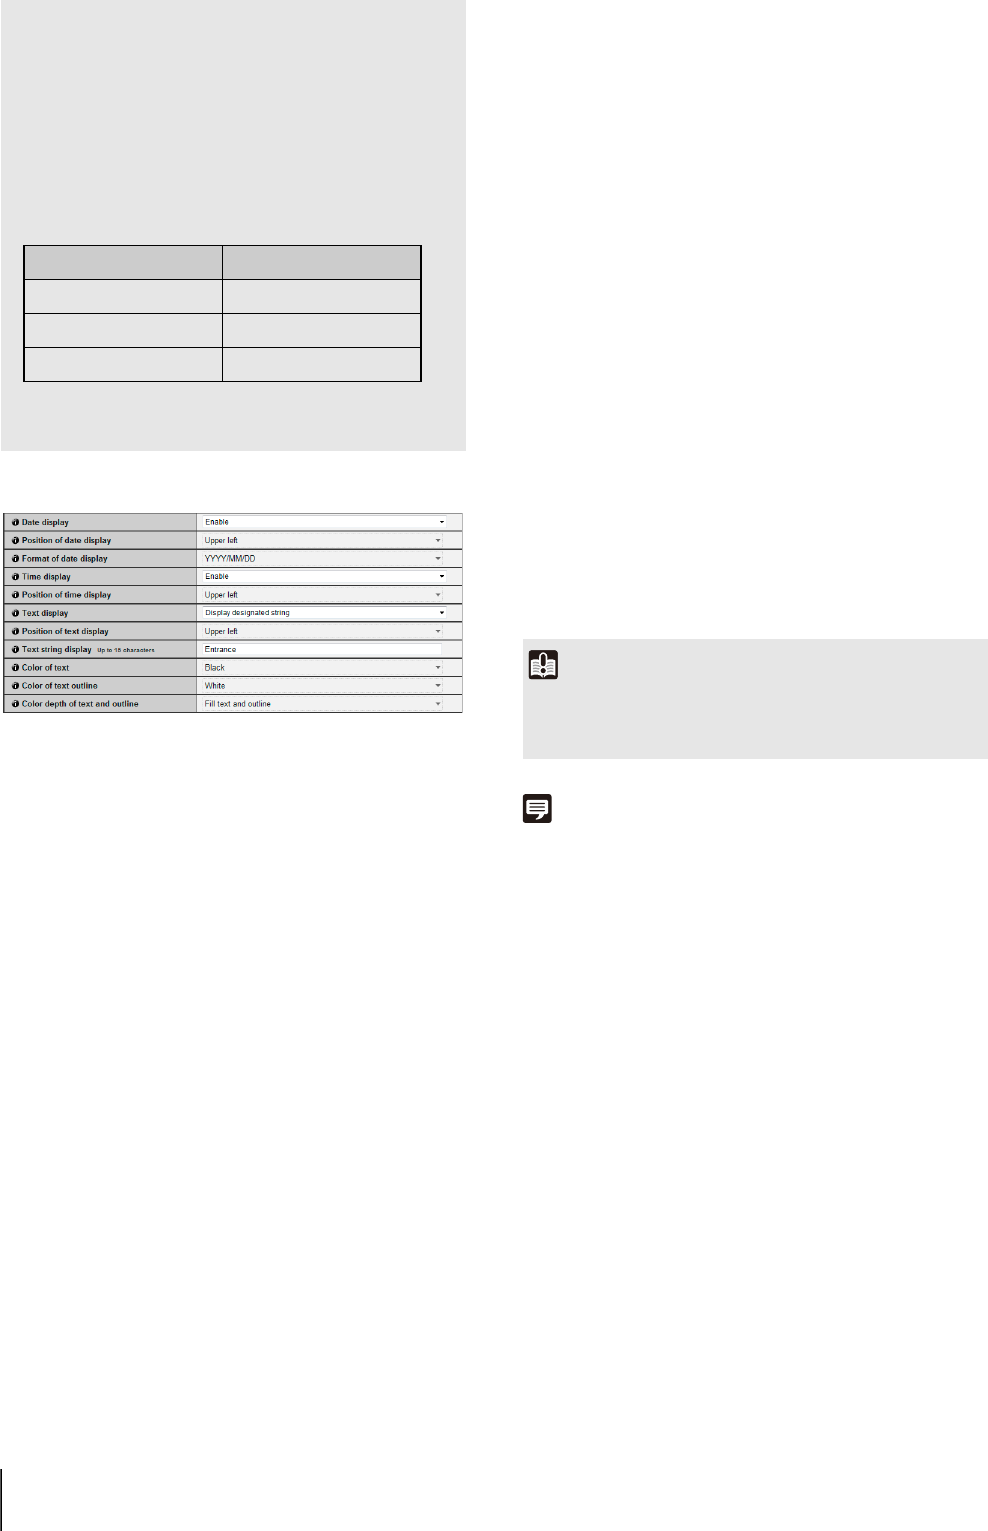
On-screen display
(1) [Date display]
Select whether to enable date display over images. If
[Enable] is selected, date information will be
displayed over images.
(2) [Position of date display]
Select [Upper left], [Upper right], [Lower left] or
[Lower right] for the position of date display
information.
(3) [Format of date display]
Select [YYYY/MM/DD], [DD/MM/YYYY] or [MM/DD/
YYYY] for the format of the date display.
(4) [Time display]
Select whether to enable time display over images. If
[Enable] is selected, display time information will be
displayed over images.
(5) [Position of time display]
Select [Upper left], [Upper right], [Lower left] or
[Lower right] for the position of time display
information.
(6) [Text display]
Select [Display nothing], [Display designated string]
or [Display camera name] for the text string to display
over images.
If [Display designated string] is selected, the [Text
string display] set in (8) will be displayed.
If [Display camera name] is selected, the text string
set in [Camera Name (alphanumeric characters)]
under [Camera] will be shown (p. 51).
(7) [Position of text display]
Select the position of text display from [Upper left],
[Upper right], [Lower left] or [Lower right].
(8) [Text string display]
If [Display designated string] is selected in (6) [Text
display], set a text string up to 15 alphanumeric
characters to be displayed over images.
(9) [Color of text]
Select [Black], [Blue], [Cyan], [Green], [Yellow],
[Red], [Magenta] or [White] for the color of text to be
displayed over the image.
(10)[Color of text outline]
Select [Black], [Blue], [Cyan], [Green], [Yellow],
[Red], [Magenta] or [White] for the color of text
outline.
(11)[Color depth of text and outline]
Select [Fill text and outline], [Make text only
transparent], [Make text only translucent] or [Make
text and outline translucent] for the color depth of text
and outline to be displayed over the image.
Note
• The on-screen time display may not correspond with camera
time by several seconds (p. 50).
• Depending on video quality settings, on-screen display may
become difficult to decipher. Set after confirming appearance
on actual images.
• Block noise may become noticeable if a large video size and
low target bit rate are set.
• The data size may increase depending on the type or
movement of the subject. If the frame rate remains low or
other undesirable conditions continue for a prolonged
period, lower the video size or quality setting.
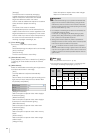
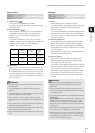
• If you are using RM-Lite, it is necessary for you to set [I
Frame Interval (sec)] as shown below depending on the
value selected for [Frame Rate (fps)] in [H.264].
• Note that if you are using included RM-Lite, the hard disk
usage will also be affected during recording.
[Frame Rate (fps)] [I Frame Interval (sec)]
30 fps 0.5 sec.
15 fps 1 sec.
10 fps 1.5 sec.
Important
The on-screen time display is not suitable for usage where high
reliability is required. Use as reference information only where
utmost and constant reliability is required for surveillance.