[Upload] Setting HTTP/FTP Upload and E-mail Notification
59
5
Setting Page
[Subdirectory Name to Create], [File Name to
Create]
If file naming is set to [User Setting], enter the
subdirectory name to be created as well as the
name of the created file (using up to 127
characters). Parameters can be specified in the
entry with the “%” character (p. 147).
(7) [FTP Upload Test]
Clicking [Exec] initiates an upload test based on the
settings currently entered. Only one JPEG image is
uploaded. It is not necessary to click [Apply].
For a password, first click [Exec], then [Apply] the
password.
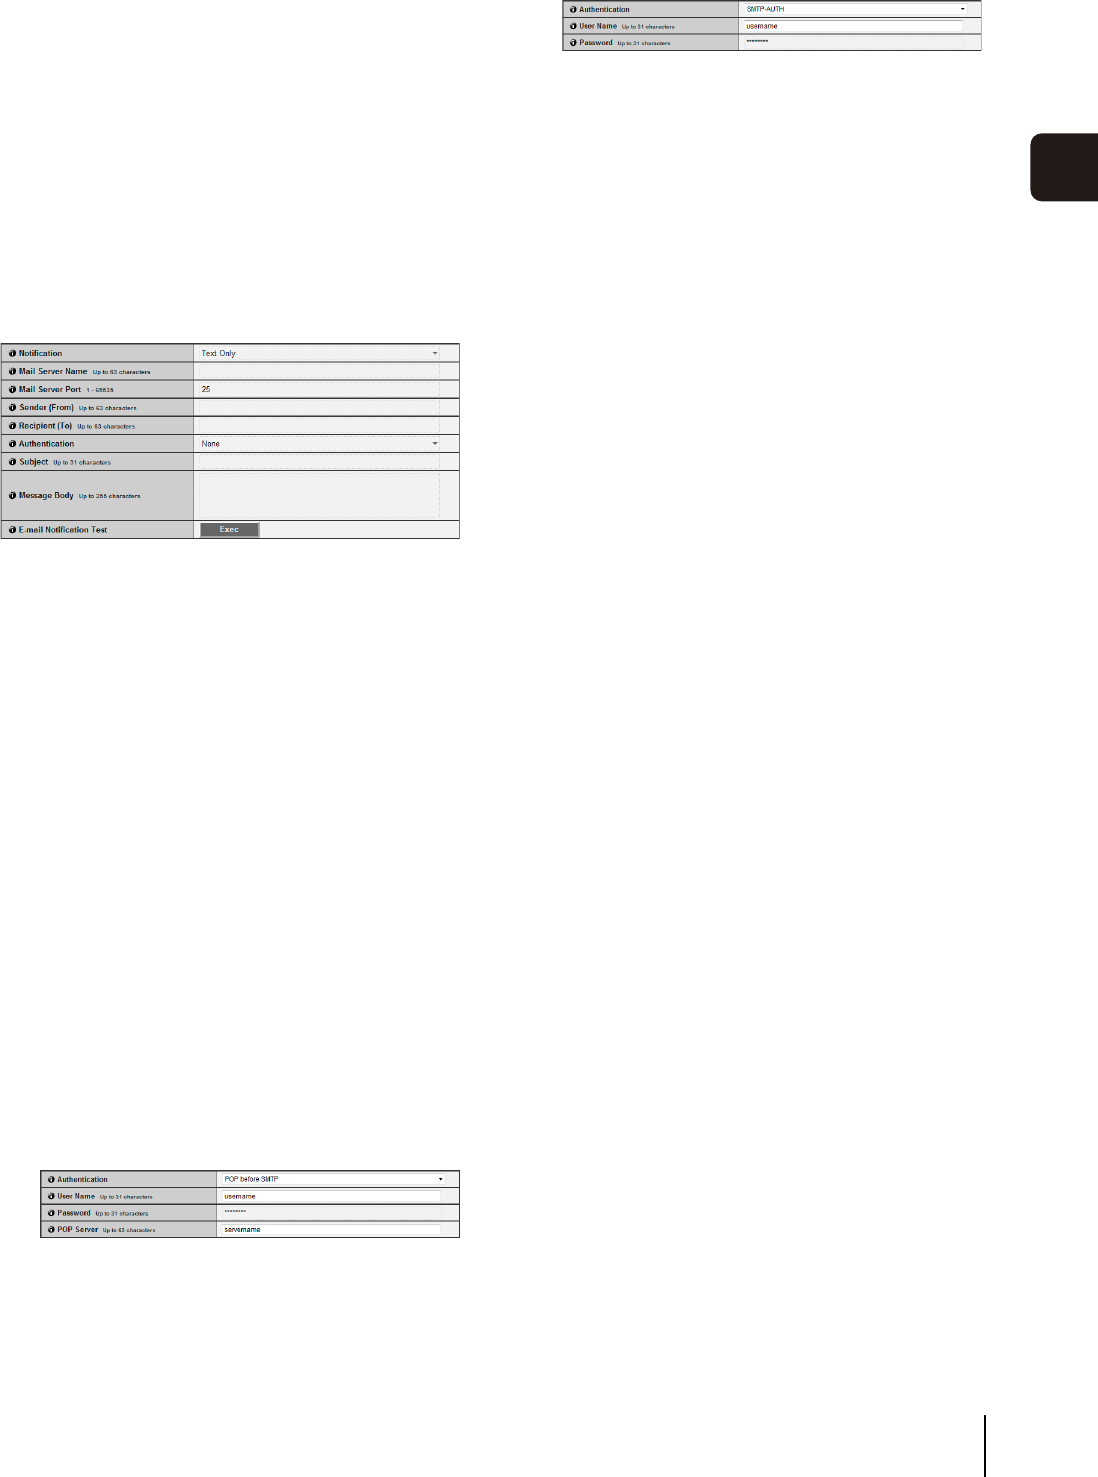
E-mail Notification
(1) [Notification]
Select [Text Only] or [Text with Image] as the content
of notification. If [Upload] is set to [Upload Disabled],
[Text with Image] will not be available.
(2) [Mail Server Name]
Enter the host name or IP address of the SMTP server
(using up to 63 characters).
(3) [Mail Server Port]
Enter the port number of the SMTP server (factory
default setting is [25]).
(4) [Sender (From)]
Set the e-mail address of the sender (using up to 63
characters).
(5) [Recipient (To)]
Set the e-mail address of the recipient (using up to 63
characters).
(6) [Authentication]
Select [None], [POP before SMTP] or [SMTP-AUTH]
for the e-mail authentication method.
Set an appropriate method according to the
authentication method used by the SMTP server to
send to.
[User Name], [Password], [POP Server]
If [POP before SMTP] is selected as the e-mail
authentication mode, enter the user name and
password as well as the host name or IP address of
the POP server required for authentication.
[User Name], [Password]
If [SMTP-AUTH] is selected as the e-mail
authentication method, enter the user name and
password required for authentication.
(7) [Subject]
Enter the subject of the e-mail to be sent using up to
31 ASCII characters.
(8) [Message Body]
Enter the message (text) of the e-mail to be sent using
up to 255 ASCII characters. Parameters can be
specified with the “%” character (p. 147).
(9) [E-mail Notification Test]
Clicking [Exec] initiates an e-mail notification test
based on the settings currently entered. It is not
necessary to click [Apply].
For a password, first click [Exec], then [Apply] the
password.


