96
(11)[Detailed Settings]
Show the detailed settings.
(11)-1[Show in viewers] checkbox
Select this checkbox to use presets in the
viewer. When the [Home Position] is selected in
(8), this function is grayed out.
(11)-2Camera Parameter
Enter the center angle of the desired angle in
[Pan] and [Tilt]. In [Zoom], enter the view angle.
• Camera Angle
[Pan] ..... Set the pan position of the camera.
[Tilt]....... Set the tilt position of the camera.
[Zoom] .. Set the viewing angle of the camera.
• [BLC] (Back Light Compensation)
Select [OFF] or [ON] for the BLC setting of the
camera.
• [Focus Mode]
Select [Auto], [Manual], or [Fixed at infinity] for
the focus mode of the camera. (p. 137)
•[Smart Shade Control]
Select [OFF] or a level from [1] (Mild) to [7]
(Strong) for the smart shade control setting of
the camera.
• [White Balance]
Set the white balance of the camera to [Auto]
or according to the light source of the
condition in which it is used. For details on
light sources, see p. 52.
• [R Gain], [B Gain]
If white balance is set to [Manual], set the
respective gains to a value between 0 and
1023.
(12)[Get camera info]
Load the current camera angle of the image display
area, or the [Focus] and [Smart Shade Control]
settings of Control for Admin (p. 120), and reflect them
in the panorama screen or camera parameter
settings.
(13)[Full Image]
Displays the full image obtained from the camera. A
preset preview frame (yellow) reflecting the preset
settings is shown. If you drag to resize or move the
frame, the new frame is reflected in the preset
settings.
(14)[Update Image]
Update the full image. Click this button to obtain an
image at the current camera angle of view.
(15)[Show in viewers] checkbox
Select this checkbox to use presets in the viewer.
When home position is selected in (8), this function is
grayed out.
(16)Camera Parameters
Displays the values for the pan and tilt positions and
zoom viewing angle in accordance with the size and
position of the preset preview frame on [Full Image].
(17)[Get Digital PTZ Info]
Load the settings of the currently stored preset, and
reflect them in the preset preview frame on [Full
Image] and the camera parameters.
(18)[Preview settings]
Use the camera parameter values that are being
edited to adjust the camera angle, or the [Focus] and
[Smart Shade Control] settings of Control for Admin
(p. 120), and preview them in the image display area.
(19)[Clear settings]
Delete the settings for the preset selected.
(20)[Restore settings]
Clear the settings you have specified on the screen of
the tool and restore the settings saved in the camera.
(21)[Save settings]
Save the edited preset settings in the camera.
If presets have been set, be sure to save the settings
by clicking [Save settings].
Setting the Preset
Select presets as needed for the operating environment or
desired objectives. A preset can be set in the following
ways.
Setting from Camera Angle in the Image
Display Area
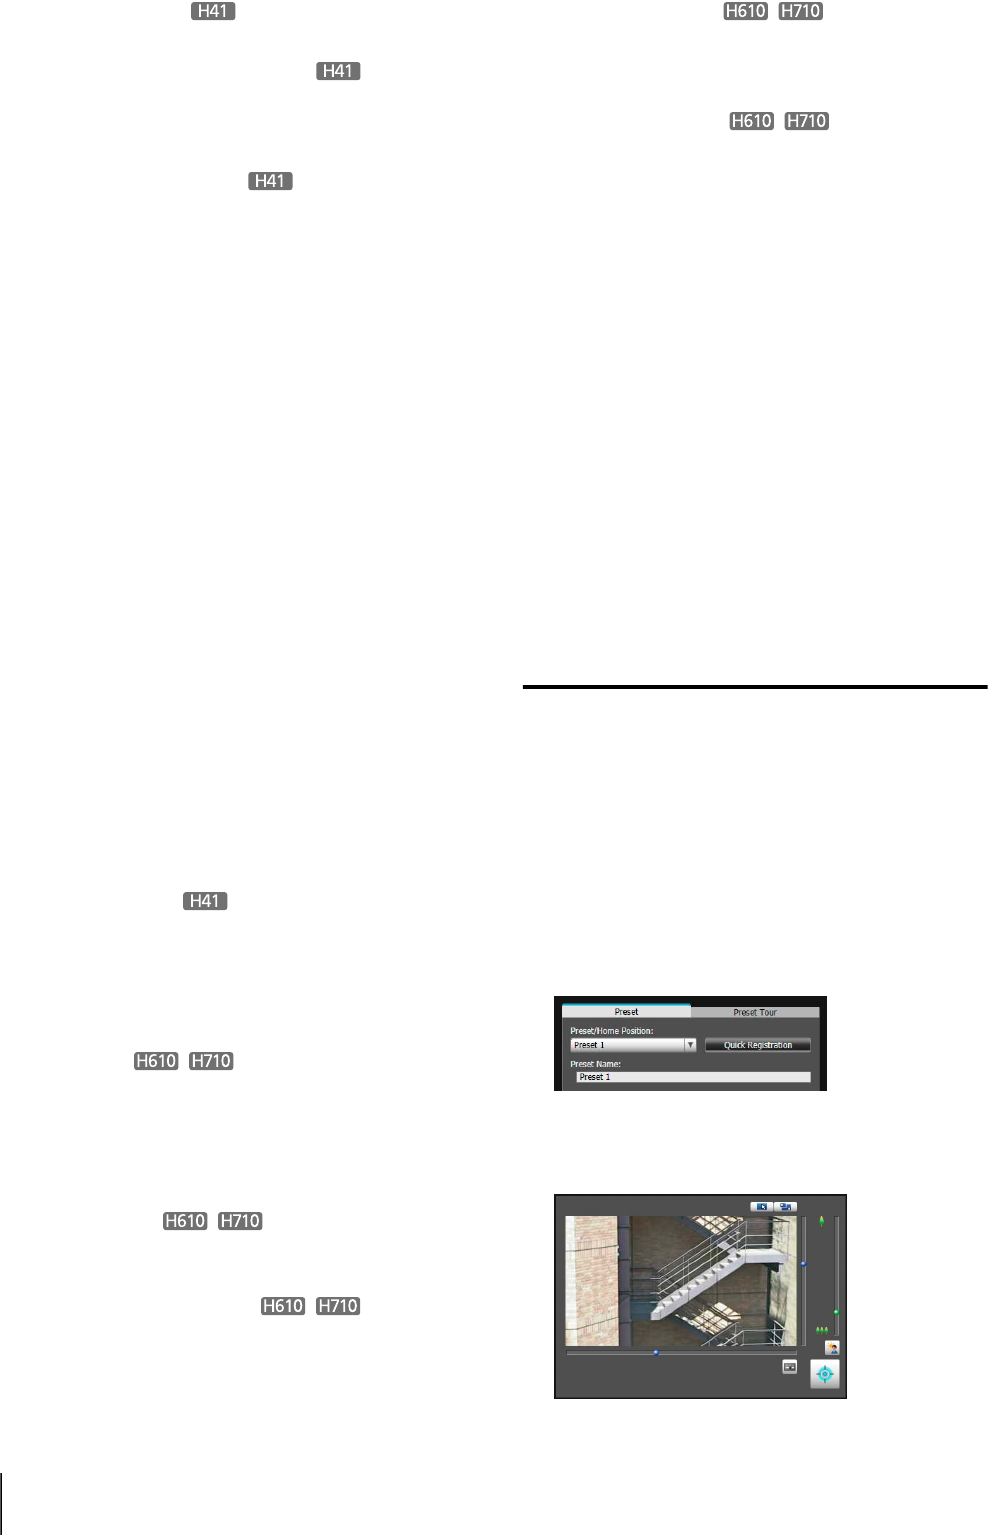
1
Select the preset you want to set from the [Preset/Home
Position] selection box, and then fill the [Preset Name]
field
.
2
Click the [Obtain/Release Camera Control] button to
obtain the control privileges of the
camera
.


