10 Copying
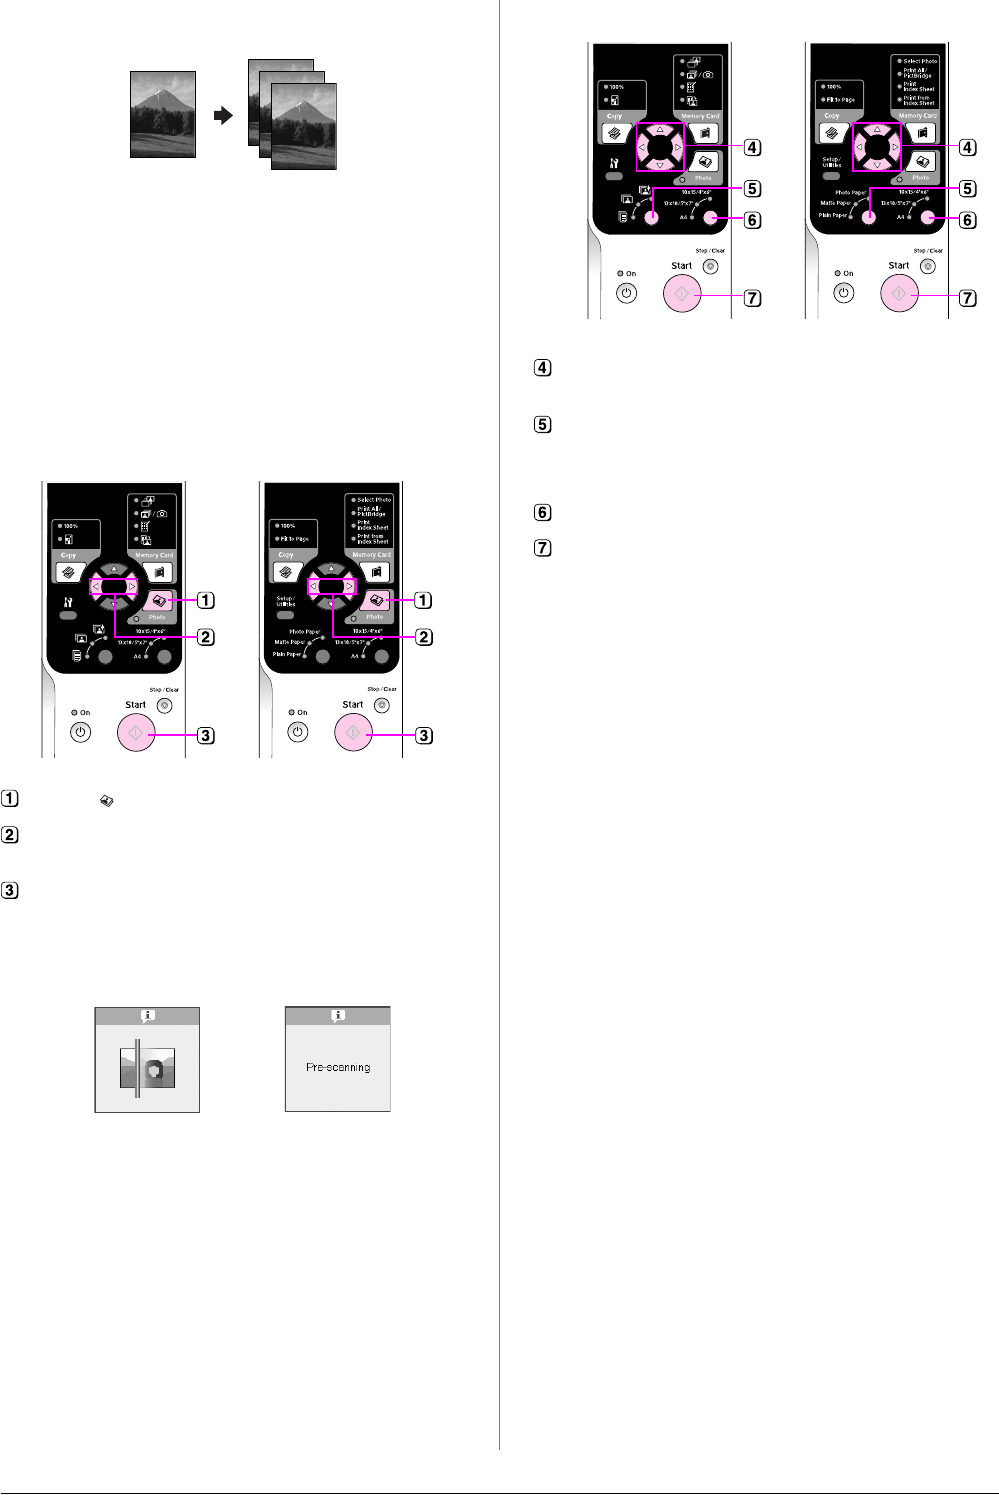
Copying Photos
1. Load photo paper (& page 6).
2. Place your original on the document table
(& “Placing Originals on the Document Table”
on page 8).
You can place more than two photos on the
document table at one time (& “Copying
multiple photos” on page 11).
3. Make the following settings on the control panel.
If you need to stop copying, press the y Stop/Clear
button.
Note:
If the edges of the copy are cropped off, move the original away
from the corner slightly.
Press the Photo button.
Use the l or r button to set the color restoration mode to on
or off (& “Restoring color in photos” on page 11).
Press the x Start button. The photo is scanned and a preview
is displayed on the LCD screen.
During scanning, one of the following screens is displayed.
Icon panel Text panel
Icon display Text display
Use the l or r button to view the photos. Use the u or d
button to set the number of copies.
Select the paper type you loaded.
If you select Photo or Matte paper, your photo is copied
without a border.
Select the paper size you loaded.
Press the x Start button again. Your photo is copied.
Icon panel Text panel


