18 Printing from a Digital Camera
Printing from a Digital Camera
You can print your photos by connecting your digital
camera directly to this product.
Digital Camera
Requirements
Make sure your camera and photos meet the
following requirements.
Connecting and Printing
1. Make sure the product is not printing from a
computer.
2. Load the type of paper you want to use
(& page 6). Load enough sheets for the number
of photos you want to print.
3. Select the paper type you loaded.
If you select l [Plain Paper], the photos are
printed with a white border. If you select g
[Photo Paper] or h [Matte Paper], the photos
are printed without borders to the edge of the
paper.
4. Select the paper size you loaded.
5. Connect the USB cable that came with your
camera to the external interface USB port of the
product.
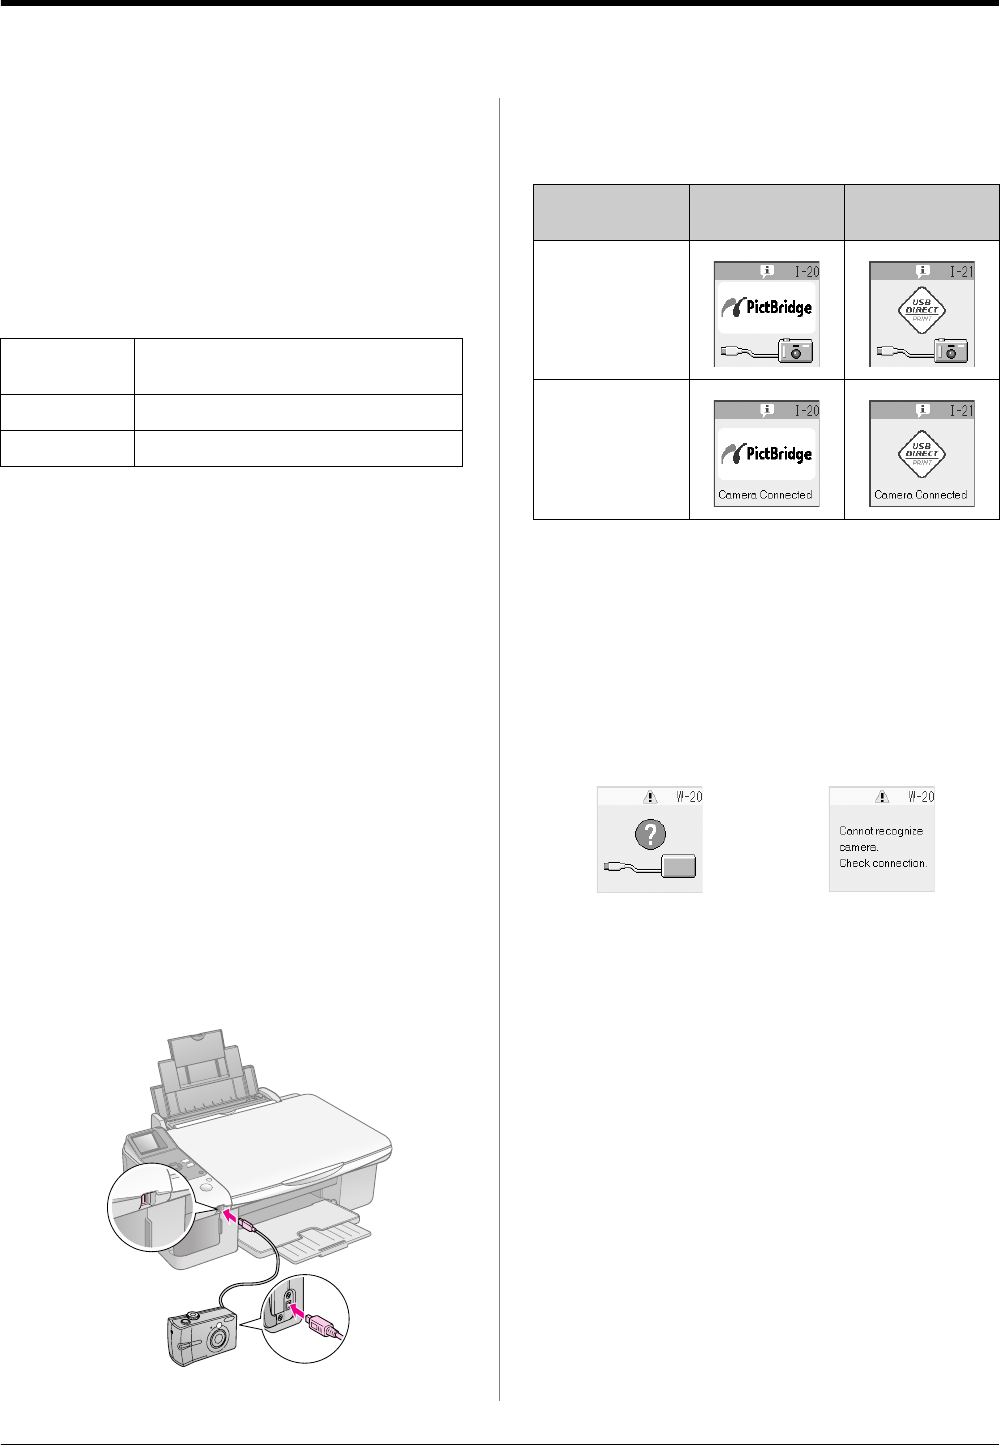
6. Make sure your camera is turned on. The f/e
[Print All/PictBridge] light turns on, and one of
the following screens is displayed.
7. Use your camera to select the photos you want to
print, adjust any necessary settings, and print
your photos. See your camera’s manual for
details.
Note:
❏ If your camera is not compatible with PictBridge or USB
DIRECT-PRINT, one of the following screens is displayed.
Epson cannot guarantee the compatibility of any cameras.
❏ Depending on the settings on the product and the digital
camera, some combinations of paper type, size, and
layout may not be supported.
❏ Some of the settings on your digital camera may not be
reflected in the output.
Direct printing
compatibility
PictBridge or USB DIRECT-PRINT
File format JPEG
Image size 80 × 80 pixels to 9200 × 9200 pixels
Display PictBridge USB
DIRECT-PRINT
Icon
Text
Icon display Text display


