Maintenance 23
English
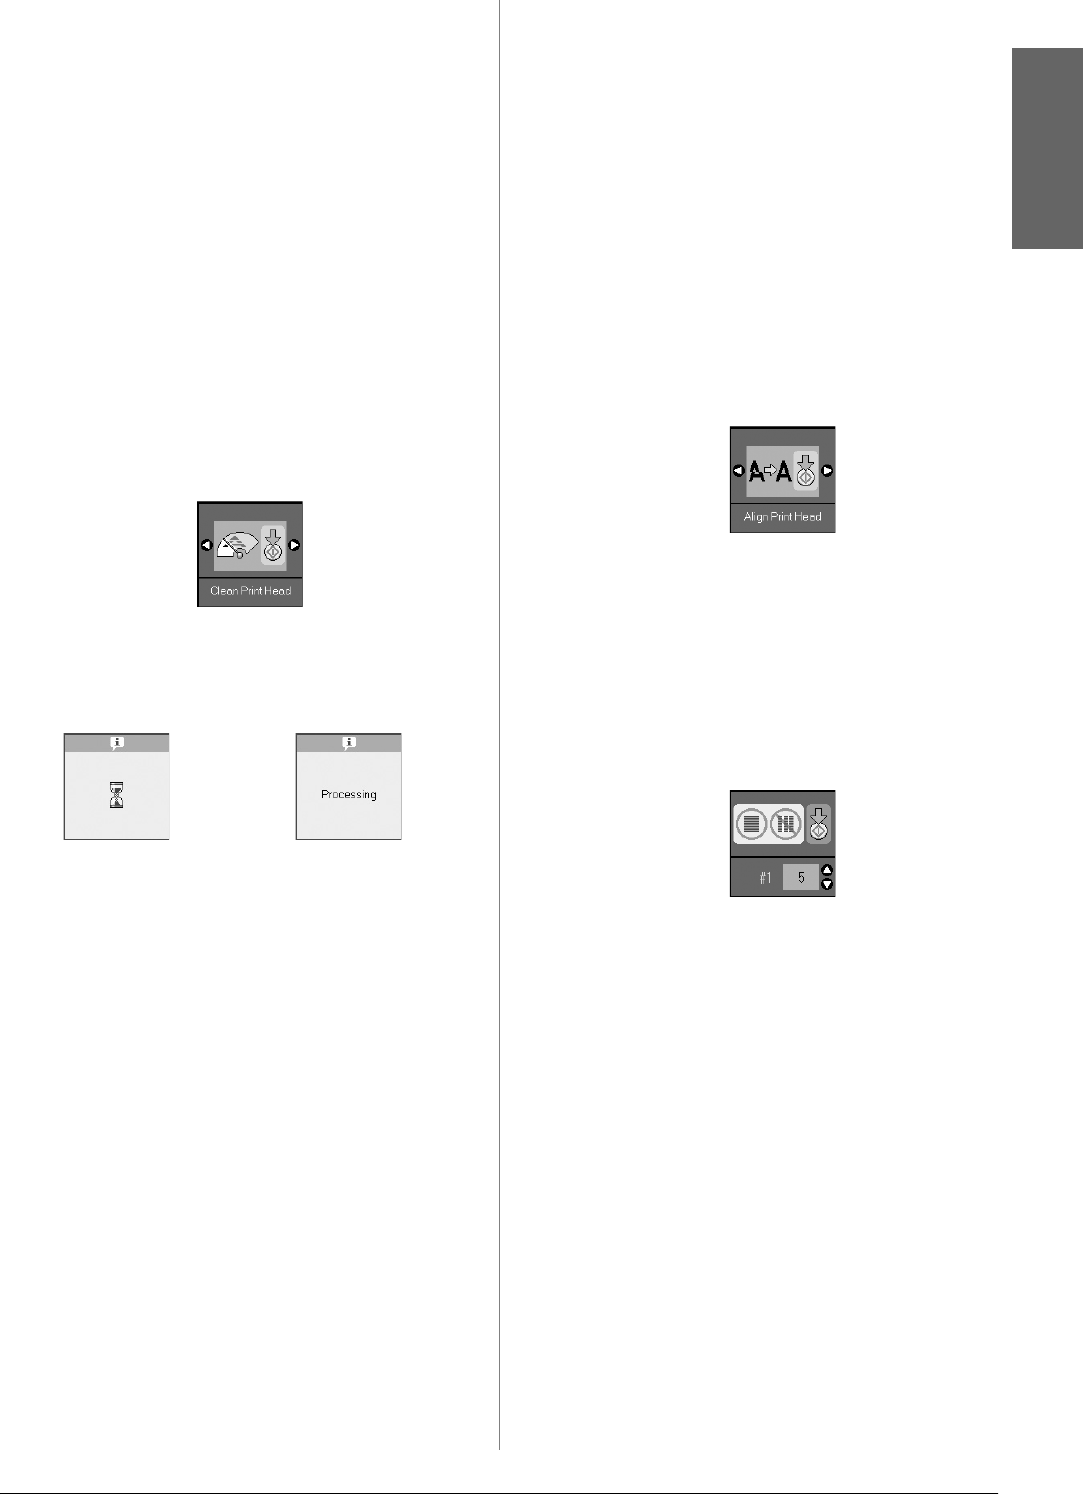
Cleaning the print head
Follow these steps to clean the print head so it can
deliver ink properly. Before cleaning the print head,
run a nozzle check to see if the print head needs
cleaning (& “Checking the print head” on page 22).
Note:
❏ Print head cleaning uses ink, so clean it only if quality declines.
❏ If a message on the LCD screen tells you that a cartridge is
expended or low on ink, you cannot clean the print head. You
must first replace the ink cartridge indicated (& “Replacing Ink
Cartridges” on page 19).
1. Make sure the product is turned on but not
printing.
2. Press the F [Setup/Utilities] button.
3. Use the l or r button to select Clean Print
Head, and then press the x Start button to start
cleaning.
During cleaning, one of the following screens is
displayed.
c Caution:
Never turn off the product while head cleaning is in progress.
You may damage it.
4. When cleaning finishes, print a nozzle check
pattern to check the results (& “Checking the
print head” on page 22).
If there are still gaps or the test patterns are faint,
run another cleaning cycle and check the nozzles
again.
Note:
If you do not see any improvement after cleaning about four
times, turn off the product and wait overnight. This lets any
dried ink soften. Then try cleaning the print head again. If
quality still does not improve, one of the ink cartridges may be
old or damaged and needs to be replaced (& “Replacing Ink
Cartridges” on page 19).
Aligning the Print Head
If you notice that vertical lines are not aligned
properly on the nozzle check printout, you may be
able to solve this problem by aligning the print head.
You can align the print head by pressing the buttons,
or you can run the Print Head Alignment utility from
your computer. For the most accurate alignment, the
utility is recommended.
1. Load A4-size plain paper (& page 6).
2. Press the F [Setup/Utilities] button.
3. Use the l or r button to select Align Print Head,
and then press the x Start button to print the
alignment sheet.
Note:
Do not press the y Stop/Clear button while printing an
alignment pattern.
4. Look at pattern #1 and find the patch that is most
evenly printed, with no noticeable streaks or
lines.
5. Press the u or d button until the number for that
patch is displayed on the LCD screen.
6. Press the x Start button.
7. Repeat steps 4 to 6 for each of the other
alignment patterns.
8. Press the F [Setup/Utilities] button to return to
the previous mode.
Icon display Text display


