Taking Pictures
2-13
R4C7850
Rev. C
A5 size PICTURES.FM
4/27/01 Pass 3
R
Proof Sign-off:
K. Pipa CRE Tsutagawa
K. Pipa
CRE R. Hopley
2
Using the macro setting to take close-ups
The macro feature allows you to take
pictures of subjects 6 to 50 centimeters
away from the camera.
Note:
You may need to be more than 6 centimeters away from the
subject when using the optical zoom feature. See “Using the
optical zoom feature” on page 2-7 for details.
Follow the steps below to use the macro feature.
1. Remove the lens cap, set the dial switch to , and
turn on the camera.
2. Press the button once. A green frame
appears around the previewed image and
MACRO is displayed briefly at the center of the
monitor.
To use the video clip recording feature, the
continuous shooting feature, the time lapse
feature or the stitch assist feature, select MACRO
and turn the dial switch to . Then press the
MODE CHANGE button to select the feature you
want to use.
3. Frame your subject in the LCD monitor and take
a picture.
Taking Multiple Exposures
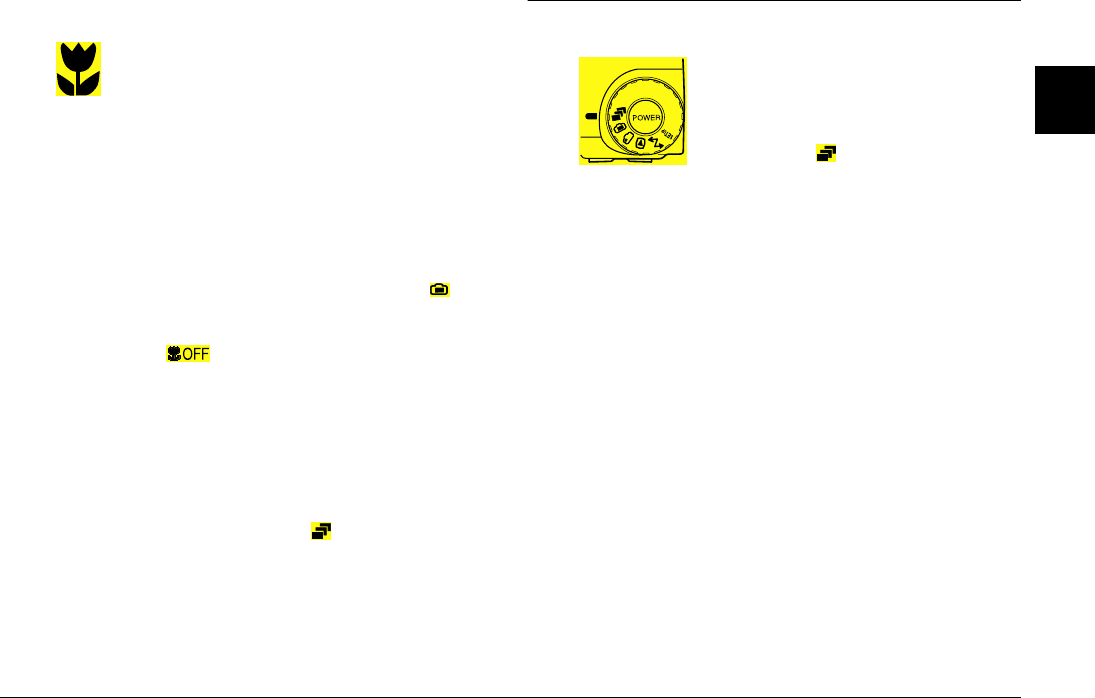
To record video clips, use the
continuous shooting feature, time
lapse feature, or the stitch assist
feature, turn the camera’s dial
switch to .
Recording video clips
You can record video clips with sound (up to
25 seconds) or without sound (up to 35 seconds).
Follow these steps to record a video clip.
Note:
❏ The image quality setting is disabled when taking video
clips.
❏ You can record sound with your video clips only while
you are taking the clip. You cannot make an associated
audio recording for existing video clips.
❏ The flash is disabled when recording video clips.


