2-18
Taking Pictures
L
Proof Sign-off:
K. Pipa CRE Tsutagawa
K. Pipa
CRE R. Hopley
R4C7850
Rev. C
A5 size PICTURES.FM
4/27/01 Pass 3
4. The right side of the previously taken photo
displays on the left of the LCD monitor. Align this
section with the left side of the image currently
displayed on the LCD monitor so the images
overlap, and then take the photo.
If you press the upper right button where the
number and left arrow are displayed, the
previously taken photo is displayed. If you press
the Delete button at this screen, the photo will be
deleted. If you press the upper right number
where the number and right arrow are displayed,
you return to the preview image.
5. To add more pictures, repeat step 4. Press the
Finish button when you are done adding pictures.
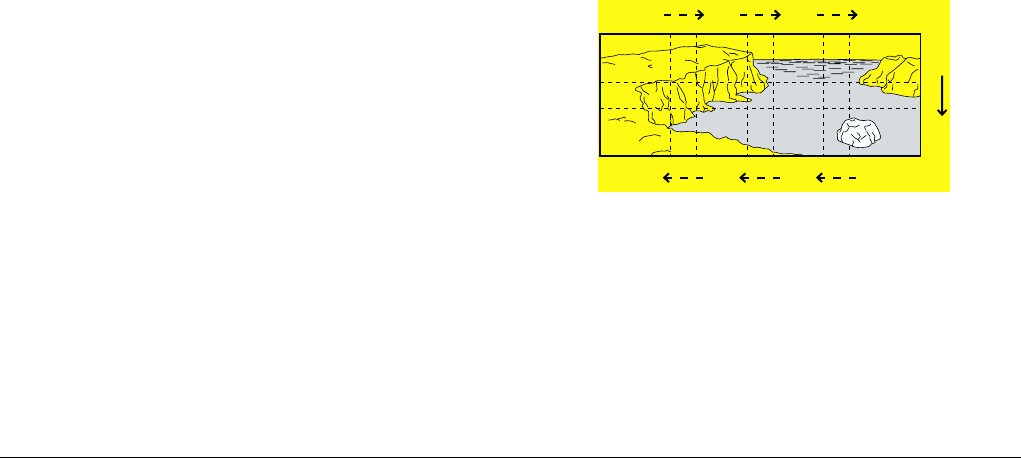
Taking two rows of overlapping photos
To take two rows of overlapping photos, start by
taking a photo of the upper left part of the image. To
take subsequent photos in the top row, turn the
camera to the right before taking each photo. After you
finish taking photos in the top row, take the first photo
of the bottom row directly below the last photo of the
top row. Then turn the camera to the left to take the
remaining photos of the bottom row.
1. Follow steps 1 to 4 from “Taking one row of
overlapping photos” on page 2-17.
2. After you finish taking photos in the top row,
press the button below the arrow displayed in the
lower left corner of the LCD monitor.
4
5
321
678
4
5


