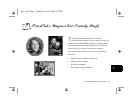
7-4 PrintPaks Magnet Kit: Family Stuff
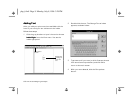
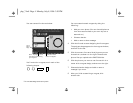
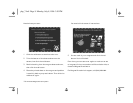
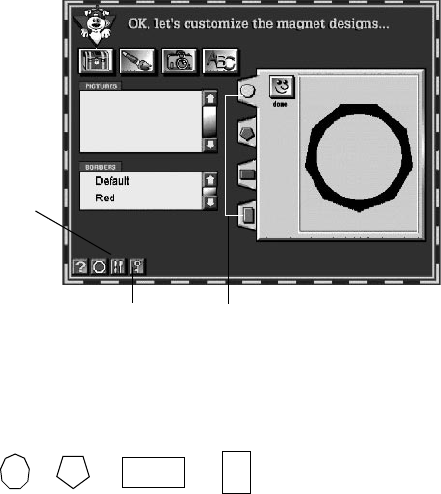
You see a screen like the one below:
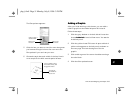
You’ll make four magnets, one in each of the
following shapes:
You can customize each magnet by doing the
following:
❙ Add your own photo. (You can also add pictures
from the treasure chest or your own clip art or
scanned art.)
❙ Choose a border.
❙ Add a name or short message.
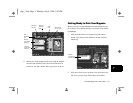
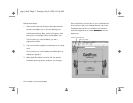
4 Click the first tab to start designing the first magnet.
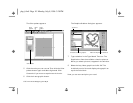
The polygon shape appears in the magnet window,
as shown at the left.
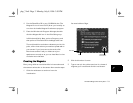
5 Click the camera. You see a list of pictures you can
choose from, as shown on the right. These are the
picture files you copied to the PHOTOS folder.
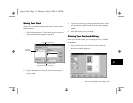
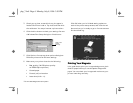
6 Click the picture you want to use. You see it in the
center of the magnet design, as shown on the right.
7 Choose the border design and add a name or
message if you want.
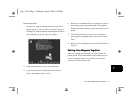
8 After you finish customizing a magnet, click
another tab.
Go to “Key Page” to learn
more about customizing
your magnets.
Click tabs to make
each of 4 magnets.
Go to
Menu
Page.
php_7.fm5 Page 4 Monday, July 8, 1996 3:30 PM


