CardScan: Instant Address Book 8-7
A
B
8
Saving and ExitingSaving and Exiting
You only need to save your address list once. After that,
any cards you scan are added to the same list, and
automatically saved.
Follow these steps to save your address list and exit:
1 Choose Exit Exit from the File menu. A message asks if
you want to save your changes.
2 Click Save. The Save As dialog box appears.
3 Type a name in the File name box. CardScan adds
the .CDB extension to your file name and saves your
file in the C:\CARDSCAN directory or folder.
4 Click OK.
You can create more than one address list, for example
if you want to separate business contacts from personal
contacts. Choose NewNew from the File menu to create a
new address list. Then scan in your cards, and when
you’re ready to exit, save the list with a new name. See
the next section to learn about working with your list or
lists.
Working with Your Address ListWorking with Your Address List
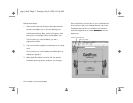
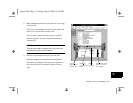
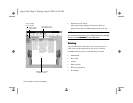
Click All on the CardScan window to view a list of all
your cards, as shown on page 8-8.
Here are some of the things you can do:
❙ Search.
Type in the Quick Search box to locate all cards that
contain the search text. As you type, the address list
changes to show only those cards that match.
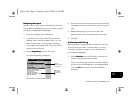
❙ Sort.
Choose By Name, By CompanyBy Name, By Company, or By VerifiedBy Verified
from the Sort menu to indicate how you want the
list displayed. CardScan can show the list in
alphabetical order by last name or company. If you
choose By VerifiedBy Verified, the cards are sorted by date,
and any unverified cards appear at the top.
❙ Display a card.
Double-click the card you want to see.
❙ Add a card manually.
Click the New Card button. CardScan displays a
blank screen where you can enter the information.
php_8.fm5 Page 7 Tuesday, July 9, 1996 10:18 AM


