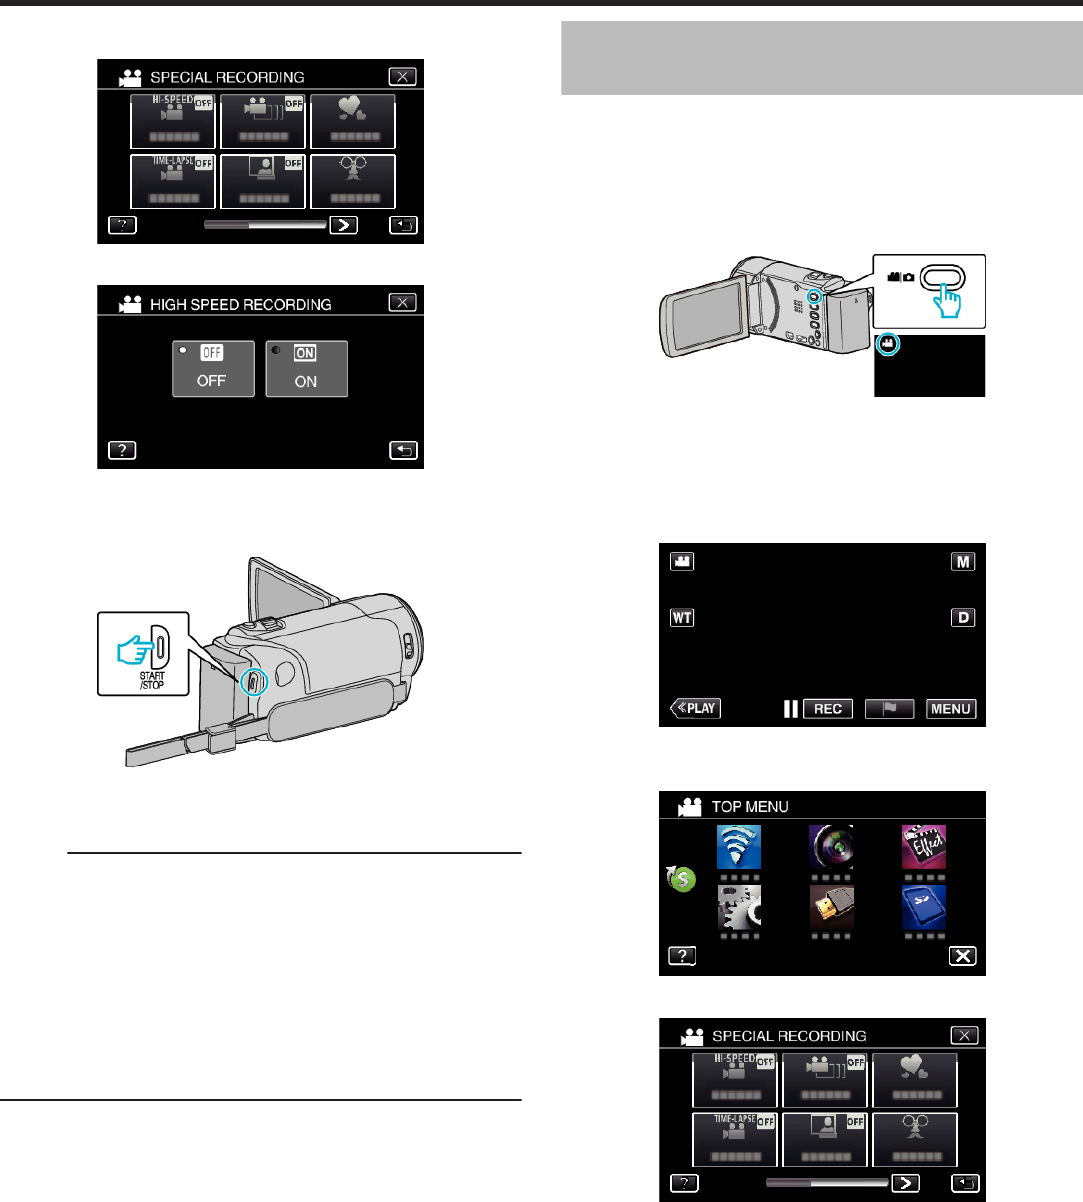
4
Tap “HIGH SPEED RECORDING”.
.
5
Tap “ON”.
.
0
When “ON” is tapped, 300 frames can be recorded in 1 second.
0
To cancel high-speed recording, tap “OFF”.
6
Start recording.
.
0
Press the START/STOP button again to stop recording.
0
Settings of high-speed recording are not saved when the power is
turned off.
Memo :
0
This function does not support the iFrame recording format.
0
Images may appear grainier than other videos. The image displayed on
the LCD monitor during recording may also appear grainier.
0
Audio sound is not recorded together with the video.
0
When high-speed recording is enabled, only the optical zoom can be
used.
0
During high-speed recording, “TOUCH PRIORITY AE/AF” is set to “OFF”
. In addition, as image stabilizer is set to “OFF”, it is recommended that a
tripod be used, and recording be performed in a bright location with the
subject magnified as much as possible.
“Tripod Mounting” (A p. 21)
Recording at Intervals (TIME-LAPSE
RECORDING)
This function enables the changes of a scene that occur slowly over a long
period to be shown within a short time by taking frames of it at a certain
interval.
This is useful for making observations such as the opening of a flower bud.
(Video file in AVCHD only)
*The following is a screen of the model with Wi-Fi functions.
1
Open the LCD monitor.
.
0
Check if the recording mode is A.
0
If the mode is B still image, tap B on the recording screen to display
the mode switching screen.
Tap A to switch the mode to video. (You can also use the A/B button
on this unit.)
2
Tap “MENU”.
.
0
The top menu appears.
3
Tap “SPECIAL RECORDING”.
.
4
Tap “TIME-LAPSE RECORDING”.
.
0
Tap L to exit the menu.
0
Tap J to return to the previous screen.
Recording
54
