


A-61169 July 2003 5-19
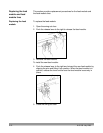
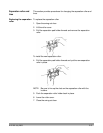
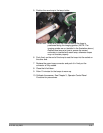
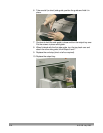
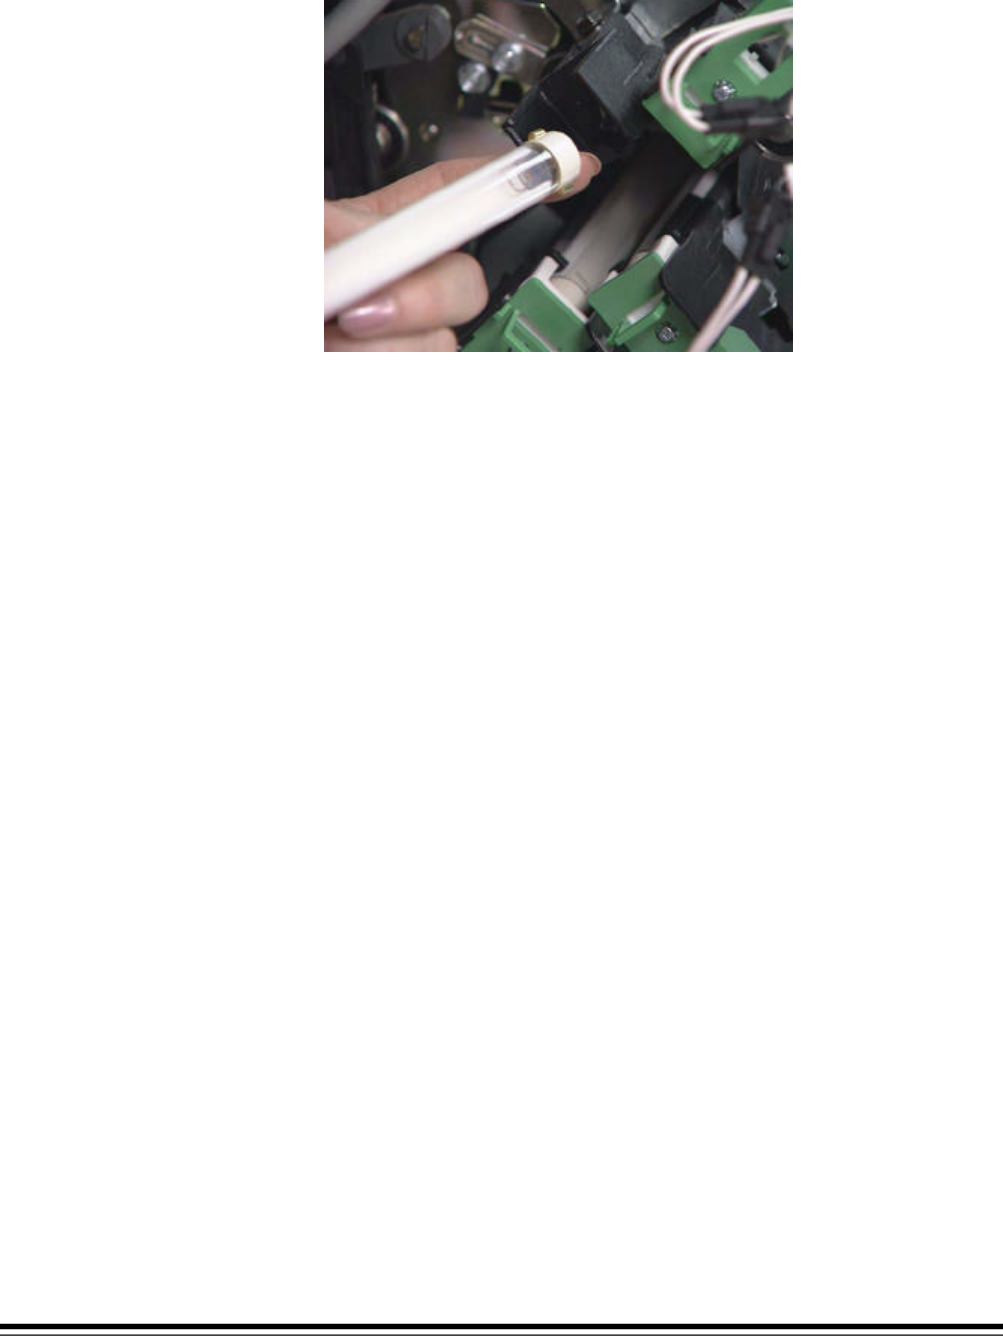
5. Position the new lamp in the lamp holder.
IMPORTANT: Make sure that the clear surface of the lamp is
positioned facing the imaging guides. (NOTE: The
imaging guides are not installed in the illustration above.)
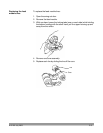
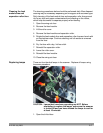
Replace one lamp at a time to ensure the correct
connector is inserted with each lamp; otherwise lamps
may not function properly.
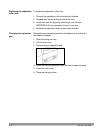
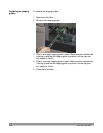
6. Push firmly on the end of the lamp to seat the lamp into the socket on
the other end.
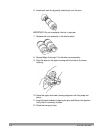
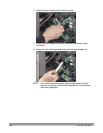
7. Replace the green lamp connector and push it in firmly so the
connector is fully seated.
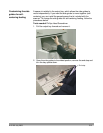
8. Close the bi-fold door.
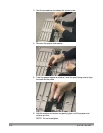
9. Allow 10 minutes for the lamps to warm up.
10. Calibrate the scanner. See Chapter 3, Operator Control Panel
Functions for procedures.