


21
When performing the operations
using the controller
When the AW-RP655 is connected:
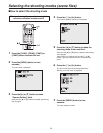
1 Press the [1], [2], [3], [4] or [5] button
of [CONTROL/PREVIEW MONITOR OUT
SEL].
2 Press the [MENU] button.
The display on the LCD panel of the AW-RP655
switches to the menu mode.
3 Turn the jog dial (main).
Display “CAMERA SETTING” on the LCD panel.
4 Press the [OK] button.
Display “
OPEN CAMERA MENU?
OK Key” on the
LCD panel.
5 Press the [OK] button again.
The main menu is displayed on the monitor.
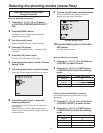
6 Press the jog dial (main) to make “Camera
Setting” blink.
7 Turn the jog dial (main) counterclockwise.
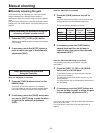
Display the “Camera Setting” sub-menu on the monitor.
Camera Setting
Halogen
Fluorescent
Daylight
User
Return
8 Press the jog dial (main) to make the
shooting mode blink.
Each time the jog dial (main) is pressed, the blinking
item changes.
When the
“Return” is made to blink and the jog dial
(main) is turned counterclockwise, operation returns to
the previous menu.
9 Turn the jog dial (main) counterclockwise.
The unit is now set to the shooting mode that is
blinking, and a sub-menu is displayed.
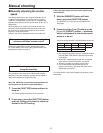
Halogen Mode Set
Brightness Set
Color Set
G/L, Setup Set
Other Set
Initialize
Return
Example: Halogen mode
10
Press the [MENU] button or [R/B GAIN/
PED] button.
The menu display is exited.
When the AW-RP555 is connected:
1 Press the [1], [2], [3], [4] or [5] button of
[CONTROL] to select the unit.
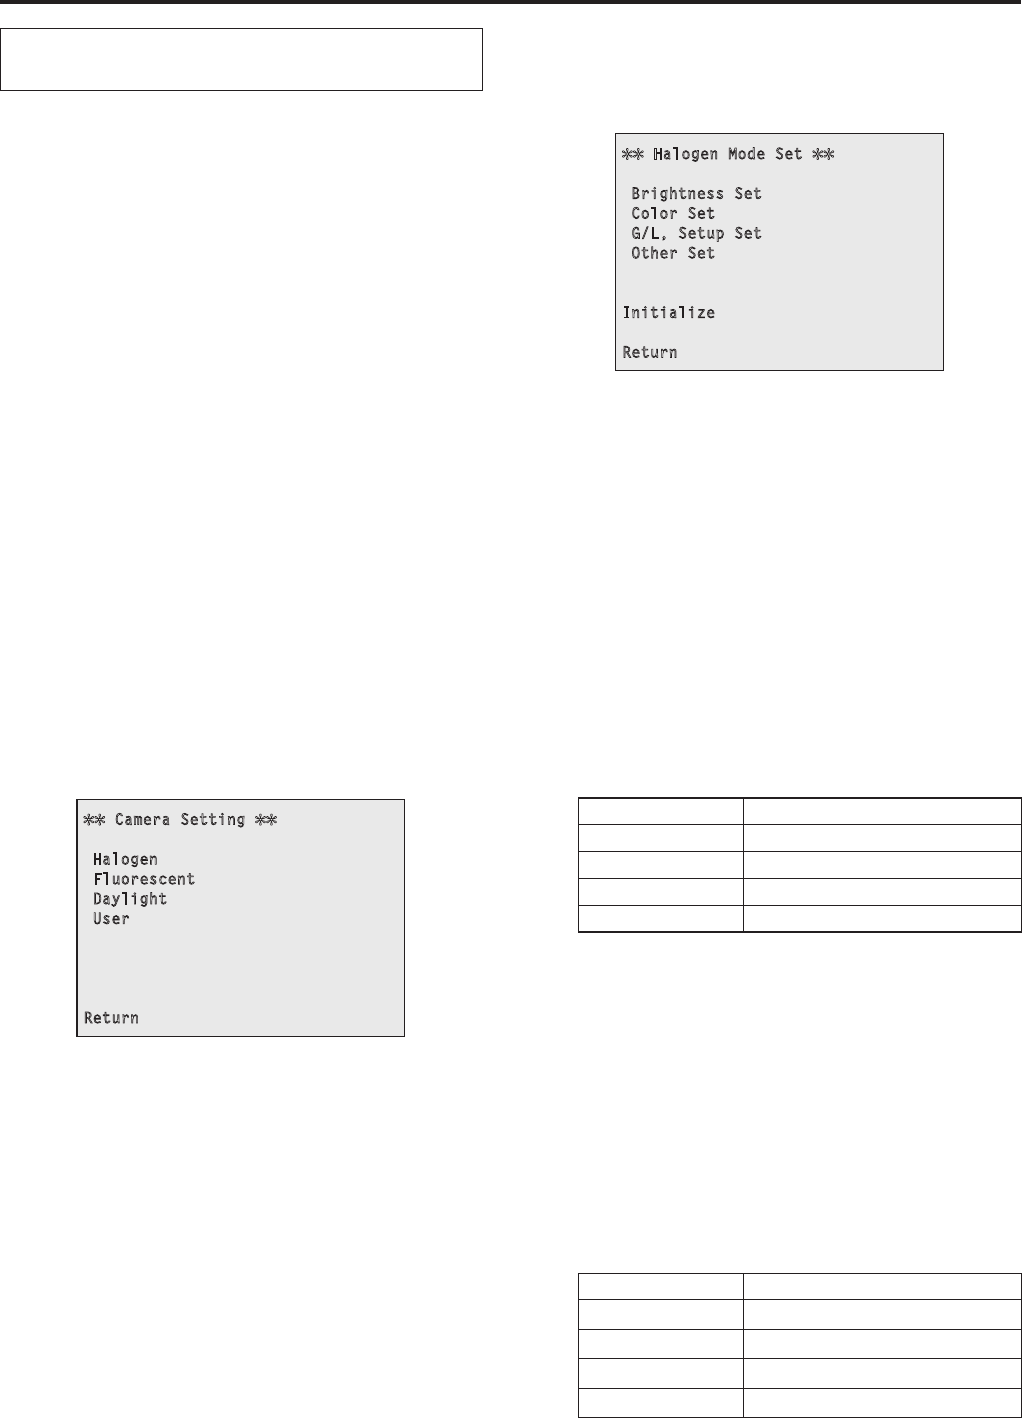
2 Press the [1], [2], [3] or [USER] button
of [SCENE FILE] to select the shooting
mode.
Shooting mode [SCENE FILE] button
Halogen [1]
Fluorescent [2
]
Daylight [3]
User [USER]
When the AW-RP400/AW-CB400 is connected:
(The following operations are performed using the
AW-
CB400.)
1 Press the [1], [2], [3], [4] or [5] button of
[CONTROL SELECT] to select the unit.
2 Press the [1], [2], [3] or [USER] button
of [SCENE FILE] to select the shooting
mode.
Shooting mode [SCENE FILE] button
Halogen [1]
Fluorescent [2
]
Daylight [3]
User [USER]
Selecting the shooting modes (scene files)