33
Manual adjustment
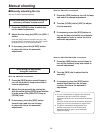
The white balance can adjusted manually only while the
user mode is established.
Use an oscilloscope or waveform monitor for the adjustment
or perform the adjustment in such a way that the white parts
of the picture are made completely white.
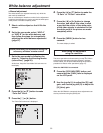
1 Shoot a white subject so that it fills the
screen.
2 Set to the user mode, select “AWC A”
or “AWC B” for the white balance, and
then follow the steps for automatically
adjusting the white balance adjustment
(page 31).
When performing the operations using the
accessory wireless remote control
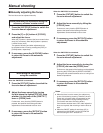
3 Set to the user mode by following the
steps in “Selecting the shooting modes
(scene files)” (page 20).
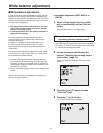
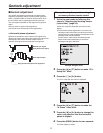
At this time, keep the “User Mode Set” sub-menu on
the display.
User Mode Set
Brightness Set
Color Set
G/L, Setup Set
Sharpness(DTL) Set
Other Set
Initialize
Return
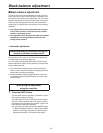
4 Press the [] or [] button to make
“Color Set” blink.
5 Press the [] or [] button.
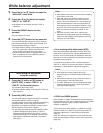
The “Color Set” sub-menu is displayed.
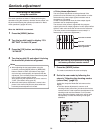
Color Set
Chroma Level +1
White Bal AWC A
Pedestal +1
Painting
R Gain +1
B Gain +1
Return
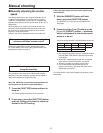
6 Press the [] or [] button to make the
“R Gain” or “B Gain” value blink.
7 Press the [] or [] button to change
the value, and adjust this value in such
a way that the carrier of the white parts
of the video signals is minimized or that
the white parts of the picture are made
completely white.
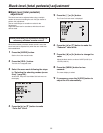
8 Press the [MENU] button for two
seconds.
The menu display is exited.
When doing the adjustment
using the controller
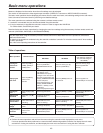
The same operations as those starting in step 3 of “When
performing the operations using the accessory wireless
remote control” can be performed following the operation
procedure for “Basic menu operations” (page 41).
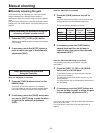
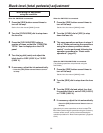
When the AW-RP655 is connected:
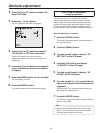
3 Press the [R/B GAIN/PED] button, and
ensure that the [GAIN] item is displayed
on the LCD panel.
4 Use the jog dial (L) to adjust the [R] (red)
gain, and use the jog dial (R) to adjust the
[B] (blue) gain.
When the AW-CB400 is connected, these adjustments can
also be performed using the [GAIN] dial.
White balance adjustment


