Editing Images and Movies
106
4
Playing Back and Editing Images
You can correct images where the flash has caused the subject to appear
with red eyes.
1 In Playback mode, touch the arrow icons (qr) to
choose the image for which you want to use the red-eye
compensation function.
2 Touch the LCD monitor.
The [Playback Toolbar] appears.
3 Touch the n icon.
The [Playback Palette] appears.
4 Double-touch the Z icon.
• The red-eye compensation function tries to
correct the image. If it is able to correct the
image, the screen in Step 7 appears, and
you can save the image.
If it is not able to correct the image, the Red-
eye Compensation screen appears after
touching [OK] on the error screen. In this
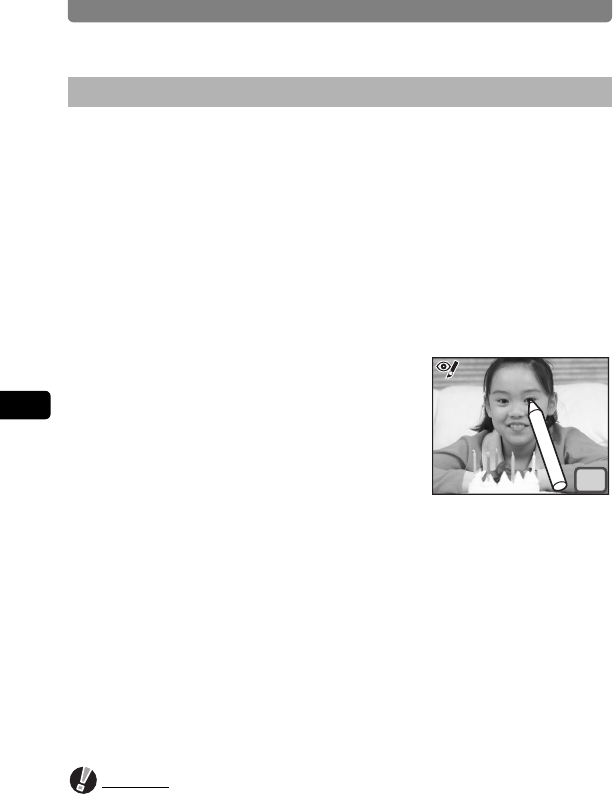
case, follow the steps below and select the area for red-eye
compensation manually.
• To bring up the guide display, single-touch the icon.
5 Touch the area you want to correct.
You can select multiple areas for red-eye compensation before touching [OK].
6 Touch [OK].
A save dialog for selecting the save method appears.
7 Touch [Overwrite] or [Save as].
• The corrected image is saved.
• Protected images are automatically saved as new files.
Caution
• The red-eye compensation function cannot be used on movies or for
pictures where red eyes are smaller than a certain size.
• At least one example of red-eye must be detected in the picture for red-eye
compensation to work and the image to be subsequently saved.
• The red-eye compensation function can only be used on pictures taken with
this camera.
Removing Red-eye
OK


