Initial Settings
22
1
Getting Started
3 Touch [OK].
The Date Adjust screen appears.
Caution
If the 3 button is pressed without touching [OK] on the Initial Setting
screen, the language will not be set and the Date Adjust screen appears. In
this case, the Initial Setting screen will appear next time you turn the camera
on.
4 Touch [Date Style].
The Date Style screen appears.
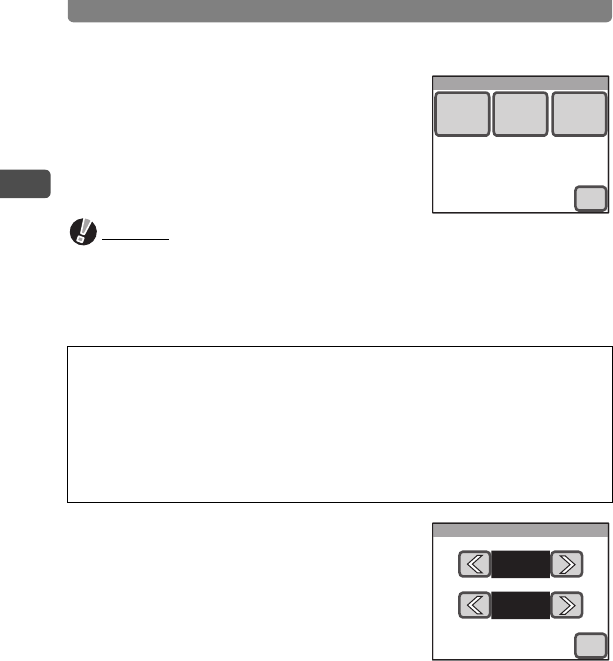
5 Touch the arrow icons (qr) to
choose the display style of the
year, month, and day.
Select [mm/dd/yy], [dd/mm/yy] or [yy/mm/dd].
6 Touch the arrow icons (qr) to choose the time display
style.
Select [24h] (24-hour display) or [12h] (12-hour display).
7 Touch [OK].
The setting is saved and the screen returns to the Date Adjust screen.
[Hometown], [Video Out], and [Date Style] are automatically set
according to the language selected on the Initial Setting screen. To
change these settings, refer to the pages below.
• [Hometown] : “Setting the Destination” (p.127)
• [Video Out] : “Changing the Video Output Format” (p.133)
• [Date Style] : “Changing the Date and Time” (p.123)
Date Adjust
Date
Style
Date Time
OK
Date Style
mm/dd/yy
24h
OK


