


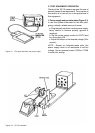

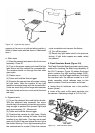
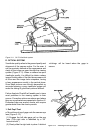
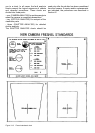
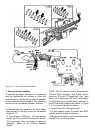
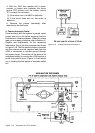
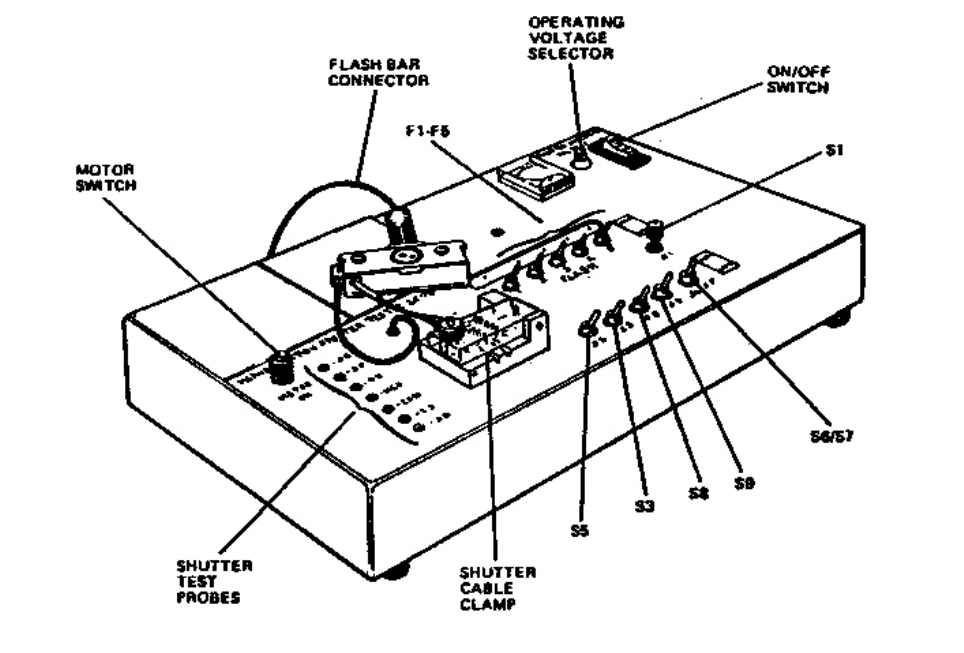
Figure 3-10 Manual camera tester
c. Install the ash simulator board into the camera
ashbar socket in the same way as a ashbar
would be installed .
d. Press the red exposure button, S1.
e. Observe that LED #1 ashes.
f. Flip switch S1 up.
g. Press the red exposure button.
h. Observe that LED #2 ashes.
i. Flip switch S2 up.
j. In like manner, continue pressing the red
exposure button and ipping the corresponding
switches up until all ve lights have ashed.
k. Repeat step d. though j. The lights should ash
ve more time.
l. Press S1.
m. Observe that no light ashes. This conrms
proper operation of S9.
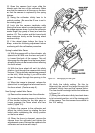
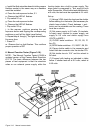
6. Manual Function Tester (Figure 3-10).
NOTE : The Manual Fucntion Tester #11959 is
updated version of the Camera Back Simulator
#11775. The basic difference between the two
pieces of test equipment is that the simulator
relies on an external power supply while the
function tester ahs a built-in power supply. The
steps listed in paragraph b., Test, apply to both
units. Remember, if the shutter tests satisfactorily
at 5 volts, the test must be repeated at 6.4 volts.
Set up.
(1) Using a VOM, check for shorts on the shutter
before setting it on the tester. (Not necessary for
plastic base shutter.) Check between + and -
points on the substrate and the casting. There
must be no shorts.
(2) Set power supply to 5.0 volts. (If simulator
is being used, connect to power supply, set
supply to 5.0 volts and switch supply from
VOLTS to AMPS.)
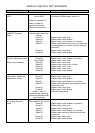
(3) CLOSE tester switches : S2, S3, S5, F1
thru F5.
(4) OPEN tester switches : S1, S6/S7, S8, S9.
(5) Clamp shutter cable in the connector and
insert ash bar connector into the shutter FFA.
(6) Set shutter lens to 10.4’’ and trim wheel to
full dark.
(7) Proceed with testing as indicated in table
below. If shutter tests ok at 5.0 volts, retest at
6.40 volts.