68
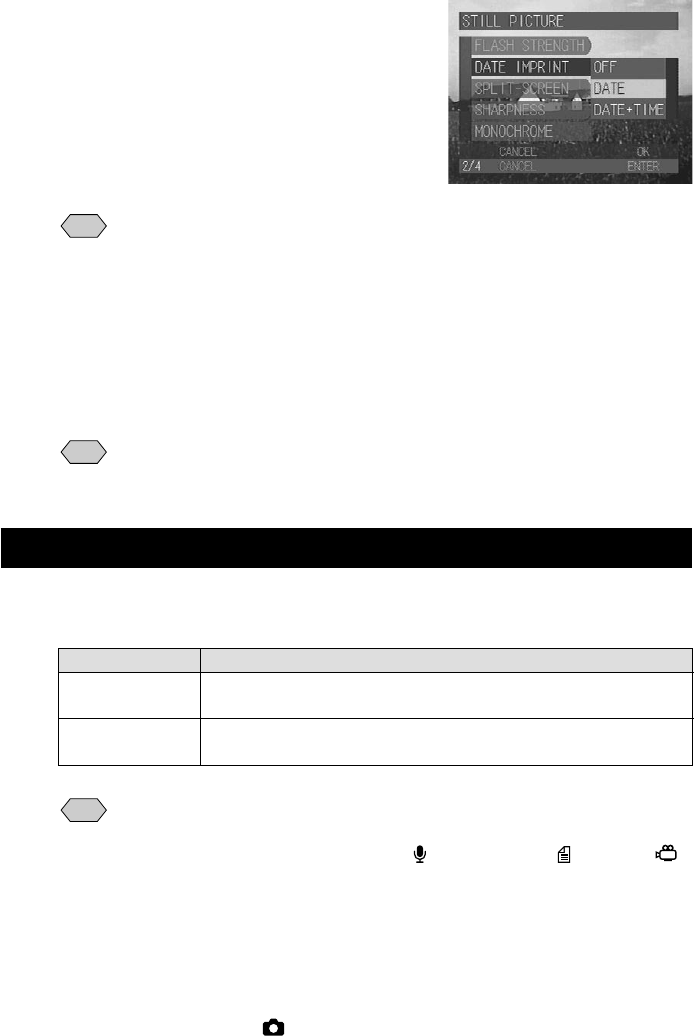
C Choose the date format (DATE or
DATE + TIME) and then press the
ENTER button.
The format for the date and time (e.g. 2001/
09/15/10:15) is displayed as shown below.
• [DATE] ...................
2001/09/15 (yyyy/mm/dd)
• [DATE + TIME] ...... 2001/09/15 10:15
(yyyy/mm/dd/hh:mm)
Note
• To cancel the date imprint mode, select [OFF].
D Press the CANCEL button to exit the
menu display.
When the date imprint mode is set, the date
on the LCD monitor appears in amber.
E Press the shutter release button to
record the image.
Note
• Enable the keep settings mode to save the date imprint mode setting.
→ P.108 “Keep Settings”
Shooting by Splitting the Screen (Split-Screen)
This mode enables you to divide the shooting area on the screen in half, either
from top to bottom or left to right.
Note
• Use the LCD monitor when taking split shots.
• Split shots cannot be taken in the following situations:
* when the Camera mode is set on (Voice Memo), (Text) or
(Motion Picture)
* when non-compressed mode (NC) is set
* in continuous shooting mode or when shooting with voice memo
• When taking split shots in this mode, you cannot set the digital zoom,
auto bracket mode, manual focus, white balance, or exposure
compensation.
A Set the mode dial to [ ] and press
the MENU button.
Mode Description
New Shot The image is recorded in two steps by dividing the screen in
two. You can record only one half if desired.
Additional Shot You can recall the recorded half and add the other half. This
image is saved as a separate file.


