Administrating the Camera
Configuring the System — System Menu
37
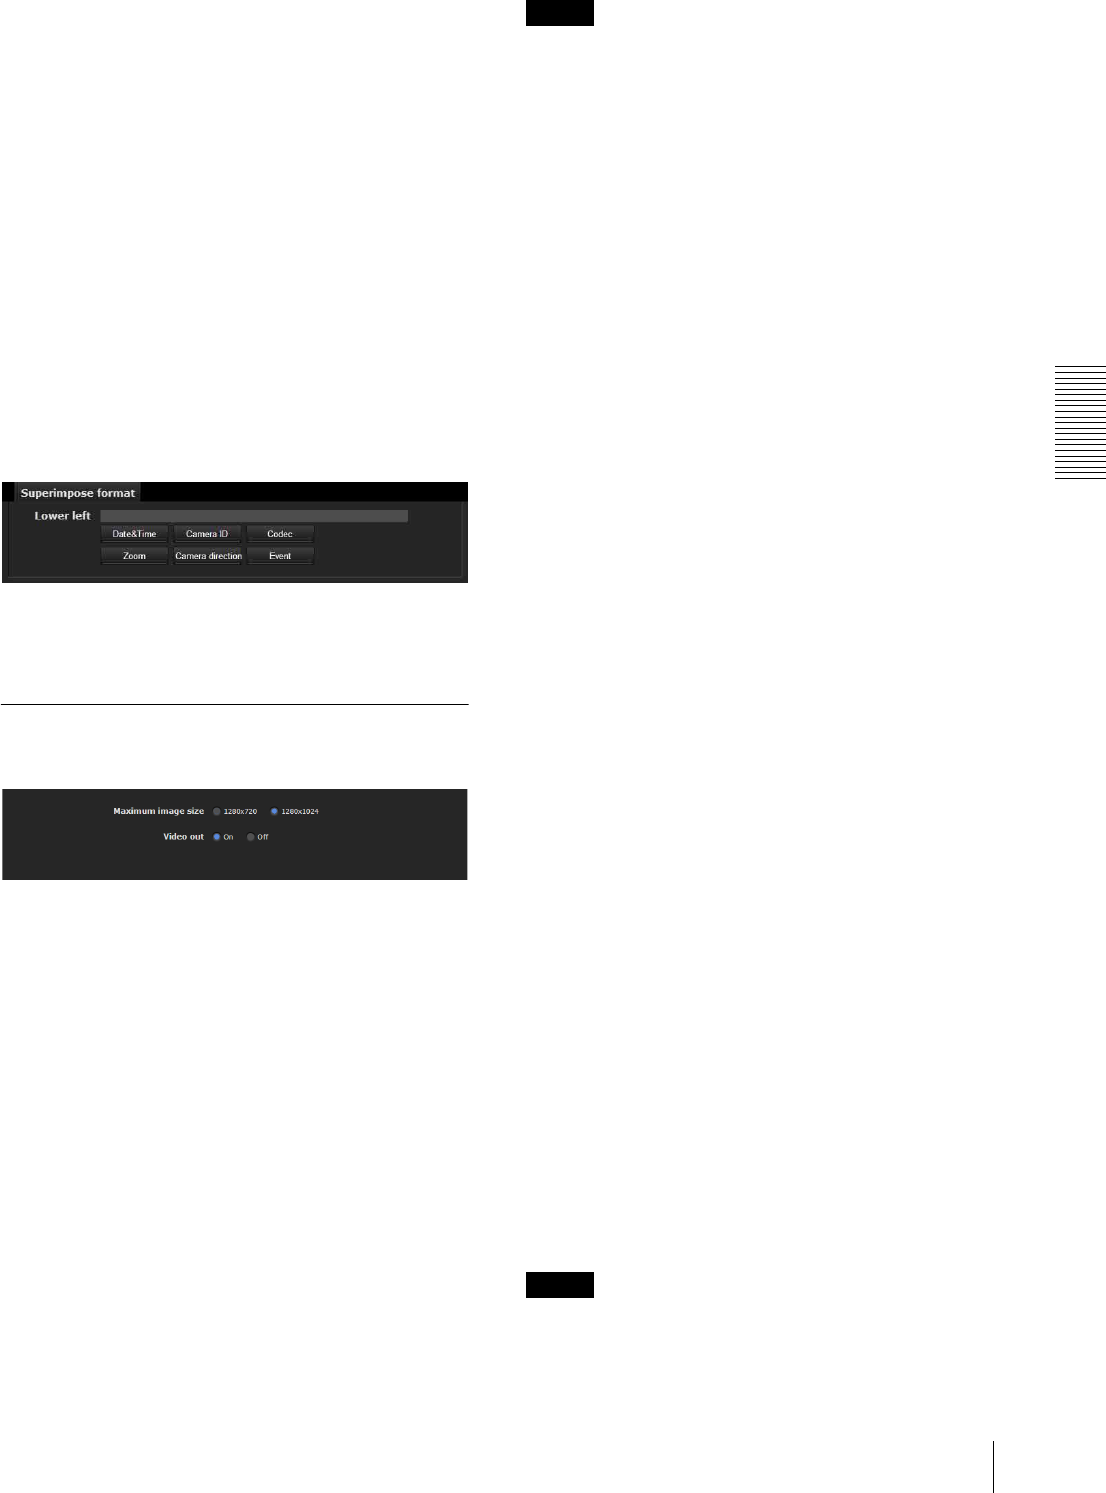
Superimpose format
Click Edit to edit the content to superimpose over each
display position.
Only one Date and one Camera ID can be specified for
the Superimpose format.
You can set the content to superimpose in the “Lower
left”, “Lower right”, “Upper left”, “Upper right”,
“Center”, “Top” and “Bottom” parts, respectively.
However, if you specify the “Top”, superimposed
content will not appear on the upper left or upper right.
Similarly, if you specify “Bottom”, superimposed
content will not appear on the lower left or lower right.
If the Lower left/Lower right or Upper left/Upper
right are displayed at the same time, the maximum
image size that can be used for a logo is 624 × 120.
Click Date & Time, Camera ID, Codec, Zoom,
Camera direction or Event to insert the corresponding
tag into the string.
Display sample: Lower left
OK/Cancel
See “Buttons common to every menu” on page 32.
Installation Tab
You can perform settings related to installation.
Maximum image size
SNC-CH140/CH180/DH140/DH180
1280 × 720: Image will have an aspect ratio of 16:9, and
an image size up to 1280 × 720 can be specified for
the video codec.
1280 × 1024: Image will have an aspect ratio of 5:4, and
an image size up to 1280 × 1024 can be specified for
the video codec.
SNC-CH240/DH240/CH280/DH280
1920 × 1080: Image will have an aspect ratio of 16:9,
and an image size up to 1920 × 1080 can be specified
for the video codec.
1920 × 1440: Image will have an aspect ratio of 4:3, and
an image size up to 1920 × 1440 can be specified for
the video codec.
Notes
• The camera restarts when the Maximum image size is
changed. It takes about 2 minutes.
• The settings below are changed when the Maximum
image size is changed.
– Camera menu-privacy mask tab: returns to the
factory setting.
– Camera menu-video codec tab: returns to the factory
setting except:
SNC-CH140/CH180/DH140/DH180
– Image size of image1: to be 1280 × 720 when set
to 1280 × 720, or 1280 × 1024 when set to
1280 × 1024.
– Frame rate of image1: to be 30fps when set to
1280 × 720, or 20fps when set to 1280 × 1024
SNC-CH240/DH240/CH280/DH280
– Image size of image1: 1920 × 1080 (when set to
1920 × 1080), or 1920 × 1440 (when set to
1920 × 1440).
– Frame rate of image1: 30fps (when set to
1920 × 1080), or 20fps (when set to 1920 × 1440).
– Preset position menu: returns to the factory setting.
– Alarm buffer menu: returns to the factory setting.
– Event detection menu- motion detection tab: returns
to the factory setting except:
SNC-CH140/CH180/DH140/DH180
– Maximum detection size of motion diction: to be
width of 1280 and height of 720 when set to
1280 × 720, or 1280 and height of 1024 when set
to 1280 × 1024.
– Maximum detection size of VMF: to be width of
1280 and height of 720 when set to 1280 × 720 or
1280 and height of 1024 when set to 1280 × 1024.
SNC-CH240/DH240/CH280/DH280
– Maximum detection size of motion detection:
width 1920, height 1080 (when set to
1920 × 1080), or 1920 and 1440 (when set to
1920 × 1440).
– Maximum detection size of VMF: width 1920,
height 1080 (when set to 1920 × 1080) or 1920
and 1440 (when set to 1920 × 1440).
• Once the maximum image size has been changed, full
panorama image will not be displayed in the optimum
aspect ratio. To return to the optimum aspect ratio,
capture the full image again in Initial tab - Capture
full image.
Video out
You can configure the output setting for the analog
image output terminal of the camera. Select On to
output an NTSC or PAL signal.
Note
The output signal format is determined according to the
setting of the camera’s NTSC/PAL switch.


