Administrating the Camera
Setting the Camera Image and Audio — Camera Menu
44
Control buttons
The control buttons are located at the top of the preview
screen.
You can operate the camera with these buttons.
Pan/Tilt operation
Click the button of the direction you wish to move the
camera.
Zoom operation
Available by clicking – to zoom out and + to zoom in.
Position
Available to call out the privacy masks, delete them one
by one or delete all at one time.
After completing the configuration, register by clicking
OK.
Clear: Click the button to delete the privacy mask set.
All clear: Click the button to delete all privacy mask.
Color
Specify the color of privacy masks. This setting is
common to every privacy mask.
The colors used are as follows:
Black, Gray1, Gray2, Gray3, Gray4, Gray5, Gray6,
White, Red, Green, Blue, Cyan, Yellow, Magenta
Setting a privacy mask
Operate according to the following procedure to set a
privacy mask in the position of your choice:
1
Face the camera to the position where you want to
set a privacy mask using the control button on the
preview screen.
2
Specify the privacy mask area by dragging the
mouse on the preview screen.
3
Select the number to register from the Position
drop-down list.
4
Select the color of the mask from the Color drop-
down list.
Note
The color is common to every privacy mask. The
color selected last is applied.
5
Click OK.
The mask is displayed on the preview screen.
OK/Cancel
See “Buttons common to every menu” on page 32.
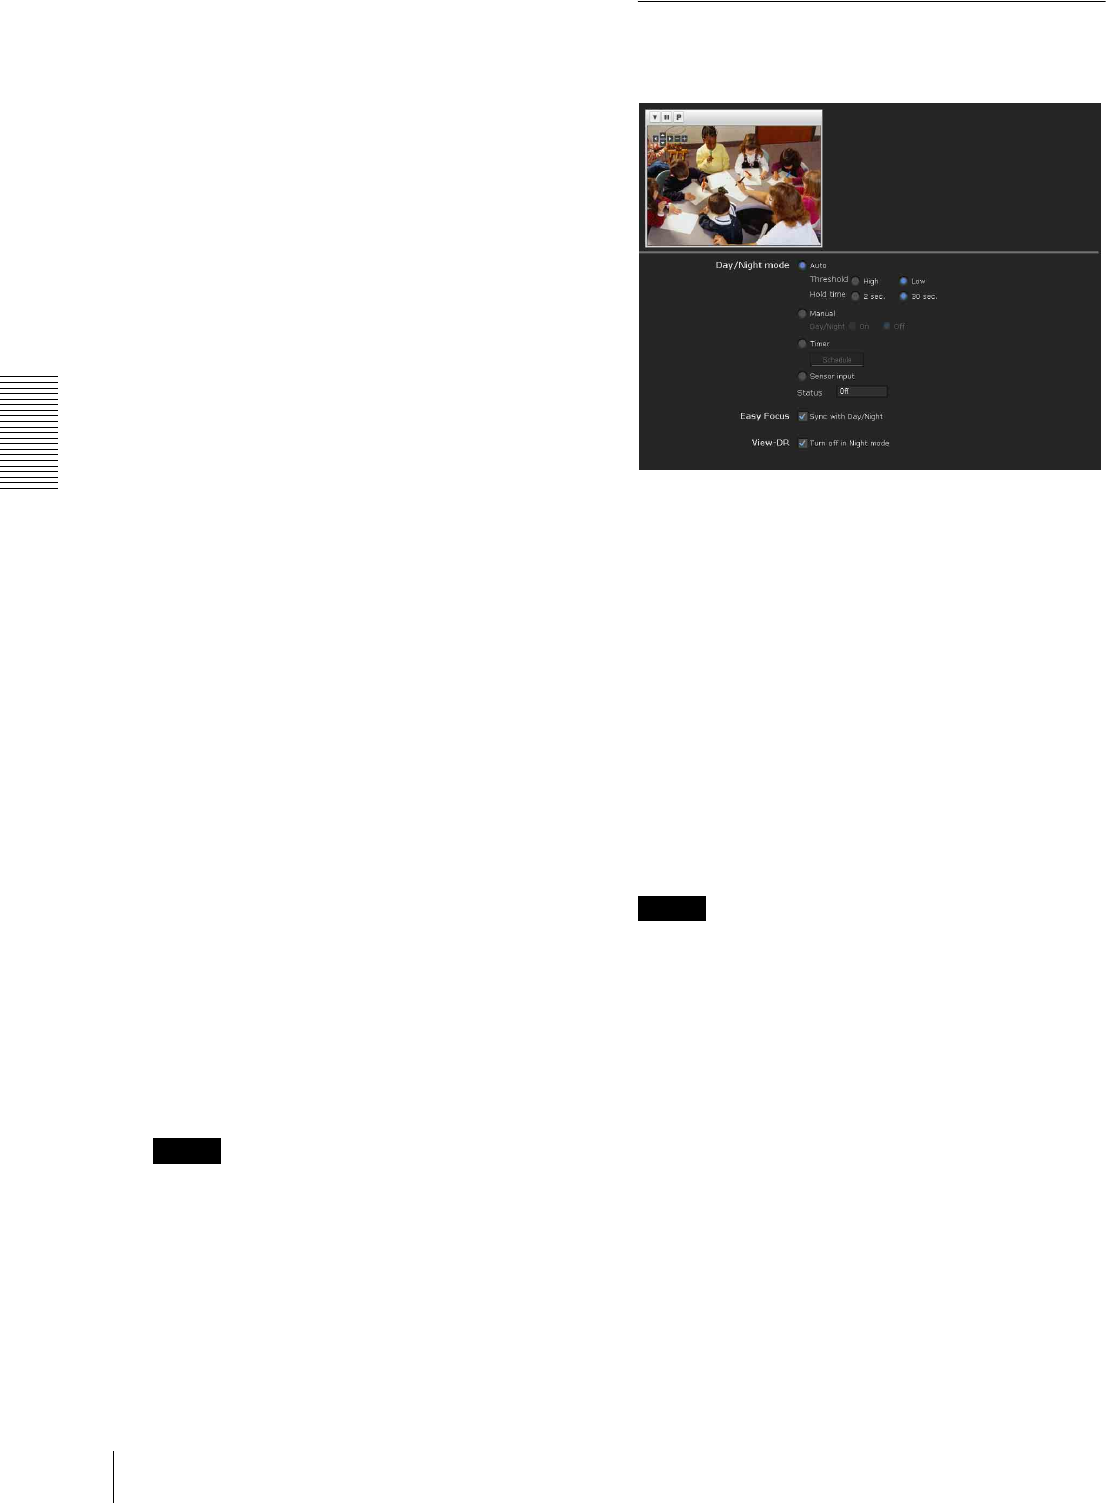
Day/Night Tab
Use this tab to set the day/night function of the camera.
Preview screen
This screen is for monitoring images and configuring
day/night settings.
For details on each button, refer to the Control bar of the
Plug-in free viewer (page 23).
Day/Night mode
Select the day/night mode from among four modes.
Auto: Normally works in day mode; switches
automatically to night mode in a dark place.
Threshold: Set the brightness to High or Low when
night mode is set.
Hold time: Set the reaction time of changes in
brightness from 2 sec. to 30 sec.
Notes
• If bright light is directed at the camera while it is in
night mode it may cause hunting in the camera. In
such cases, switch settings according to the lighting
using the Sensor mode, or switch the Day/Night mode
using the Manual mode.
• The day/night mode is not switched to night mode
automatically when Visibility Enhancer and AGC
are set to Off in the Picture tab.
• When “Turn off in Night mode” is checked View-DR
setting is turned off automatically in night mode. For
details about View-DR, see “Picture Tab” on page 41.
Manual: Switch the day/night mode manually. When
you select Manual, On and Off become active.
When you select On, the camera works in night
mode. When you select Off, it works in day mode.
Timer: Normally the camera works in day mode. It
switches to night mode at the time you set in the
Schedule menu.


