


32338AC 59
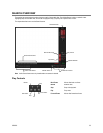
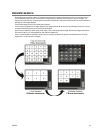
EXPORTING IMAGE OR VIDEO FILES
Your recorder can export single images in a JPG Image file format and save video clips in an AVI format. JPG and AVI file formats are the
most commonly used graphical formats today. Virtually every computer offers some type of support for these file formats which make
them the most ideal formats to use. Only one camera can be selected at a time for this function to work.
Image Images can be exported in JPG, PNG, or BMP formats. The JPG format is optimized for compressing full-color or grayscale
photographic images (uses lossy compression, and will create a small file size). The PNG format is designed to maintain more
quality while still compressing full-color or grayscale photographic images (uses a lossless compression, and will crea a medium
file size). The BMP format can be used for full-color or grayscale photographic images (uses little, or no compression, and will
create a large file size). Use any of these options to export a single image or frame.
AVI AVI image data can be stored uncompressed, but it is typically compressed using a Windows-supplied or third party compression
and decompression module called a codec. AVI is used to export a video clip.
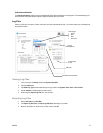
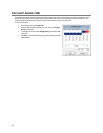
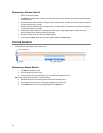
1. Locate your desired video or frame using the Search screen.
Note To save a JPG or AVI file, you can only search one camera channel at a time.
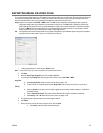
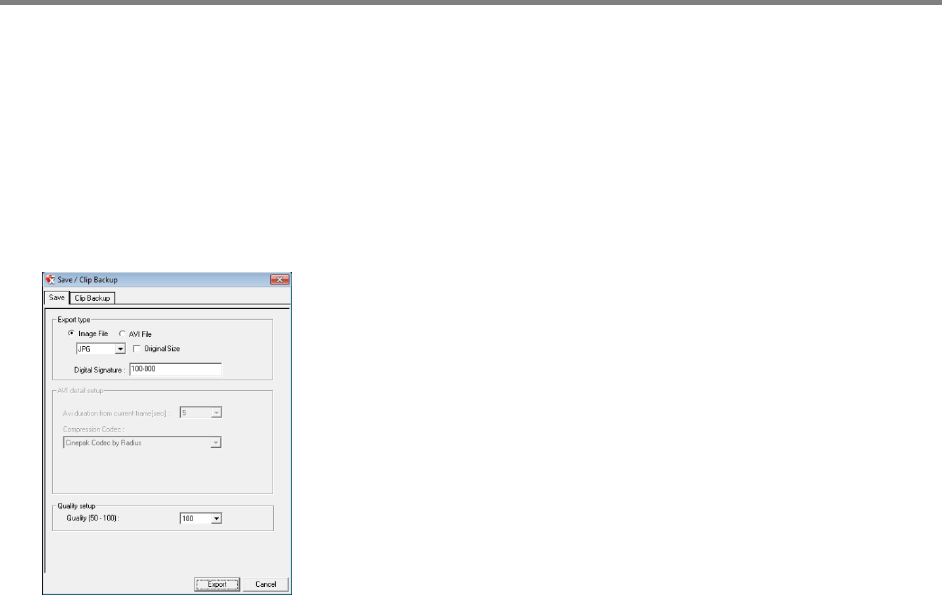
2. Click Save.
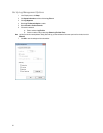
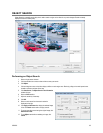
3. Select the Export Type: Image File (JPG, PNG, or BMP) or AVI File.
4. If you are exporting an Image File, select the type of file you want to export (JPG, PNG, or BMP)
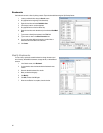
Image File
a) Select Quality (50-100). When size is not an issue, set the quality to 100.
b) To export the file as its original resolution, select Original Size. Use this option only if file size is not an issue.
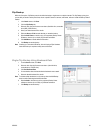
AVI File
a) Enter the duration (in seconds) to save. Although suggestions are provided, a selection between 1 and 3600 can
be entered manually.
b) Select a Compression Codec. Each codec provides different levels of quality, compatibility and file-size.
c) Select Quality – 50 – 100. When file size is not an issue, set quality to 100.
5. The digital signature is already entered, but can be changed if required.
6. Click Export.
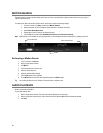
7. Select a location to save the file, enter a name for the file, and click Save.
a. Click Cancel to exit the window without exporting file.