


Using Command Center Applications User Guide
25
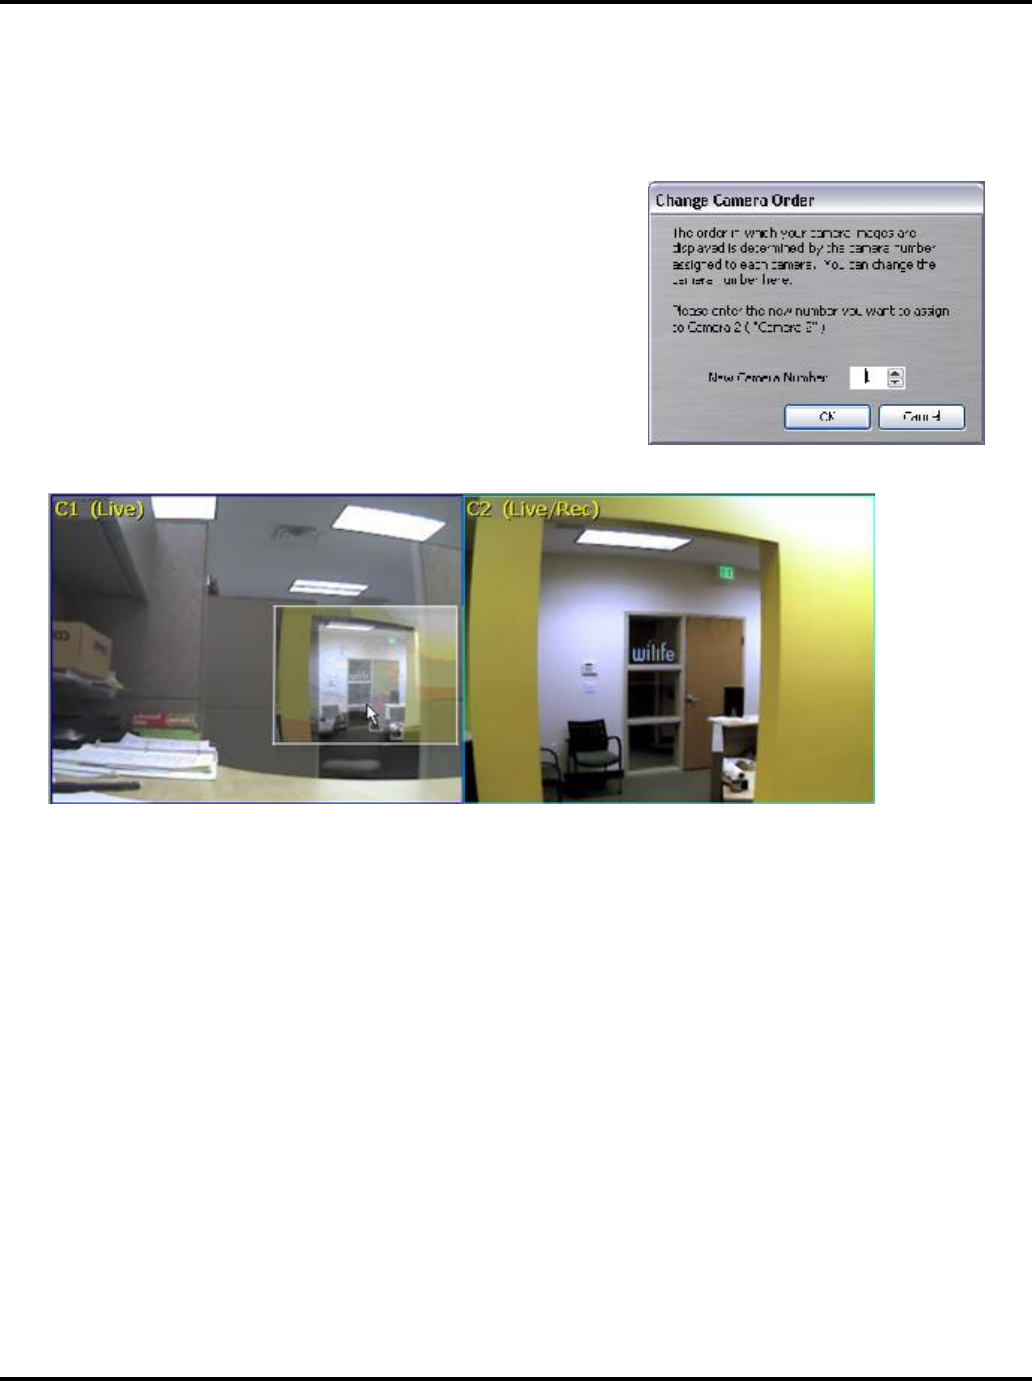
Change Camera Order
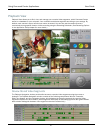
In the Live view, Command Center displays each camera’s “feed” in order of the camera’s number. For
example, if the Live view is set to display the feed from four cameras, then the lowest camera number (i.e.,
camera 1) would display in the upper-left corner; camera # 2 would display in the upper-right corner; camera
#3 would display in the lower-left corner; and camera #4 in the lower-right corner.
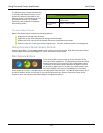
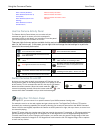
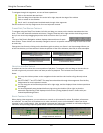
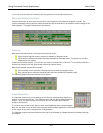
To change the camera order in Live mode, either in the 4- or 6-
camera window mode, right-click on the camera viewing panel and
select Change Camera Order. The Change Camera Order screen
displays. In the New Camera Number field, enter the new position
you want for this camera (i.e. 1), as shown in this graphic.
You can manually enter a number (1 to the number of cameras on
the system) or use the increase/decrease arrow buttons to select
the desired number.
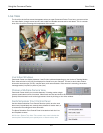
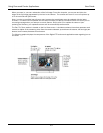
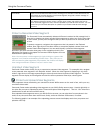
The easiest way to change camera numbers is to click-and-drag a
camera’s image on top of another camera’s image. This
automatically changes the camera order.
In the graphic below, camera 2 is being dragged into the window for camera 1.
Delete a Camera
From time-to-time you may remove a camera from your system. Command Center, by default, saves the
settings and position of this camera, expecting that you may add it back to your system. In some cases you
may permanently move a camera to another location. In these cases, you may want to delete the camera from
the Command Center database.
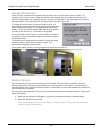
If the camera is still connected, you can use the Live Windows context menu to delete a camera. Follow these
simple instructions:
1) Make sure the camera is not plugged in, to prevent it being rediscovered by Command Center.
2) Select the "Delete Camera" option.
Note: You can delete a camera from the Setup > Camera tab screen. Simply select the camera tab
and then press the Delete button.