


User Guide
80
There will also be no alerts sent, but this would be the case anyway. It might better be
named (Turn Motion-Based Recording Off).
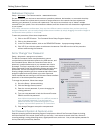
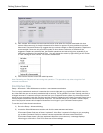
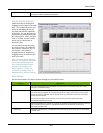
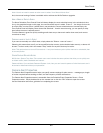
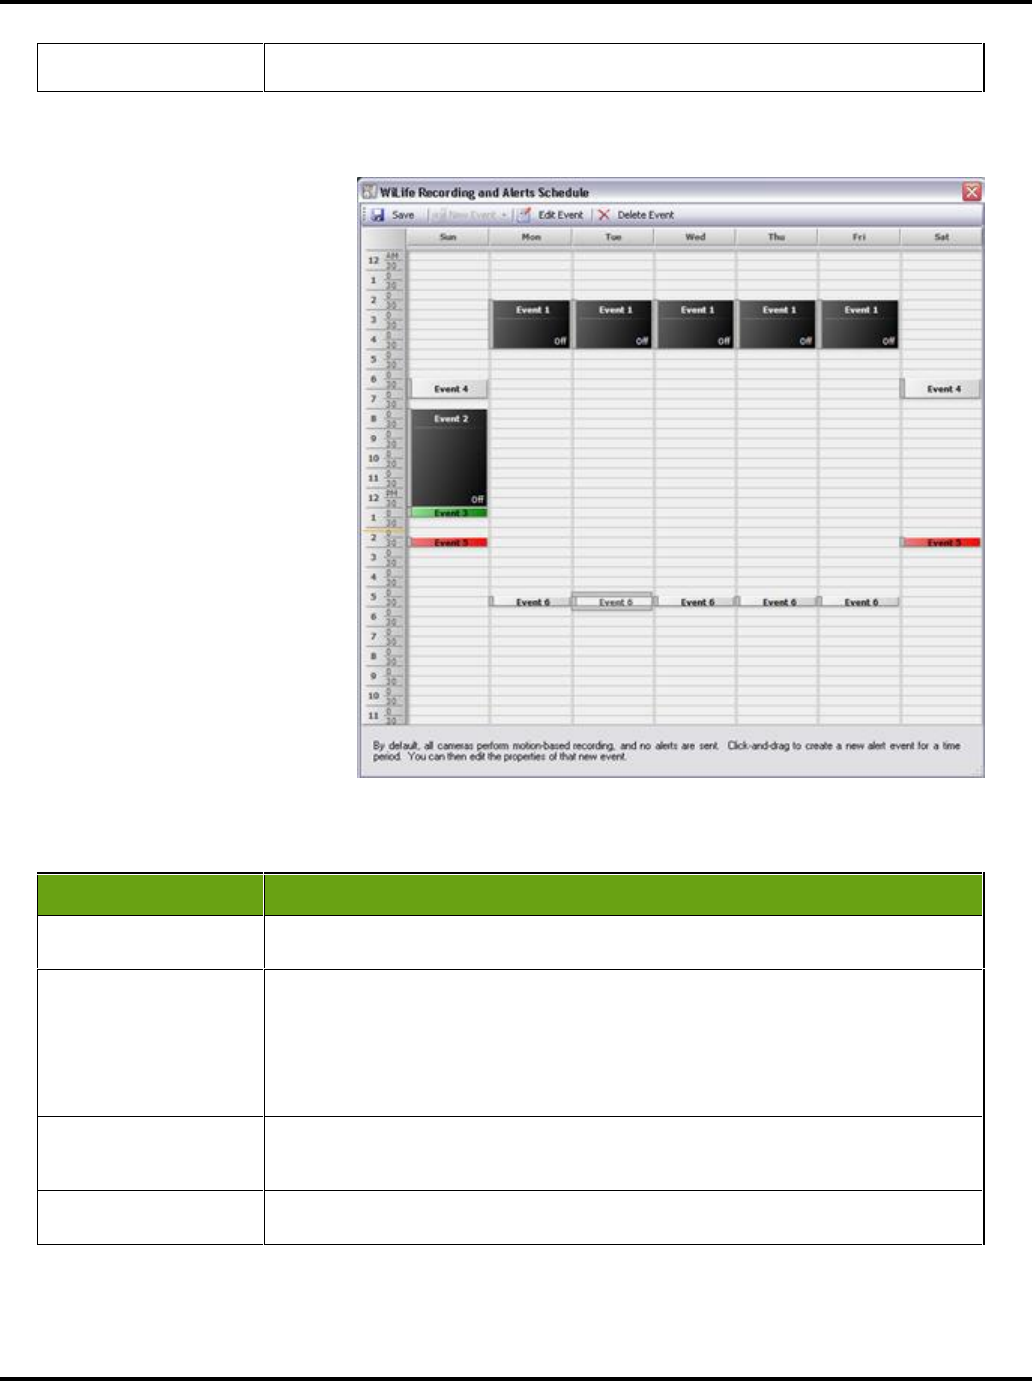
HOW DO I CREATE AN EVENT?
Create an event by clicking and
dragging from the start to the stop
time. This creates the event, and
opens an edit dialog where you
can view and edit the properties
of the item. You can bring up this
same dialog by double-clicking on
any existing item. And if you right-
click on an item, a context menu
allows you to edit the item or
delete the item.
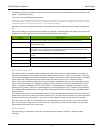
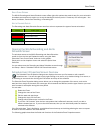
You can also just click and drag
an event to move it to a different
time or date. Select the “top” or
the “bottom” of the item to
change the start or stop time by
dragging the top or bottom of the
item up or down.
Note: Command Center does not
allow you to create two scheduled
events with overlapping times.
Also, creating scheduled alert
events is only available with
WiLife Platinum. Creation of
scheduled recording events is
available with or without Platinum.
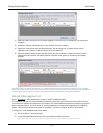
MENU OPTIONS
Use the menu options to help you quickly manage your scheduled events.
Options Description
Save
Save all modifications to the Scheduler. The Save button will be active after you make a
change to a scheduled event.
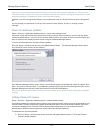
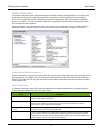
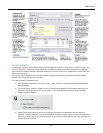
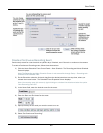
New Event
Create a new event. Clicking on it opens the Schedule Event Properties Screen, allowing
you to set event properties such as the start/end time, day(s) of the week, the event type,
which cameras are affected, and the type of action you need each camera to accomplish
during this time period.
The New Event button will be active if you click on a time block that has not been
scheduled/assigned to an event.
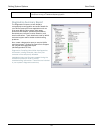
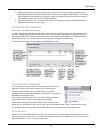
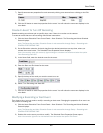
Edit Event
Edit the selected event. Clicking on it opens the Schedule Event Properties Screen, allowing
you to modify event properties. The Edit Event button will be active if you click on a
previously created event.
Delete Event
Delete the selected event. The Delete Event button will be active if you click on a previously
created event.