CHAPTER
3-1
Cisco Video Surveillance 2600 IP Camera User Guide
OL-24127-02
3
Configuring and Managing the IP Camera
The Cisco Video Surveillance IP Camera provides configuration windows that you use to configure and
manage the IP camera. This chapter explains how to access the configuration windows, describes each
window, and provides detailed information about the options that are available in each window.
When configuring the IP camera, be aware of these guidelines:
• You must install and set up the Cisco Video Surveillance IP camera as described in Chapter 2,
“Getting Started,” before you can access the configuration menus.
• You must be an IP camera administrator or an IP camera user with administrator privileges to access
the configuration windows.
• For security, the configuration windows time out after 2 minutes of no activity. If a time out occurs,
a pop-up window prompts you to log back in by entering your user name and password when you
next press a key or click an item. When you log back in, the configuration window that you were
displaying remains on your screen, but all settings revert to their last saved values.
This chapter includes these topics:
• Configuration Overview, page 3-1
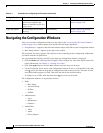
• Navigating the Configuration Windows, page 3-4
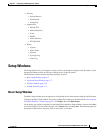
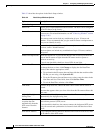
• Setup Windows, page 3-5
• Administration Windows, page 3-12
• Audio/Video Windows, page 3-16
• Security Windows, page 3-25
• Applications Windows, page 3-27
• Status Windows, page 3-38
Configuration Overview
There are many settings and options that you can configure for the IP camera. The items that you
configure depend on several factors, including your camera model, operational requirements, and
connected external devices.
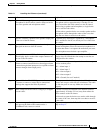
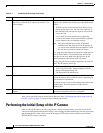
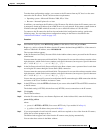
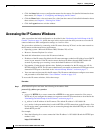
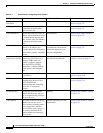
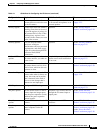
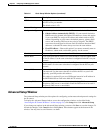
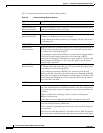
Table 3-1 provides general information to help you determine what items you need to configure for your
situation. Use this table as a guide as you configure your IP camera and as a reference if you need to
change configurations in the future.


