


1-12
Getting Started
L
Proof Sign-off:
Ohtera _______
Fujimori _______
Pipa _______
R4C3700
Rev.D
A5 size CHAP1.FM
4/21/99 Pass 0
Setting the date and time
When you install the batteries for the first time, you
need to set the date (year, month, and day) and time
(hour and minutes). After you make these settings, the
camera automatically records the date and time of
each picture.
Follow these steps to set the clock on the LCD monitor.
Note:
If you connect the PhotoPC 750Z to your computer and
access EPSON Photo!2 when the camera's clock is not set,
the camera's date and time will be set to that of the
computer's automatically. For instructions on connecting
the camera to the computer and accessing EPSON Photo!2,
see the EPSON Photo!2 User’s Guide.
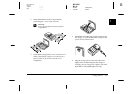
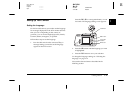
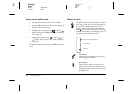
1. Turn the dial switch on the camera to
View
or
Play
. A message stating that you need to reset the
clock appears on the screen.
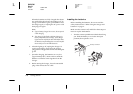
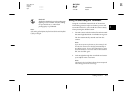
2. Press the
SEL
button. The clock setting screen
appears with the setting for the year highlighted
in red.
Note:
If you do not want to set the clock, press the
ESC
button
to clear the message.
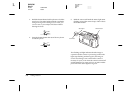
3. Press the or button to increase or decrease
the number, until the year is correct.
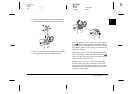
4. Press the
SEL
button. The year setting is saved and
the month setting is highlighted.
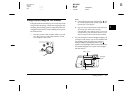
5. Adjust the month, day, hour, and minutes settings
as described above until the date and time are
correctly adjusted and saved.
Note:
If you want to reset any previous item, simply press the
ESC
button until the item you want to reset turns red.
6. When you finish making the minutes setting,
press the
SEL
button to exit the menu.
You’re now ready to take pictures with your PhotoPC
750Z. Turn to Chapter 2 for simple, step-by-step
instructions.
After taking photos, you can connect the camera to
your computer and transfer the images. To transfer
photos to your computer, you need to install EPSON
Photo!2. For installation instructions, see the
EPSON
Photo!2 User’s Guide
.