


Taking Pictures
2-11
R4C3700
Rev.D
A5 size CHAP2.FM
4/21/99 Pass 0
R
Proof Sign-off:
Ohtera _______
Fujimori _______
Pipa _______
2
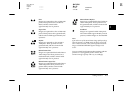
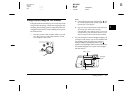
1. Secure the camera on a flat surface or a tripod.
2. Turn the dial switch on the camera
On
or
View
and wait until the status light turns green.
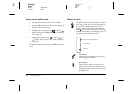
3. Press the timer button on the top of the camera.
The timer icon appears on the display panel.
4. Press the shutter button. The timer icon and the
red timer light on the front of the camera flash
slowly for eight seconds, then rapidly for two
seconds before the shutter releases.
The camera beeps when the image is captured.
The status light on the back of the camera flashes
red as the camera processes the image. When the
status light stops flashing and turns green, you
can take another picture.
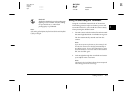
You need to press the timer button again each
time you want to take a picture using the self
timer.
You can also use the self timer along with the
continuous shooting mode. When these two modes
are used together, the camera takes up to 16 pictures
in sequence ten seconds after you press the shutter
button. To turn continuous shooting on, see “Using
the continuous shooting feature” on page 2-12.
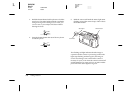
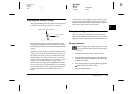
Taking close-ups with the macro mode
For best results when taking pictures of
objects 20 to 80 cm away from the camera, use
the macro mode. Follow the steps below.
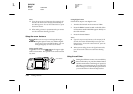
1. Turn the dial switch on the camera to
View
.
2. Press the
Mode
button on the left of the LCD
monitor until a green frame appears around the
previewed image and MACRO appears briefly on
the LCD monitor.
3. Press the shutter button.
Note:
❏
When you use the flash in macro mode, you may find
your pictures come out too light, since the flash is close
to the subject. In this case, try turning the flash off.
❏
When taking pictures of small print, such as that on
business cards, use the optical zoom for best results.