


4-4
Using Direct Print to Print Photos
L
Proof Sign-off:
Ohtera _______
Fujimori _______
Pipa _______
R4C3700
Rev.D
A5 size CHAP4.FM
4/21/99 Pass 0
Note:
If an error dialog box appears indicating the camera is not
properly connected to the computer, check the cable
connection and make sure the camera’s dial switch is set
to
Play
. Then click
OK
.
8. Click
Browse
and select your CD-ROM drive. Then
click the
OP-PROG
folder, and click
OK
.
9. Select the version you want to upload from the
Applications in Folder list.
10. Click
Upload
. EPSON Program Uploader begins
uploading the selected programs.
When the uploading process is finished, the
uploaded programs appear in the Applications in
Camera list.
11.
Click
Close
.
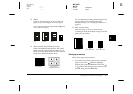
To delete a program from you camera, turn the
camera’s dial switch to
Play
. Press the
SEL
button.
Select the Software menu and press the
SEL
button.
Choose
Add/Delete
, press the
SEL
button, select
Delete
, then press the
SEL
button again. Select the
program you want to delete, press the
SEL
button, then
follow the instructions on the LCD monitor.
You can reinstall either version of the program at any
time from the included CD-ROM.
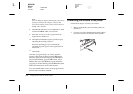
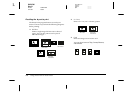
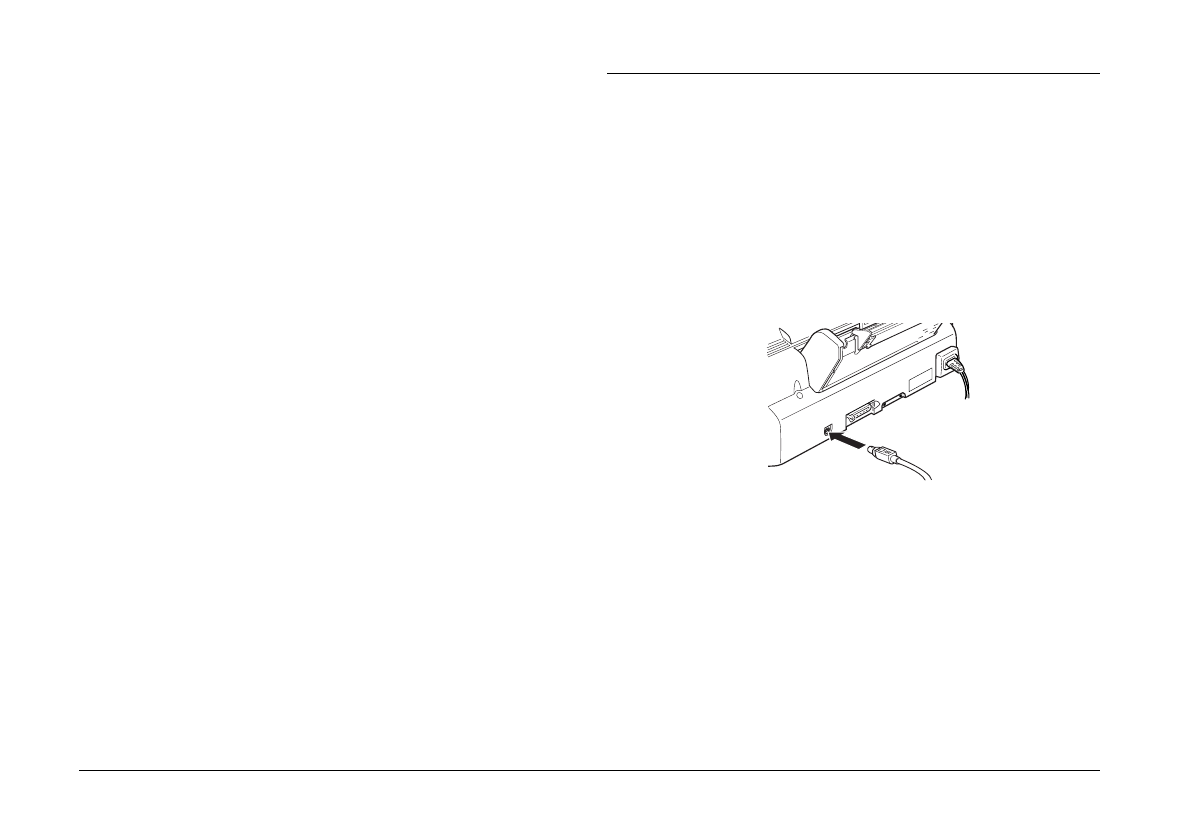
Connecting your camera to the printer
Follow these steps to connect your camera.
1. Make sure both the camera and the printer are
turned off.
2. Connect one end of the Macintosh serial cable to
the serial connector on the back of the printer.