


Using Direct Print to Print Photos
4-5
R4C3700
Rev.D
A5 size CHAP4.FM
4/21/99 Pass 0
R
Proof Sign-off:
Ohtera _______
Fujimori _______
Pipa _______
4
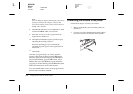
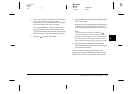
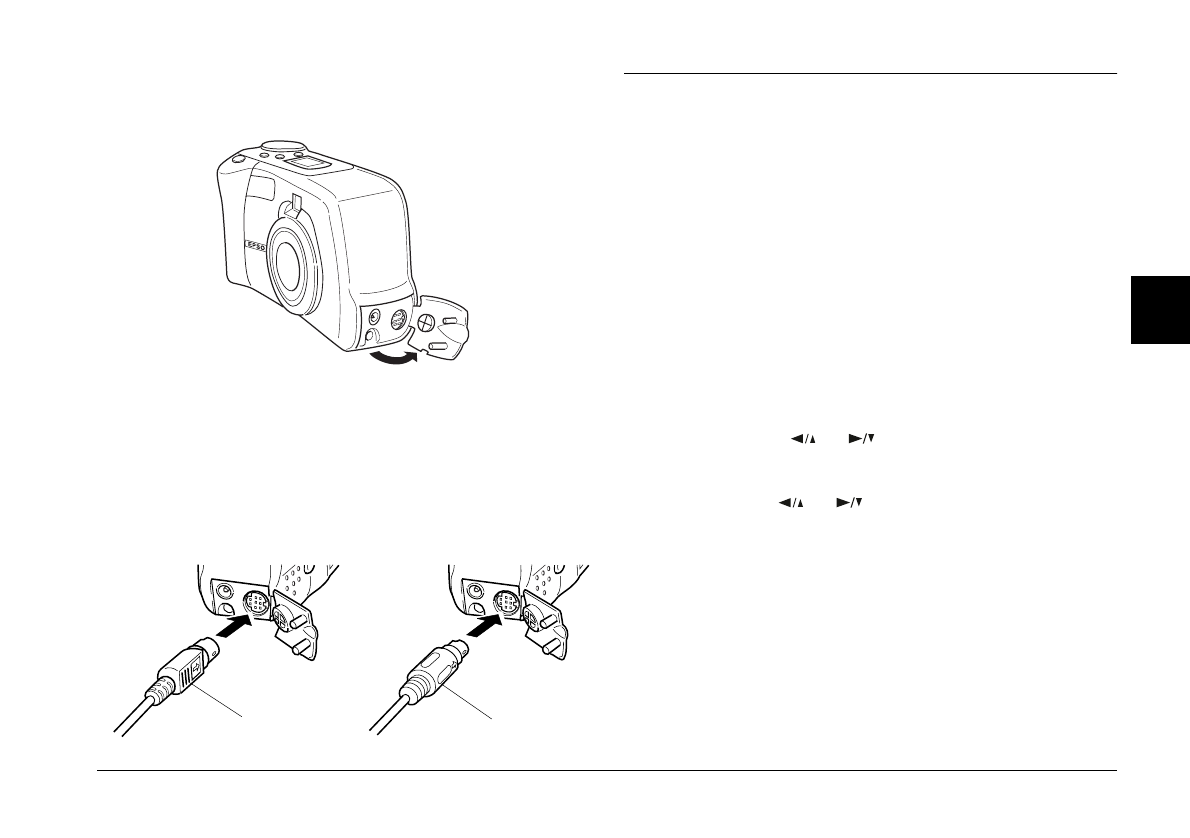
3. Open the connector cover on the side of the
camera.
4. Plug the connector cable into the camera’s serial
port.
c
Caution:
Be sure to position the cable correctly before
pushing it into the connector. Otherwise, the
cable's pins may be damaged.
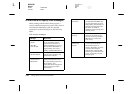
Printing Your Images
The Direct Print program controls all the print settings
between your camera and the connected printer. After
accessing Direct Print, use it to select a layout before
printing your images.
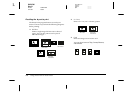
Accessing the Direct Print program
1. Make sure the printer is off, then turn your
camera’s dial switch to Play.
2. Press the SEL button on the back of the camera.
Menu icons appear at the top of the LCD monitor.
3. Press the or button until Software
appears on the monitor, then press the SEL button.
4. Use the or button to select D-Print V2.3,
then press the SEL button to display the Direct
Print modes.
Note:
If your printer is EPSON STYLUS COLOR 600, 800,
or 850, install the Direct Print program V2.2 and select
D-Print V2.2 instead. For details on installation, see
Installing the Direct Print Program Section.
To decide a layout, see the next section.
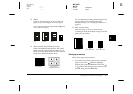
flat surface
arrow