


2-14
Taking Pictures
L
Proof Sign-off:
Ohtera _______
Fujimori _______
Pipa _______
R4C3700
Rev.D
A5 size CHAP2.FM
4/21/99 Pass 0
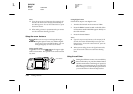
Using the Advanced Settings
Adjusting the white balance
Your camera’s white balance default setting is
Auto
, which means white balance is adjusted
for your photos automatically. At certain
times you may want to adjust the white
balance setting so that the colors in your
images appear more like those seen by the
eye.
When taking pictures at dusk, for example, adjust
white balance to
Lock
to increase reddish color tones
in your images. When taking pictures under white
light, however, keep white balance set to
Auto
to
avoid a green tone in your images.
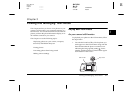
Follow these steps to change the white balance setting.
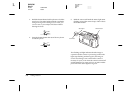
1. Turn the dial switch on the camera to
View
.
2. Press the
SEL
button on your camera. Three menu
icons appear at the top of the LCD monitor.
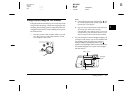
3. Highlight the conditions icon using the
button, then press the
SEL
button. The Conditions
menu appears.
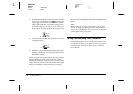
4. Highlight the auto/menu icon using the
or button, then press the
SEL
button to select
Manu
. The manual settings become available.
5. Highlight the white balance icon using the
button, then press the
SEL
button. The white
balance menu appears.
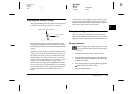
6. Select
Lock
using the or button, then
press the
SEL
button. The Conditions menu
appears with Lock next to the white balance icon
. An arrow appears beside WB on the
camera’s display panel.
7. To exit the setting menus, press the
ESC
button
twice.