3.1 Flow of Operations
ScanSnap S510M Operator's Guide 25
Basic Scanner Operations
3
3. Load the document onto the scanner.
Refer to "3.2 Scanning Different Document Types" (page 30) and "3.3 Loading Documents"
(page 33).
4. Press ([SCAN] button).
⇒ This starts the scanning.
⇒ The Power lamp on the scanner blinks blue during scanning.
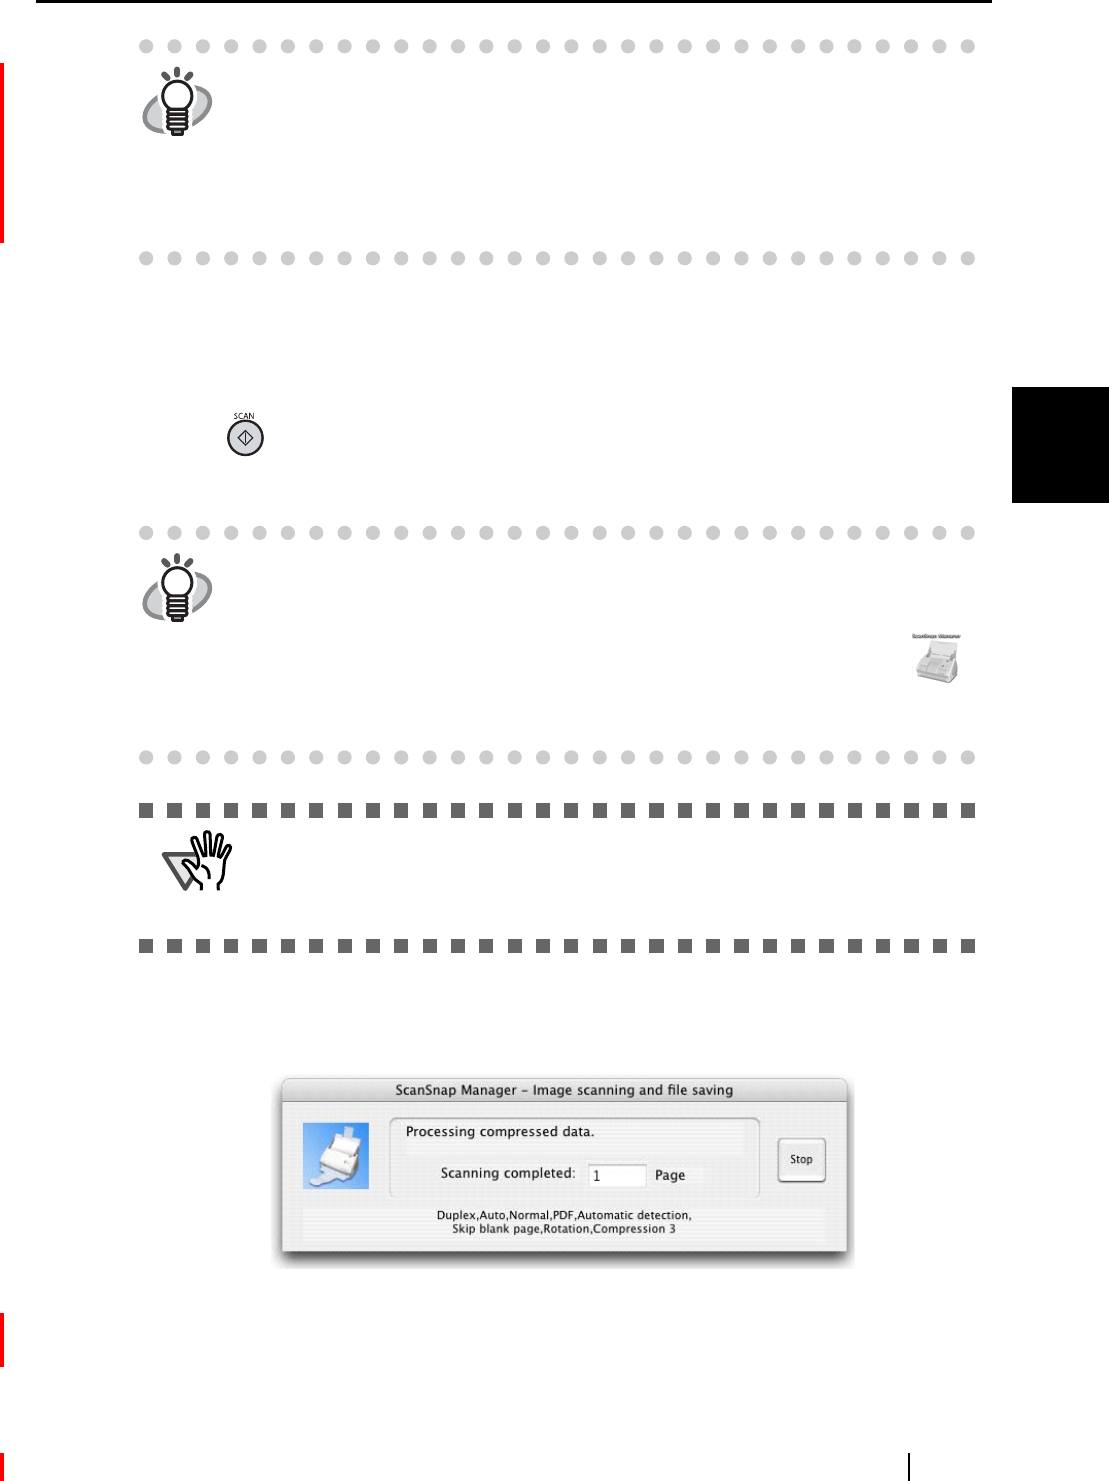
The following window appears to indicate the scanning status.
5. After the scanning a window may appear to set the application operation.
⇒ When [Use Quick Menu] is checked in Step 2, following [Quick Menu] appears.
HINT
• If [Use Quick Menu] is checked, you can select the application after scanning
the documents. This may be convenient if you want to specify the application
after scanning.
• If [Use Quick Menu] is not checked, you can process the scanned document
with the application specified in "Scan and Save Settings" window. So, you
need to be aware what application has specified in "Scan and Save Settings"
window in advance.
HINT
• By default, documents are scanned in "Duplex scan" mode when you press
the [SCAN] button. With "ScanSnap Manager," you can change the mode to
"Simplex scan" mode.
• You can also start the scanning by using the ScanSnap Manager icon
in the Dock menu to select "Simplex" or "Duplex" scan.
Refer to "3.4 Changing Scan Settings" (page 36) for more details.
ATTENTION
• Do not connect or disconnect other USB devices to or from the computer dur-
ing scanning.
• Do not close the paper chute or press the [POWER] button on the scanner
during scanning.
