


34
Shooting
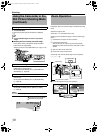
Applicable to: Video shooting mode
A Full Auto Shooting Mode
M Manual Shooting Mode
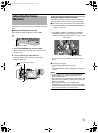
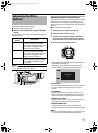
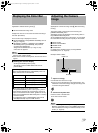
During video shooting, diagonal lines (zebra pattern) are
displayed only at areas with the specified luminance levels.
You can specify the luminance level range for displaying the
zebra pattern.
Displaying the Zebra Pattern
There are two ways to display the zebra pattern.
Ⅵ Set [ZEBRA] in the [CAMERA PROCESS] menu to [ON].
(A Page 59)
Ⅵ Set [USER1], [USER2], or [USER3] in the [CAMERA
SETTINGS] menu to [ZEBRA], then press the
corresponding USER button.
Assignment of USER buttons: (A Page 21, 65)
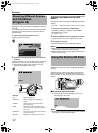
● A zebra pattern is displayed at the area that corresponds
to the specified luminance level.
Memo :
● Between the two methods above, setting via the USER
button is given a higher priority.
● The zebra pattern is not displayed when in the still picture
shooting mode.
● When [DISPLAY ON TV] in the [CONNECTION
SETTINGS] menu is set to [ON], the zebra pattern is
output on the external monitor. Set [DISPLAY ON TV] to
[OFF] to clear the display on external monitors.
Ⅵ Clearing the zebra pattern display
Set the [ZEBRA] menu to [OFF].
Alternatively, press the USER button that is set as
[ZEBRA].
Specifying the Luminance Level Range for
Displaying Zebra Pattern
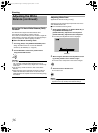
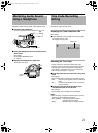
You can specify the upper limit ( ) and lower limit ( ) of
the luminance level range.
This is set to the range of 70 % to 80 % by default.
Ⅵ Set [ZEBRA] in the [CAMERA PROCESS] menu to
[THRESHOLD].
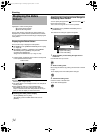
● A slide bar for setting the upper limit appears.
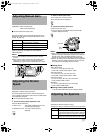
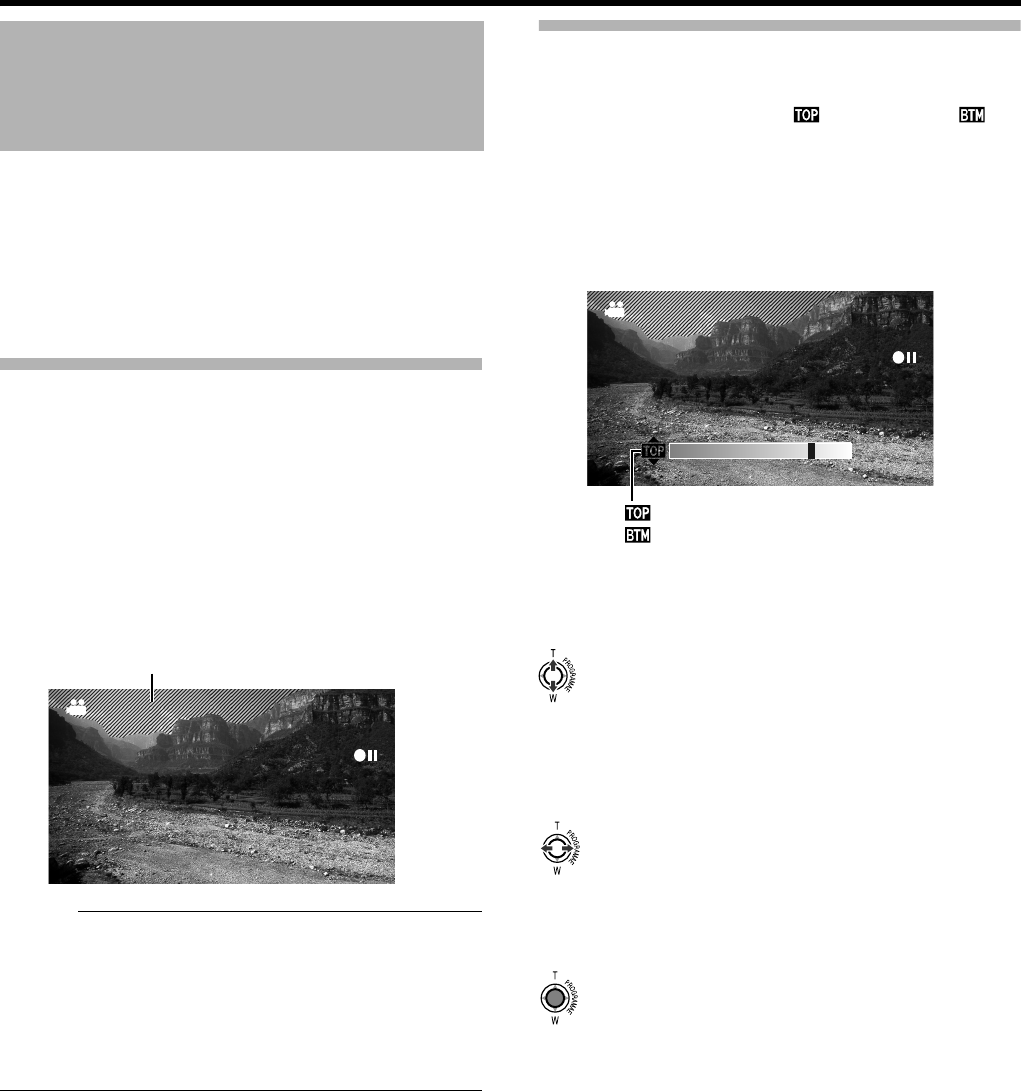
1 . Select whether you are setting the upper limit or
lower limit.
Push the Set Lever up or down.
2 . Select a setting value.
Move along the slide bar by pushing the Set Lever to the left
or right.
● The display area of the zebra pattern changes.
3 . Confirm the setting value.
Press the center of the Set Lever.
● The slide bar disappears.
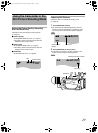
Displaying the Zebra
Pattern
Zebra Pattern
0% - 80%
: Upper Limit Setting
: Lower Limit Setting
M9H7_EN_001D.book Page 34 Thursday, August 26, 2010 11:51 AM