53
7. SHOOTING OPERATION
1.
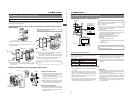
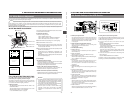
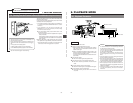
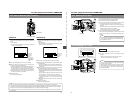
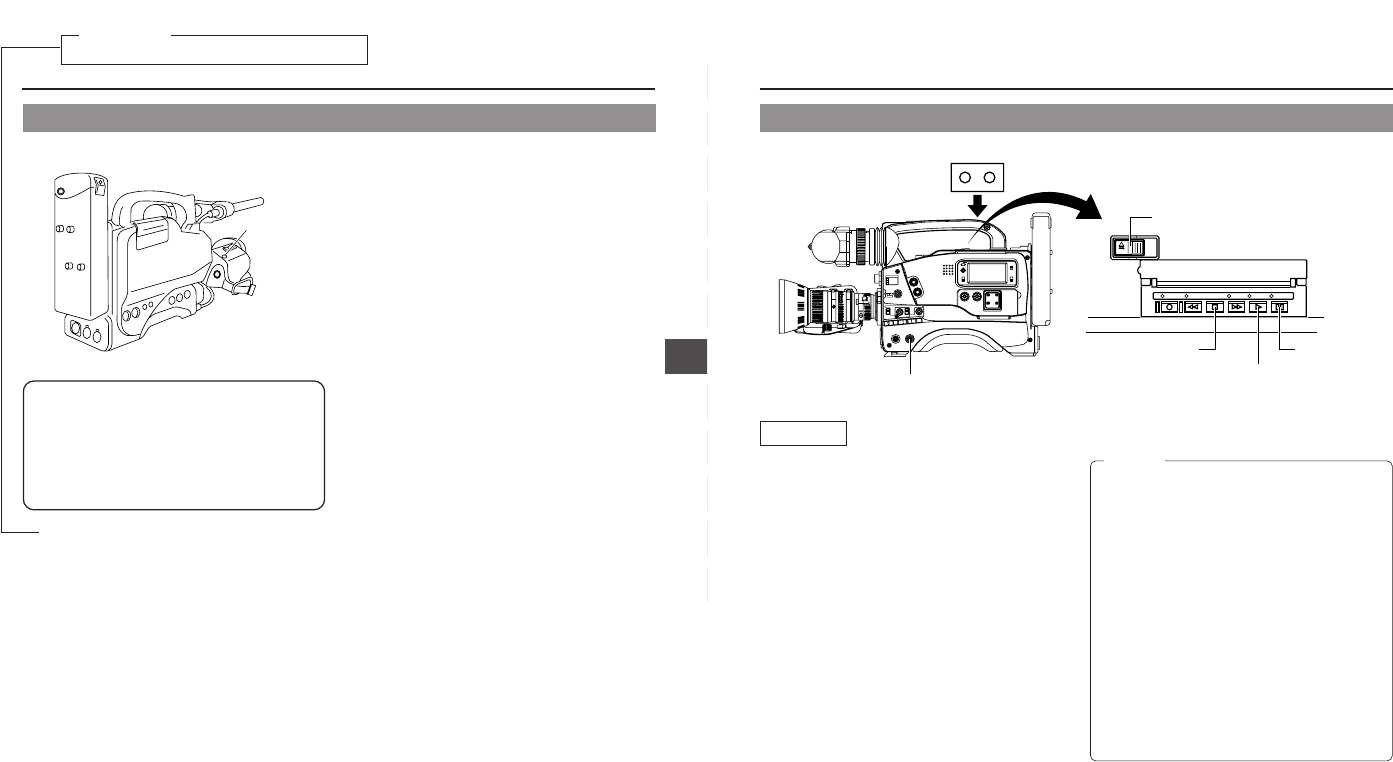
RET button
The recording check function is only valid in the standby mode
(VTR switch set to STBY).
In the record-pause mode, approximately 2 seconds of the last
recorded portion can be played back.
• The recorded contents can be checked in the viewfinder or
on a monitor connected to the MONITOR OUT or Y/C OUT
connectors.
• In the viewfinder or on the monitor connected to the
MONITOR OUT or Y/C OUT connectors, the video image
from the VCR section is output.
1.
In the record-pause mode, press the RET button on the
camera lens section.
• The tape is slightly rewound and played back for approxi-
mately 2 seconds.
After playback is finished, the tape returns to the position
at which the RET button is pressed and the record-pause
mode resumes.
Ⅲ When the RET button is kept pressed, the tape is rewound
and played back for approximately 10 seconds at maximum.
• While the RET button is pressed, the record-mode is not
entered even if the VTR trigger button is pressed.
7-4
Checking Recorded Contents in Record-Pause Mode
(Recording Check Function)
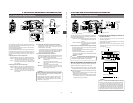
*This function does not work when the GY-DV500 is in
the save mode or stop mode.
* During recording check, the following indications will
appear if the error rate increases due to head clogging,
etc.
• “RF” appears on the display panel.
• “HEAD CLOG” appears on the counter display.
• “VTR WARNING (HEAD)” appears in the viewfinder.
See the instructions page 8 “Head Cleaning”.
For servicing
See the service manual page 2-7 “2.4.3 Cleaning”.
→
54
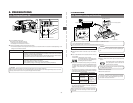
8. PLAYBACK MODE
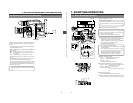
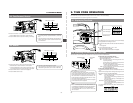
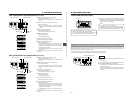
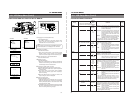
1.
Set the POWER switch to ON.
2.
Load the recorded videocassette correctly.
• Slide the EJECT switch to the side. When the cassette
cover opens, insert the videocassette and then close the
cassette cover again.
Ⅲ When a recordable videocassette (with the switch on the
back of the cassette set to REC) is loaded, the unit enters
the record-pause mode (STBY mode).
In this case, press the STOP button to release the record-
pause mode.
3.
Press the PLAY button.
a
The PLAY indicator lights and playback starts.
4.
Press the STILL button to stop playback temporarily.
a
The STILL indicator lights and the unit enters the still
mode.
5.
To re-start playback, press the PLAY button.
a
The STILL indicator goes out and playback starts again.
6.
To stop playback, press the STOP button.
a
The PLAY indicator goes out and the unit enters the
stop mode.
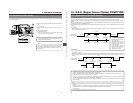
8-1 Playback Procedure
Operation
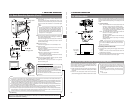
• When the still picture mode or stop mode has continued
for about 30 minutes, the unit automatically switches to
the save mode to protect the tape.
The time until the tape protect mode is initiated can be
set to 3 or 30 minutes with the VCR Setup Menu item
No. 307 LONG PAUSE TIME.
When used in a cold environment, the setting will be 3
minutes regardless of the setting on the VCR Setup
Menu.
• Noise may appear in the picture during still mode. This
does not indicate a malfunction.
• When the automatic tracking function is activated at the
start of the playback mode, digital noise may appear on
the playback image. This does not indicate a malfunction.
• This unit does not allow manual tracking adjustment.
• When playing back a tape recorded on another unit,
digital noise may appear during playback. This does not
indicate a malfunction.
• Following the loading, the built-in head cleaner will emit
a sound while operating. This does not indicate a
malfunction.
CAUTION:
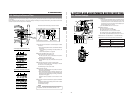
1.
POWER switch
6.
STOP button
3.
PLAY button
5.
4.
STILL button
2.
EJECT switch
2.
LIGHT
ON
OFF
COUNTER
CTL
TC
UB
RESET
OPERATE/WARNING
MONITOR
SELECT
STATUSSHUTTER
MENU
FILTER
1 3200k
2 5600k
3 5600k+ND
POWER
NG
G
A
IN
O
U
T
P
U
T
W
H
T
.B
A
L
V
T
R
ON OFF
ALARM
MONITOR
CH-1
CH-2
AUDIO
LEVEL
AUTO IRIS LOLUX
BACK L
NORMAL
SPOT L
STRETCH
NORMAL
COMPRESS
FULL AUTO BLACK
H
M
L
SAVE STBY
BARS CAM
ON
OFF
A
U
T
O
K
N
E
E
P
R
S
T
A
B
LOG REW FF
PLAY STILL
STOP
EJECT


