


22
6.1 Normal, SP, and stereo modes / 6.2 Precaution for continuous photography / 6.3 Terminating photography
6.2 Precautions for continuous photography
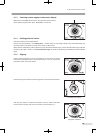
Please note that the LCD monitor automatically switches back to anterior segment observation. *
3
When you continue
photographing, note the precautions described below.
k
3 You may disable the anterior segment observation auto-return function by changing the setting.
For details of the setting, refer to
“9.4.4 EXTERNAL ALIGNMENT:NORMAL”
and
“9.4.5 EXTERNAL ALIGNMENT:
MOSAIC”
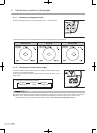
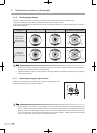
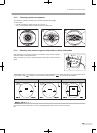
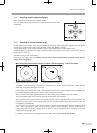
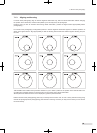
6.2.1 Pupil diameter
When you continuously photograph, the pupil is constricted due to the ash light in the previous photography. In such a
case, wait for a while and make sure that the pupil diameter is sufcient for photography.
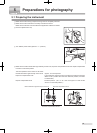
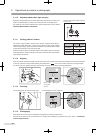
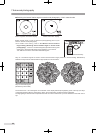
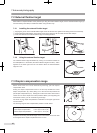
6.2.2 Photographing the other side of eye
When continuously photographing the other side of the eye, pull optical head base toward you so that it will not contact
the patient’s eye or nose and then move the digital camera toward the other side.
x
Do not increase the photography light intensity more than required.
Otherwise the patient may experience pain and his or her eye may be injured.
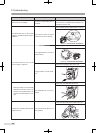
6.3 Terminating photography
•
Turn OFF the power switch of this instrument (place it in “
q
” position), exit the ling software, and turn OFF the PC. Refer
to
“Instruction manual (ling software)”
or the PC’s
“Instruction manual”
for how to terminate the PC.
• Place the lens cap on the objective lens.
• Move optical head base back to initial position where optical head base is positioned just above the power supply and
x it there by tightening the moving component xing screw.
•
Place the dust cover over the
instrument
.