


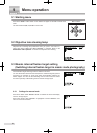
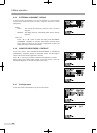
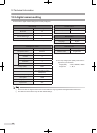
Discharge
indicator
LED
39
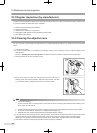
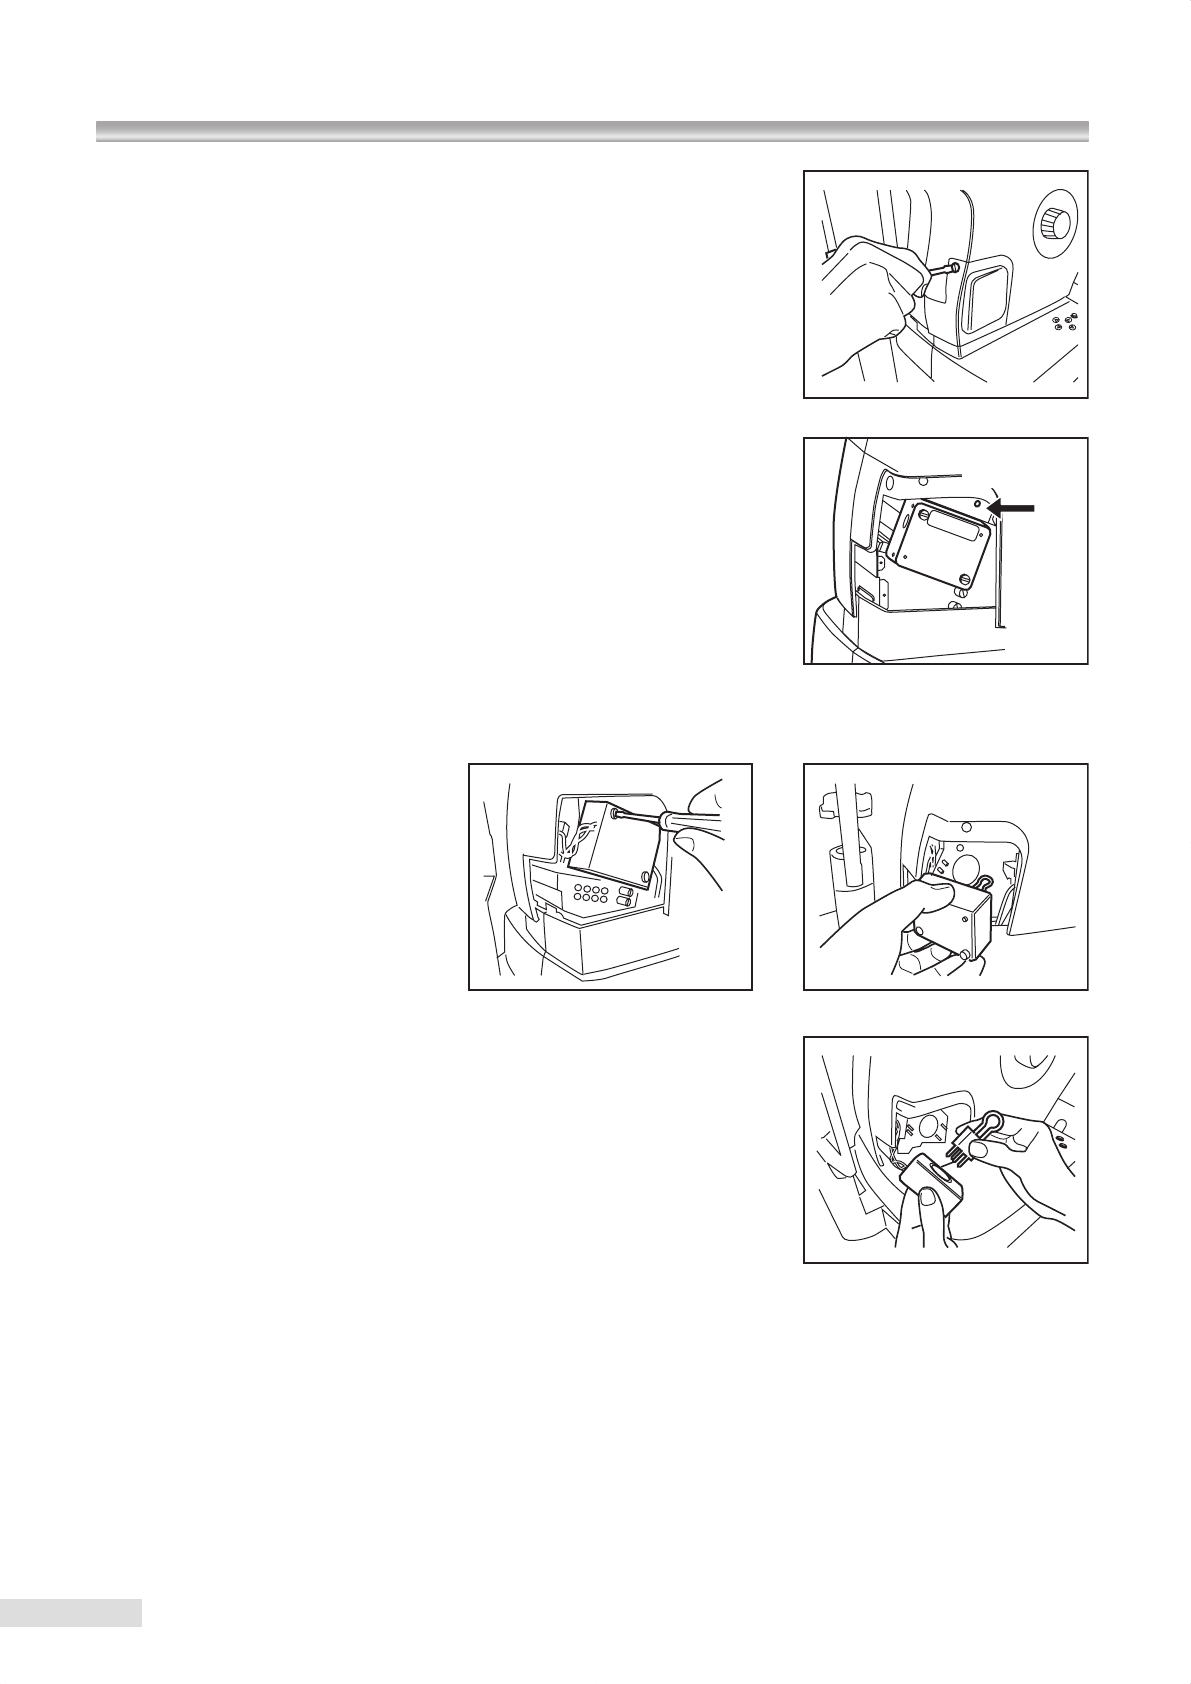
1
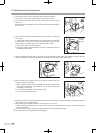
Rotate control lever to move optical head to the uppermost location.
2
Turn OFF the power switch and unplugged from the power outlet.
3
Loosen lamp cover
screws with
a coin or a screwdriver and then remove
lamp cover.
Make sure that the ash
lamp has been cooled down before proceeding to
the next step.
4
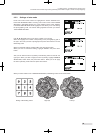
Check
that the discharge indicator
LED shown in the gure is completely
turned OFF.
It normally turns OFF completely
within three minutes after the instrument
is turned OFF. If it does not turn OFF even after above period of time,
contact Kowa or your Kowa dealer as it may carry a risk of failure.
In such a case, never touch the instrument.
k
Discharge indicator LED illuminates only when it discharges after the
instrument is turned OFF.
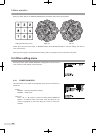
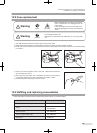
5
After the discharge indicator LED
is turned OFF and the ash lamp is fully cooled down (about 10 minutes after the
power is turned OFF), unscrew two screws by a screwdriver and remove the ash lamp socket.
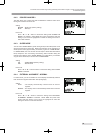
6
Hold t
he lamp and its socket in your hand, remove the ash lamp, and
install a new lamp in the socket.
k
When replacing the ash lamp, pull straight out and push straight in the
bulb towards the direction of electrode pin. Do not twist the ash lamp
when tting or removing it.
k
Fully insert the ash lamp to the end of the socket.
k
Do not touch the ash lamp bulb.
7
Tighten two screws of
the ash lamp socket with a driver. Pay attention not to pinch the cables around the instrument
when installing the ash lamp socket.
8
Place lamp cover and tighten lamp cover screws with a coin or a driver.
k
When installing the lamp cover, make sure that the cable of the illumination lamp socket is snugly housed within
the external sheath.
9
Connect the power supply cable plug to the power outlet and turn ON the power switch.
0
Turn ON the instrument and perform test photography.
10 Maintenance and inspection