44
Using the Built-in Flash
If the incident light on the subject is too low, when you half-press the shutter button you
will see the low light warning
blinking intermittently in the lower left part of the
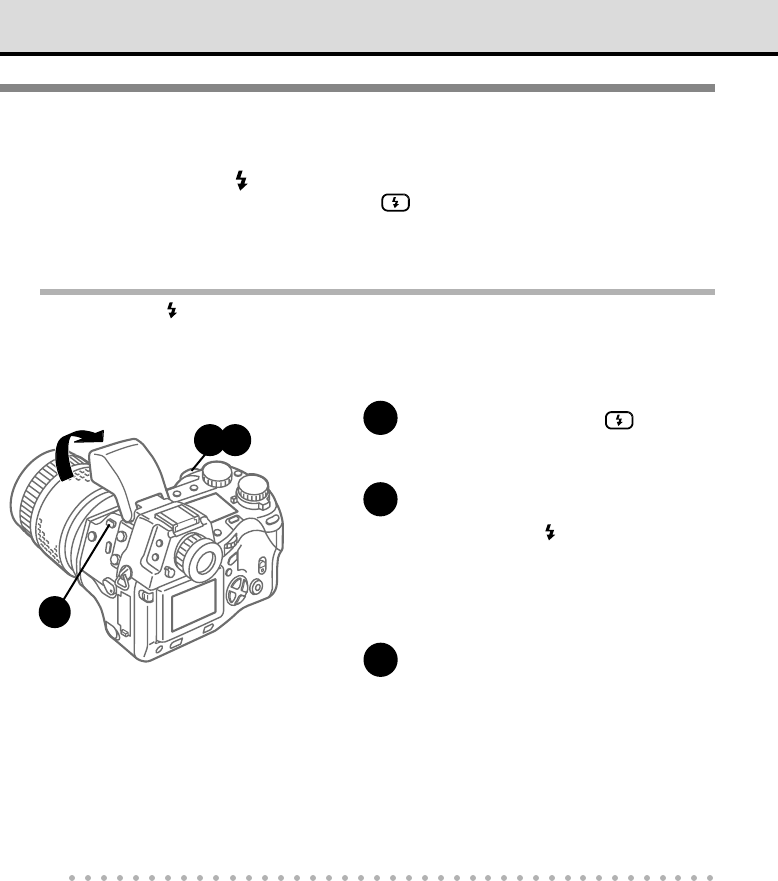
viewfinder. If this occurs, press the flash button
to raise the built-in flash. Now the
flash will fire when you take the picture. You can also use the flash to illuminate a dark
subject positioned in front of strong backlighting.
Note
• The low-light warning blinks while the flash is recharging and then lights up when charging is
completed. You cannot take a picture when the low-light warning is blinking while the flash
recharges. Wait for the low-light warning to stop blinking and then light up before you take the next
picture.
1
Press the flash button .
The built-in flash pops up.
2
Half-press the shutter button.
The flash indicator appears in the
viewfinder. If the flash indicator is blinking,
the flash is recharging. When the flash
indicator lights and stops blinking the flash
is charged and ready to fire.
3
Full-press the shutter button.
The flash fires with an intensity adjusted
for the best exposure and the picture is
taken.
Flash will not fire?
If the subject is exposed to brighter light after the built-in flash is raised, the flash will not fire.
However, you can set the camera in the fill-in flash mode so the flash will fire even with brightly
lighted subjects. (➞ 56, 86)
Caution
• Rapid, continuous firing could cause the flash unit to overheat. To prevent damaging the flash unit,
do not fire the flash more than 30 times in succession. After prolonged firing of the flash, wait at
least 10 minutes for the flash unit to cool before you resume shooting. Check the flash frequently
and make sure that it is clean. If it is dirty, wipe it clean with a soft dry cloth. Firing the flash with its
face dirty could cause the performance of the flash unit to deteriorate.
1
2 3


