


External Connections 125
Use the supplied software ImageMixer 3 SE to upload your vid-
eos to the Web.
Installation
See ‘PIXELA Applications’ Installation Guide.
Using the software
See ‘ImageMixer 3 SE Software Guide’ (PDF file).
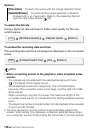
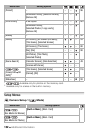
/ Converting Scenes into Standard Definition in the Camcorder
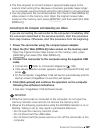
1 Power the camcorder using the compact power adapter.
2 Insert a memory card with sufficient available space in the
camcorder.
3 Open the index screen in the built-in memory that contains the
scenes you want to convert.
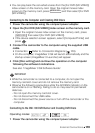
•You can press to open the index screen for video
snapshot scenes ( 58). You can press to open the
playlist index screen.
4 S elect ( , ) the scene you want to convert.
•You can select in advance the scenes you want to convert. Refer to
Pre-selecting Recordings from the Index Screen
( 52).
• When converting the playlist, you cannot convert individual scenes
so the entire playlist will be converted.
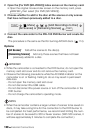
5 Convert the scene(s).
•If a message appears regarding music files, follow the instructions on
the screen.
•The left side of the screen displays the total playback time of the
scenes to be converted; the right side shows the file size of the
scenes after conversion and the available s pace on the memory
card. Press to select the conversion settings (bit rate and
recording date/time) as described below.
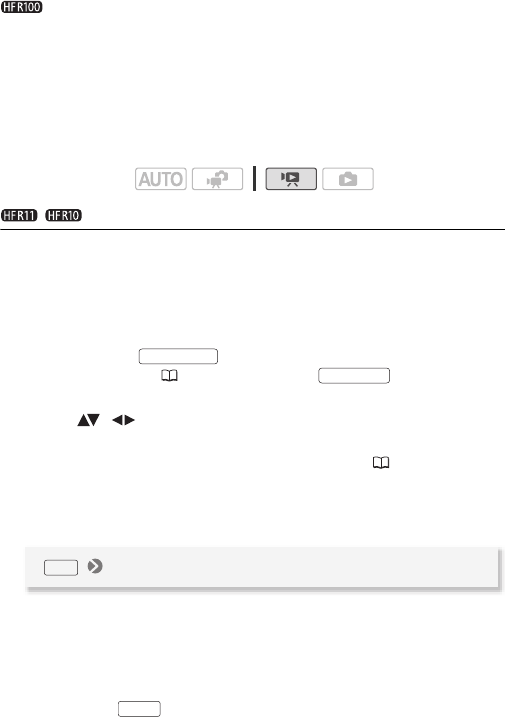
Operating modes:
VIDEO SNAP
INDEX SEL.
[OK]
WEB
FUNC.